Premiere Pro Tips: 5 Essential Beginner Mistakes to Avoid
Most YouTube instructors tell you to master flashy transitions and complex color grading first. They are dead wrong. Your garbage dialogue audio is what actually kills viewer retention, and no amount
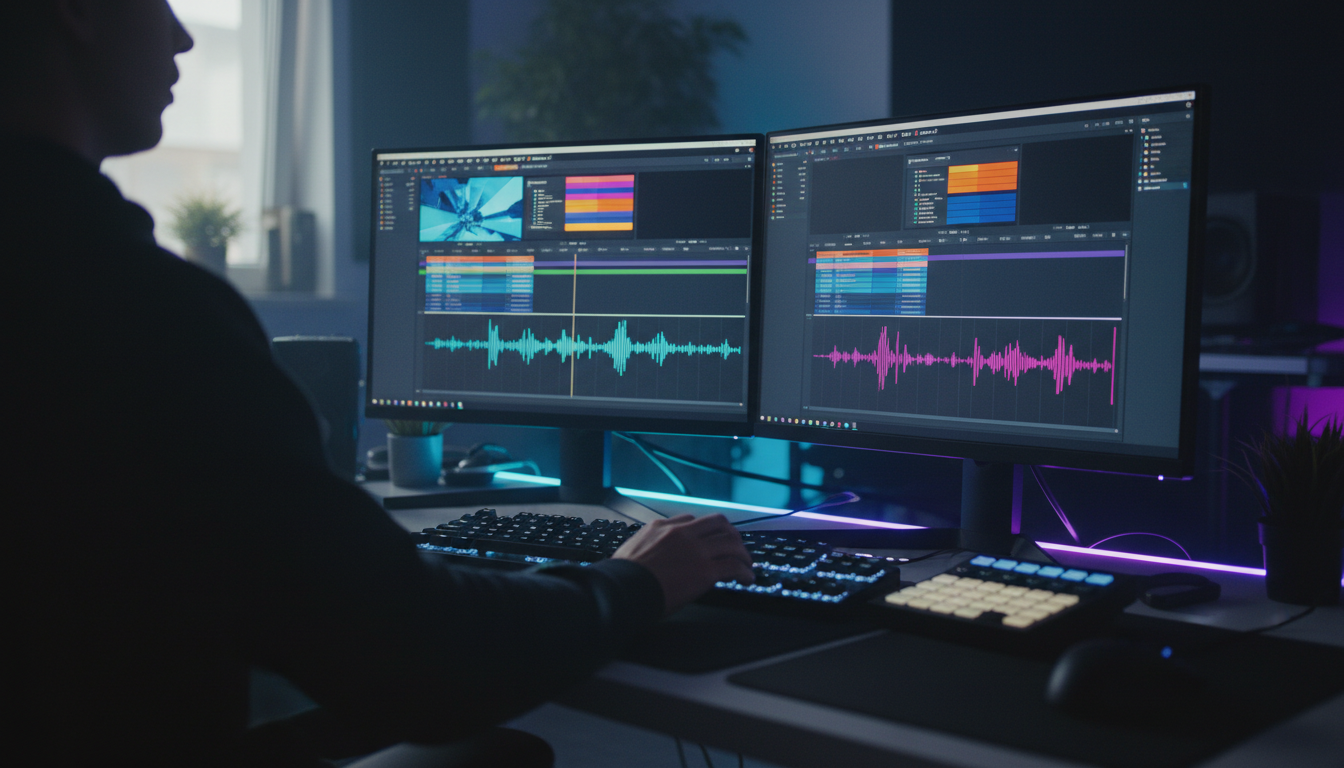
Most YouTube instructors tell you to master flashy transitions and complex color grading first. They are dead wrong. Your garbage dialogue audio is what actually kills viewer retention, and no amount of fancy zoom-cuts in Adobe Premiere Pro will save a video that sounds like it was recorded inside a tin can.
I spent years watching editors make the same five critical mistakes in Premiere before they finally learned how to build a scalable, professional workflow. If you treat your timeline like a digital canvas instead of a structured database, you are throwing away hours of billable time. Building clean habits early is what separates the editors making a comfortable living from the ones pulling all-nighters for low-paying clients.
Here is exactly how to stop making amateur mistakes, fix your audio levels, and speed up your workflow.
Key Takeaways
- Balance your dialogue to average between -6 dB and -12 dB on the meters, and apply a hard limiter at -0.1 dB to prevent digital clipping.
- Never move, rename, or delete raw media files on your local drive after bringing them into your project to avoid the red offline screen.
- Rely on the non-destructive enable/disable toggle instead of deleting timeline clips with backspace.
- Adopt a stacked pancake timeline layout to separate raw selects sequences from your master edit.
- Reset preferences and clear your media cache by holding Shift during the Premiere Pro launch window to resolve laggy playback.
- Transition from mouse-clicks to left-hand keyboard shortcuts to recover lost days of editing time.
5 Premiere Pro Tips for Beginners to Avoid Rookie Errors
Why Rookie Mistakes Cost You Clients and Hours
Rookie errors in Adobe Premiere Pro do not just look sloppy. They literally break your hardware performance and destroy client trust. I have seen talented editors lose high-paying gigs because they left a single-frame black gap in a video or delivered an export where the music completely drowned out the speaker.
The professional post-production landscape is incredibly competitive. Since Adobe Premiere Pro commands a 35% market share [2] among professional editors, knowing how to run this software cleanly is a baseline survival skill. Clients expect quick turnarounds. When you deliver a draft with audio pops or unaligned framing, you tell the client that you do not respect their time.
35% Adobe Premiere Pro commands in professional editing
The Core Habits of Efficient Editors
Experienced editors prioritize structural setup and timeline organization over complex color grading or visual effect packs. They know that a tidy timeline runs faster. Because 95% of professional video editing job postings [3] explicitly require Premiere Pro proficiency, learning how to structure your projects like an industry pro is essential for your career.
Efficiency is not about clicking faster. It is about reducing the number of decisions you have to make every second. When you standardize your track layouts and map your keyboard shortcuts, you free up your brain to focus entirely on story pacing.
Actionable Takeaway: Audit your current project setup and commit to organizing your folders before importing your first video clip.
Audio Level Pitfalls: Why Your Dialogue Sounds Amateurish
Target Audio Levels for Clean Dialogue
There is a golden rule in video production that often shocks beginners: Your audience will tolerate a slightly grainy video, but they will instantly turn off a video with bad audio [4]. Bad audio triggers a subconscious physical reaction that makes your work feel incredibly cheap.
When you edit talking-head videos or podcasts, your dialogue audio should average between -6 dB and -12 dB on your meters. This range ensures the speaker is easily heard on everything from cheap smartphone speakers to high-end headphones.
+------------------+-----------------------+
| Audio Source     | Target Level (dB)     |
+------------------+-----------------------+
| Dialogue         | -6 dB to -12 dB       |
| Sound Effects    | -10 dB to -18 dB      |
| Background Music | -18 dB to -24 dB      |
+------------------+-----------------------+
How to Use a Hard Limiter to Prevent Digital Clipping
Never let your master audio peak above 0 dB. If it does, your audio will digitally clip, creating an incredibly harsh distortion. To stop this, do not just manually lower individual clips. Open your Audio Track Mixer panel.
Go to your master track channel and apply the Hard Limiter effect. Set the maximum amplitude to -0.1 dB. This creates a hard ceiling that prevents any unexpected loud spikes from ruining your mix.
Why Most YouTube Premiere Pro Tutorials Fail to Teach Audio Basics
Most popular video editing tutorials on YouTube [10] jump straight to cool visual transitions and completely ignore audio mixing basics. They show you how to raise clip volume on the timeline, which results in a messy, inconsistent mix.
Instead of fixing clips one by one, use track-level effects in the mixer. This allows you to apply compression and EQ to the entire track. It saves you hours of manual work and creates a smooth, professional voice track.
Pro Tip: Always mix your dialogue using a decent pair of studio headphones, not your laptop speakers. Laptop speakers do not reproduce low-end frequencies, which can lead to a muddy final mix.
Actionable Takeaway: Apply a hard limiter set to -0.1 dB to your master audio track on every single project you edit.
The Media Offline Nightmare and How to Organize Projects
The Red Screen of Death: Why File Paths Break
Opening your project to find a wall of red "Media Offline" screens is an absolute nightmare. But it happens to everyone. Why? Because Premiere Pro does not actually copy your raw footage into the project file. It simply remembers the exact path on your computer.
If you move a file, rename a folder, or clear out your messy downloads directory, you break that link instantly. Then you are stuck searching.
Setting Up a Master Project Template Folder
To prevent this nightmare, you must establish a strict directory structure before importing a single asset. Build a master template folder on your hard drive. Inside, create organized subfolders for your assets:
- 01_Raw_Footage: For your camera files.
- 02_Audio: For music, sound effects, and voice recordings.
- 03_Graphics: For logos, overlays, and brand assets.
- 04_Exports: For your final video files.
- 05_Premiere_Projects: Where your .prproj file lives.
When you start a new edit, simply copy this empty template directory, name it after your project, and import files into these designated spots.
Clearing Your Cache for Choppy Playback Fixes
If Premiere Pro starts lagging, dropping frames, or behaving strangely, your local media cache is likely bloated. To quickly fix this, close Premiere Pro completely. Hold down the Shift key while launching the app.
This triggers a reset screen where you can clear your media cache and reset your app preferences. It is the fastest way to resolve choppy playback without having to reinstall your software. Keeping your cache clean is a vital habit to adopt as you watch trends for video editors [7] who work with high-resolution formats.
Actionable Takeaway: Create an empty master directory template on your desktop today and use it to structure your next three video projects.
Destructive vs Non-Destructive Editing: Stop Using the Backspace Key
The Power of the Enable/Disable Toggle
Beginners default to selecting a clip and hitting the backspace key to delete it from the timeline. This is called destructive editing. If you change your mind later or if your client asks to bring back an old take, you have to dig back into your bins, find the clip, and locate the exact frame again.
Instead, use the enable/disable toggle. Right-click the clip on your timeline and uncheck Enable (or use your custom keyboard shortcut). This hides the clip from your program monitor and mutes its audio, but leaves it sitting right on your timeline. If you ever need it back, you can simply re-enable it.
Using the Slip Tool (Shortcut Y) for Micro-Adjustments
When you need to adjust the timing of a clip that is already locked between two other clips, do not delete it or ripple-cut the surrounding footage. Use the Slip tool by pressing the Y key.
Click and drag on your clip. The Slip tool lets you slide the media's starting and ending points earlier or later without changing the clip's position on the timeline or affecting the overall length of your sequence.
Performing Non-Destructive Insert Edits
If you want to drag a new clip into the middle of your sequence, dragging it directly will overwrite whatever is underneath. To perform a clean, non-destructive insert edit, hold down the Control key (or Option on Mac) while dragging.
This splits the existing clips and pushes all adjacent media down the timeline to make room for your new clip, keeping your edits safe.
| 55|Storytelling & Creative | NaN |
|---|
Actionable Takeaway: Stop deleting clips you are unsure about. Disable them instead to preserve a safety net on your timeline.
Timeline Layout and Navigation Hacks to Save Hours
The Stacked Pancake Timeline Method
If you edit video by scrolling back and forth on a single long timeline, you are wasting massive amounts of energy. Professional editors rely on the stacked pancake timeline layout.
Create two sequences: one named "Selects" (where you place all your raw, usable footage) and one named "Master Edit" (where you build your actual video). Drag the tab of the Selects timeline up to the top half of the screen. Now you have two timelines stacked on top of each other. You can easily pull down the best takes from your selects straight into your active edit.
+-----------------------------------------------------------+
| [Selects Sequence]                                        |
|  [Raw Take 1]      [Raw Take 2]         [Raw Take 3]     |
+-----------------------------------------------------------+
|                                                           |
|                       (Drag down)                         |
|                            v                              |
+-----------------------------------------------------------+
| [Master Edit Sequence]                                    |
|  [Raw Take 2 (Selected)]   [B-Roll 1]  [Raw Take 3]       |
+-----------------------------------------------------------+
Reviewing Footage Fast with Double-Time Playback
Reviewing long talking-head interviews or raw podcast feeds at normal speed takes too long. Hit the L key on your keyboard to play footage forward. Hit it twice to speed up playback to 2x (double-time).
You can still easily understand the dialogue, but you can review hours of footage in half the time. Hit the K key to pause, and the J key to play backward.
Preventing Flash Frames and Clean Cuts
Nothing screams "rookie editor" louder than a flash frame. This is a tiny, single-frame gap of empty space between two clips that displays as a jarring black screen to the viewer. Always zoom in closely on your cut points to check for gaps.
To make your transitions sound clean, apply a default audio crossfade between cuts by pressing Shift + Command + D (Mac) or Shift + Control + D (Windows). This small crossfade eliminates the noticeable clicks and pops that happen at cut boundaries.
Pro Tip: If you work on a computer all day, your mouse is your slowest tool. Shifting from your mouse to keyboard shortcuts will dramatically speed up your workflow. In fact, research shows that learning keyboard shortcuts can save up to eight entire workdays of productivity [5] per year by avoiding constant mouse-switching delays [5].
Actionable Takeaway: Stack your selects timeline over your master timeline and practice dragging footage downward for your next sequence.
How to Implement These 5 Premiere Pro Tips for Beginners to Avoid Rookie Errors
A Step-by-Step Checklist for Your Next Project
To make sure these tips stick, follow this step-by-step checklist the next time you open a project:
- Create a structured project folder on your hard drive before launching Premiere.
- Hold down Shift when launching Premiere Pro to clear your media cache and start fresh.
- Import your assets into their designated bins inside your project panel.
- Set up a timeline sequence that matches your target output (e.g., DSLR 1080p 30fps, or vertical 1080x1920 for short-form clips).
- Drop your dialogue audio onto a dedicated track, then apply a track-level hard limiter set to -0.1 dB in your track mixer.
- Build your selects on a stacked sequence above your master timeline.
- Use double-time playback (L key) to review footage and pull selects down.
- Disable unwanted clips with the enable toggle instead of deleting them.
Transitioning from Mouse-Heavy Editing to Left-Hand Shortcuts
To edit faster, try to map your most frequent commands to the left side of your keyboard. This allows your right hand to stay on your mouse or trackpad while your left hand triggers cuts, navigation, and playback.
+------------------+-----------------------+
| Action           | Shortcut              |
+------------------+-----------------------+
| Cut Clip         | C (or Add Edit)       |
| Slip Tool        | Y                     |
| Enable/Disable   | Shift + E             |
| Play Fast        | L (Press twice)       |
| Stop Playback    | K                     |
+------------------+-----------------------+
As you explore helpful updates in Adobe Premiere [1], remember that basic keyboard familiarity is what saves the most time. If you map your main actions so your hand stays in one place, your editing speed will double within a week.
Actionable Takeaway: Open your keyboard shortcuts menu and map "Enable/Disable Clip" to a comfortable key on the left side of your keyboard.
Beyond YouTube Premiere Pro Tutorials: Automate the Grind with KreateFlo
Why Manual Editing is a Waste of Creative Energy
Even if you follow the best video tutorials on YouTube [10], manually trimming silences, cleaning up bad takes, and aligning multiple camera angles is a massive drag. In fact, video editors spend roughly 55% of their working time on grunt work [3] like syncing tracks, removing pauses, and organizing timelines.
That is more than half of your day wasted on boring, repetitive tasks. This manual grind kills your creative energy and limits the number of clients you can take on.
Meet KreateFlo: The 33-in-1 Premiere Pro Extension
Instead of wasting four hours micro-cutting a single podcast episode, you can automate the process inside your timeline. Meet KreateFlo.
We built KreateFlo (currently on v1.0.3) as an Adobe Premiere Pro CEP extension, meaning it lives directly inside your Premiere Pro panel layout. It is not a separate web app, and it does not require you to export massive files back and forth. It features 33+ professional editing tools designed to remove technical friction from your daily workflow.
- Silence Remover: Instantly scans your raw audio tracks and strips out silent gaps and dead air. What used to take 4 hours of tedious timeline slicing is now accomplished in 90 seconds.
- CaptionFlow: Generates highly engaging, styled captions. Unlike other tools that make you wait for slow cloud rendering, CaptionFlow features 22 animated presets with a real-time WASM preview. You see your design changes instantly without waiting for a rendering loop.
- Multi-Cam Editor: Handles up to 8 speakers and 8 dedicated cameras. You can set a custom wide-shot designation, and our tool will automatically cut between the active speaker and the master shot, preserving perfect pacing.
- Multi-Language Transcription: Supports voice transcription in over 40 languages, including Bangla and Hindi.
Our subscription pricing is transparent and cost-effective. While tools like FireCut or AutoPod have rigid or high-priced tiers, KreateFlo gives you massive value:
| Before | $19.99/mo |
|---|---|
| After | KreateFlo Pro|$15.00/mo |
- Free Tier: 3 tools forever (Silence Remover, Transition Assistant, Copy & Paste).
- Pro Tier: $19.99/mo, giving you 20 AI hours.
- Studio Tier: $44.99/mo, giving you 50 AI hours.
Honest Caveats: When KreateFlo is NOT the Right Tool
We do not believe in hype. KreateFlo is an incredibly helpful tool, but it is not for everyone:
- If you edit in Final Cut Pro, DaVinci Resolve, or Avid, KreateFlo will not work for you. It is designed strictly as a Premiere Pro plugin.
- If you edit highly stylized, abstract cinematic videos where pacing cannot be automated, you will still need to do most cuts manually.
- If you only edit one 30-second clip a month, the built-in free tools in Premiere Pro are probably more than enough for your workload.
But if you edit long-form interviews, talk shows, YouTube videos, or podcast feeds, this plugin is designed to save you hours of physical timeline manipulation.
Actionable Takeaway: Go download the free tier of KreateFlo to instantly speed up your silence-removal workflow.
Frequently Asked Questions
How do I fix the Media Offline error in Adobe Premiere Pro?
Right-click on the offline clip in your project bin and select Link Media. Locate the folder on your hard drive where the file is currently stored. Once you link the first clip, Premiere will automatically locate the other offline files in that same folder path.
What is the best way to clear the media cache to speed up Premiere Pro?
Close Premiere Pro completely. Hold down the Shift key on your keyboard while launching the app. A dialog box will appear asking if you want to clear your media cache and reset your preferences. Select yes to resolve playback lag.
How do I use a stacked or pancake timeline workflow in Premiere Pro?
Open your selects sequence and your master sequence. Click on the tab of your selects sequence and drag it upward to the top half of the timeline panel until a blue preview box appears. Release your mouse to stack the two timelines parallel to each other.
What are the ideal audio levels for dialogue, music, and sound effects in Premiere Pro?
Your dialogue should average between -6 dB and -12 dB on your meters. Background music should sit comfortably between -18 dB and -24 dB so it does not overpower the speaker, and sound effects should sit around -10 dB to -18 dB.
What is the best way to auto-generate captions in Premiere Pro without lag?
Instead of using slow cloud-rendering caption tools, rely on the KreateFlo CaptionFlow tool. It uses real-time WASM rendering, allowing you to instantly style and animate your captions across 22 presets without frustrating lag.
Summary and Next Steps
Avoiding rookie errors in Premiere Pro comes down to building strong habits and respecting your editing timeline. Do not spend hours manually deleting silent gaps or adjusting audio levels clip-by-clip.
Map your shortcuts, organize your project templates, use non-destructive edits, and set up proper audio master tracks. If you want to jump straight from raw footage to a polished final cut, automate the boring parts.
Go to our download page to grab the KreateFlo CEP plugin today, and access our free-forever tools to speed up your editing workflow.
References
- social.colostate.edu/trends/three-helpful-updates-adobe-premiere-2026/
- autofaceless.ai/blog/video-editing-software-statistics-2026
- wifitalents.com/video-editing-industry-statistics/
- blackcliffmedia.com/blog/technical-excellence-why-audio-quality-is-more-important-than-4k-video/
- brainscape.com/academy/keyboard-shortcuts-revive-economy/
- zebracat.ai/post/ai-video-creation-statistics
- aaapresets.com/blogs/premiere-pro-blog-series-editing-tips-transitions-luts-guide/the-future-of-premiere-pro-editing-trends-to-watch-in-2026
- youtube.com/watch
- phantomeditor.video/blog/whats-new-premiere-pro-26-2026
- youtube.com/watch
- digitalicence.com/adobe-premiere-pro-best-video-editor-2026/
- freddyvillemedia.com/blog/adobe-premiere-pro-26-3-update-brand-video-2026
- youtube.com/watch
- youtube.com/watch
Try KreateFlo free
3 tools forever, 7-day trial on the rest. No credit card to start.
Download KreateFlo