Budget Content Setup: Ultimate Guide to Filming Under $500
Most creators blow their entire budget on a $1,200 mirrorless camera, only to sound like they are recording inside a tin can. Don't do that. I edit client videos in Adobe Premiere Pro every single day
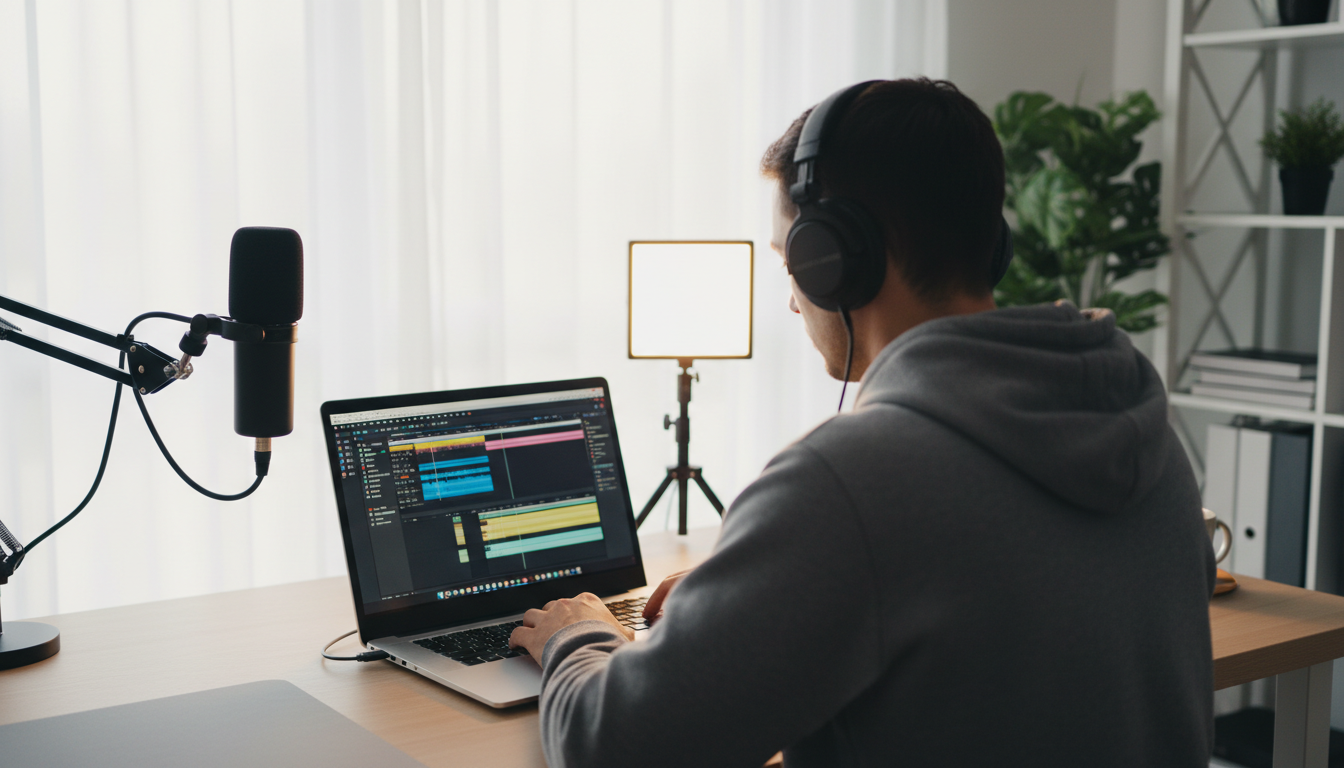
Most creators blow their entire budget on a $1,200 mirrorless camera, only to sound like they are recording inside a tin can. Don't do that.
I edit client videos in Adobe Premiere Pro every single day, and I'll tell you a secret:
Your viewers will tolerate a slightly soft smartphone image, but they will swipe away in less than three seconds if your audio is trash.
You can build a professional studio for a fraction of that $1,200 cost. We edit high-performing videos daily using gear that costs less than a single high-end lens.
Key Takeaways
Audio quality is more important than video quality: Viewers will click away from bad sound immediately.
Use your existing smartphone: This allows you to allocate the full $500 budget to professional audio, lighting, and support.
The DJI Mic Mini is the ultimate budget hack: It offers up to 80% of the audio quality of high-end systems for only $59 to $79.
Prioritize color-accurate lighting: A key light like the Amaran Ray 60C ($189) is the core hardware upgrade you need.
Keep software costs at zero: Skip expensive subscriptions and use free tools or targeted plugins to keep your ongoing costs close to zero.
Why You Don't Need a $3,000 Cinema Camera
The Power of the Smartphone in Your Pocket
The phone sitting in your front pocket is already a beast of a production tool. Modern mobile hardware handles high-resolution recording with ease, making expensive dedicated cameras unnecessary for beginners. Look at the data.
A massive 73% of content creators use smartphones [10] as their main camera. Why spend thousands on a cinema camera when your current phone shoots pristine 4K video?
When you feed a smartphone sensor s internal software and computational stabilization also handle real-time tracking, removing the steep learning curve of professional rigs. This allows you to work faster and skip complicated manual camera configurations.
The Hidden Cost of Budget Mirrorless Systems
Opting for an entry-level mirrorless camera like the Canon EOS R50 seems tempting. However, buying a new camera body completely consumes your entire $500 studio budget instantly [8].
You are left with exactly zero dollars for a microphone, stands, or lights. That leaves you filming in a dark room with unlistenable echoing audio.
A mirrorless camera also demands expensive lenses, extra batteries, and proprietary cables. This creates an endless cycle of spending.
As editors, we see footage shot on $3,000 rigs with terrible audio and direct ceiling light every day. It looks amateur. Conversely, a smartphone clip shot with proper 3-point lighting and a dedicated wireless mic looks broadcast-ready.
Pro Tip: Use your current smartphone as your main camera and preserve your $500 budget for the gear that actually makes a visual impact.
How to Build a Budget Content Creation Setup for Under $500
The Direct Budget Allocation Strategy
To get the most out of your cash, you must think like a production manager. Stop buying gear just because an influencer told you to.
Instead, target the bottlenecks that directly hurt your audience retention. We use a strict allocation strategy that splits your budget across three primary pillars: audio, lighting, and physical support.
By using the Cash4Reels Budget Content Creation Equipment Guide [6], we can structure our purchases to increase usable footage [6] per hour. Here is the exact math for a professional $500 studio setup:
Key Light: $189 for the Amaran Ray 60C Bowens-mount continuous LED.
Audio System: $79 for the DJI Mic Mini wireless transmitter and receiver kit.
Camera Support: $60 for the Ulanzi MT56 fluid-head tripod with native phone clamp.
Light Modifier: $99 for the Amaran 90cm Light Dome Softbox.
Light Stand: $30 for a sturdy Neewer compact light stand.
Accent Light: $40 for the portable Amaran Ace 25X pocket LED.
Total Hardware Cost: $497
Equipment Piece | Specific Model | Core Function | Target Budget |
|---|---|---|---|
Key Light | Amaran Ray 60C | Main facial illumination & color accuracy | $189 |
Microphone | DJI Mic Mini | Clean wireless voice transmission | $79 |
Tripod | Ulanzi MT56 | Shaky footage prevention & fluid pans | $60 |
Softbox | Amaran 90cm Light Dome | Light diffusion & shadow softening | $99 |
Accent Light | Amaran Ace 25X | Background depth & subject separation | $40 |
Light Stand | Neewer Compact Stand | Sturdy support for key light | $30 |
Where to Spend and Where to Save
Spend your money on light diffusion and microphone reliability. These are the two areas where cheap, off-brand gear fails immediately. A bad wireless connection ruins your audio track, and a low-quality LED light makes skin tones look green or sickly.
Save your money on cameras, software, and room acoustic treatment. Excellent free editing software options exist to help you bypass monthly fees entirely. You do not need to purchase expensive soundproofing foam when simple household textiles achieve the same results for free.
Pro Tip: Buy your light stands and tripods pre-owned on secondary marketplaces. Aluminum stands do not have batteries or circuits that degrade, allowing you to easily save 50% on these structural items.
Audio First: The Cheap Wireless Mics That Beat Premium Systems
DJI Mic Mini vs. High-End Systems
Bad audio is the fastest way to kill your audience retention. Viewers will tolerate slightly noisy phone footage, but they will swipe away in under two seconds if your voice sounds like it is drowning in room echo. Fortunately, the wireless audio landscape changed when the DJI Mic Mini launched.
This compact mic costs only $79 for the full kit [9] and delivers up to 80% of the raw sound performance of $300 systems. According to the Imaging Resource DJI Mic Mini Review [9], the system utilizes an omnidirectional pickup pattern and features two levels of active noise cancellation [9].
The clip-on transmitter is incredibly light. It weighs only 10 grams so it won't pull down your shirt collar [8]. It transmits crisp 24-bit digital audio with over 11 hours of battery life [9], easily beating the runtime of more expensive wireless options.
The main catch with the Mic Mini is the lack of internal backup recording. If your signal drops, your audio is gone.
But for a solo creator recording in a home studio, this is a non-issue - the system's active noise cancellation cleans up background fan noise with a single button press.
Acoustic Hacks for Echoey Rooms
A professional microphone cannot save you if your room sounds like an empty gym. Hard, reflective surfaces like wood floors, bare walls, and windows bounce your voice straight back into the microphone capsule. This creates a cheap, hollow echo.
You do not need to spend hundreds of dollars on acoustic foam. Instead, throw down a thick, plush rug on your floor. Hang a couple of heavy blankets on stands just out of the camera's frame, or close your window curtains.
These simple fabric interventions absorb sound waves, giving you dead, studio-quality room acoustics for free.
Pro Tip: Clip the DJI Mic Mini transmitter no more than 6 inches from your mouth, and use a heavy blanket on a nearby wall to eliminate echo.
Lighting Your Scene: Professional Diffusion on a Dime
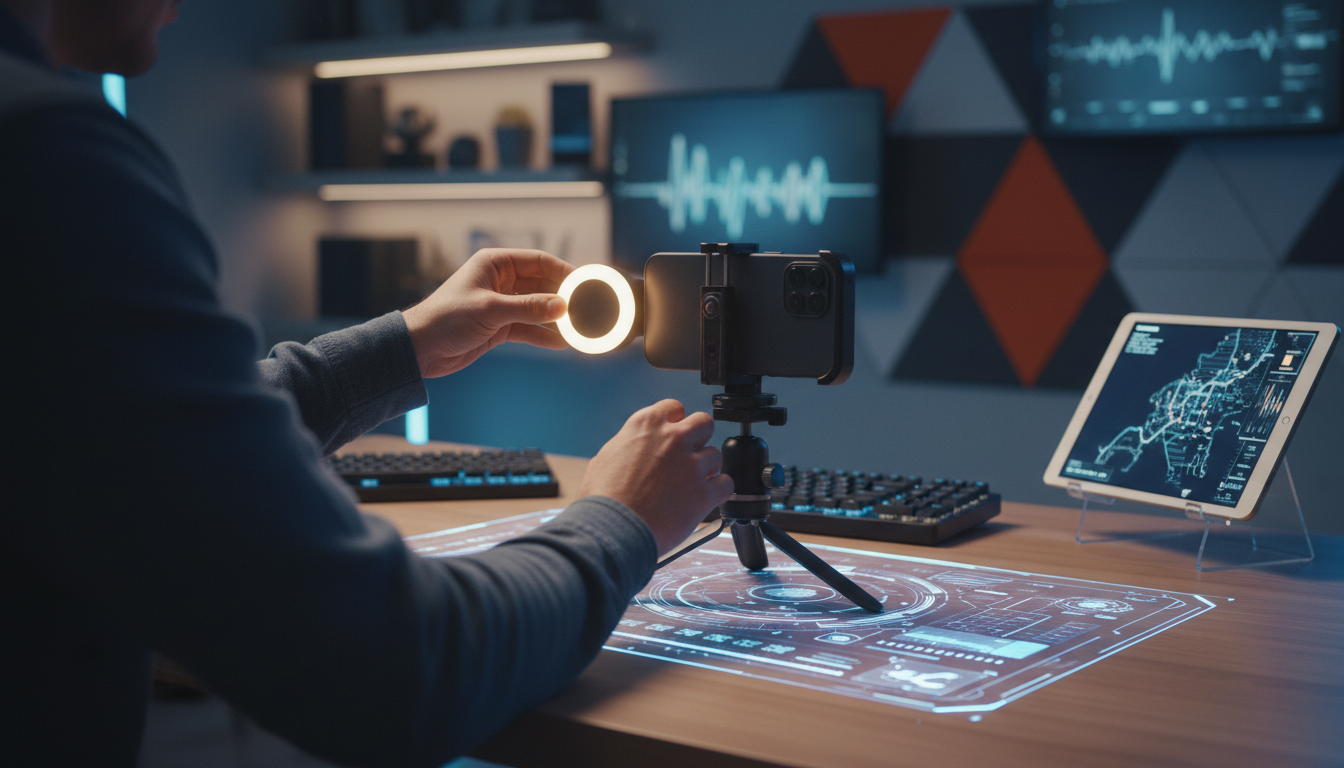
The Power of the Amaran Ray 60C
Lighting is the real secret behind cinematic video. A tiny camera sensor needs massive amounts of clean light to resolve detail without producing ugly digital grain. This is why we allocate the largest single portion of our budget - $189 to the Amaran Ray 60C continuous LED key light [8].
According to the StudioLights.org Budget Video Light Reviews [2], modern LEDs offer cool operation, energy efficiency, and exceptional color accuracy with a CRI of 97+ [2] or higher.
The Ray 60C is a color-accurate, Bowens-mount continuous light. Color accuracy is measured by the Color Rendering Index (CRI). The Amaran Ray 60C features a high CRI rating [2] that ensures your skin tones look natural, not pasty or green. It uses the industry-standard Bowens mount, which allows you to attach professional softboxes and light modifiers.
Pairing the Ray 60C with the Amaran 90cm Light Dome softbox creates incredibly flattering, diffused illumination. The softbox spreads the light, wrapping it gently around your face to eliminate harsh nose and neck shadows. This is the exact setup used by high-end talking-head channels, now achievable for under $300.
Angle is Everything: The 45-Degree Rule
Never place your key light directly in front of your face or directly behind your camera. This creates flat, boring lighting that washes out your facial features. Instead, use the 45-degree rule.
Position your key light 45 degrees to the left or right of your camera, and raise it slightly above your eye level. Angle the light down at your face. This creates a natural, flattering shadow on the opposite side of your cheek, instantly adding cinematic depth and dimension to your shot.
Cheap Background Hacks for Depth
Your background is what separates you from amateur creators. A flat, white wall behind you looks like a hostage video. You need to create depth.
You can easily build a rich, moody background on a tight budget. Use the portable Amaran Ace 25X pocket light [8] to splash a soft glow onto the wall behind you. This creates a clear visual separation between you and your background. Alternatively, tape colored cellophane wrap over a cheap household LED bulb to act as a custom color gel, giving your studio an expensive neon aesthetic for under $5.
Support and Tripods: Keeping Your Shots Steady
The Ulanzi MT56 Fluid-Head Tripod
Shaky footage is an instant giveaway of amateur production. If you want your videos to look professional, you need a rock-solid camera support system. The Ulanzi MT56 fluid-head tripod [8] is the ultimate budget solution for creators in 2026.
This compact tripod costs around $60 and includes a native, built-in smartphone clamp. The core feature is its true fluid head, which allows you to execute incredibly smooth camera pans and tilts. Most cheap tripods utilize plastic pan heads that stutter and jerk, ruining your b-roll shots. The MT56 provides the hydraulic resistance needed for professional, cinematic movements.
It is also highly versatile, extending up to eye level while folding down small enough to fit in a backpack. The sturdy aluminum legs keep your phone completely stable, even when filming outdoors in windy conditions. This prevents micro-shakes that ruin your camera's autofocus tracking.
Eye-Level Placement Hacks
One of the most common mistakes beginner creators make is placing their camera too low. Looking down at your phone lens creates an unflattering angle that accentuates double chins and makes your audience feel like you are talking down to them.
Always elevate your camera lens until it is exactly level with your eyes. If your tripod is too short, or you are recording at a desk, use a stack of heavy books to raise the stand. A straight-on, eye-level camera angle builds immediate trust and makes your talking-head videos feel like a natural, face-to-face conversation.
Post-Production Specs: What Hardware Do You Actually Need?
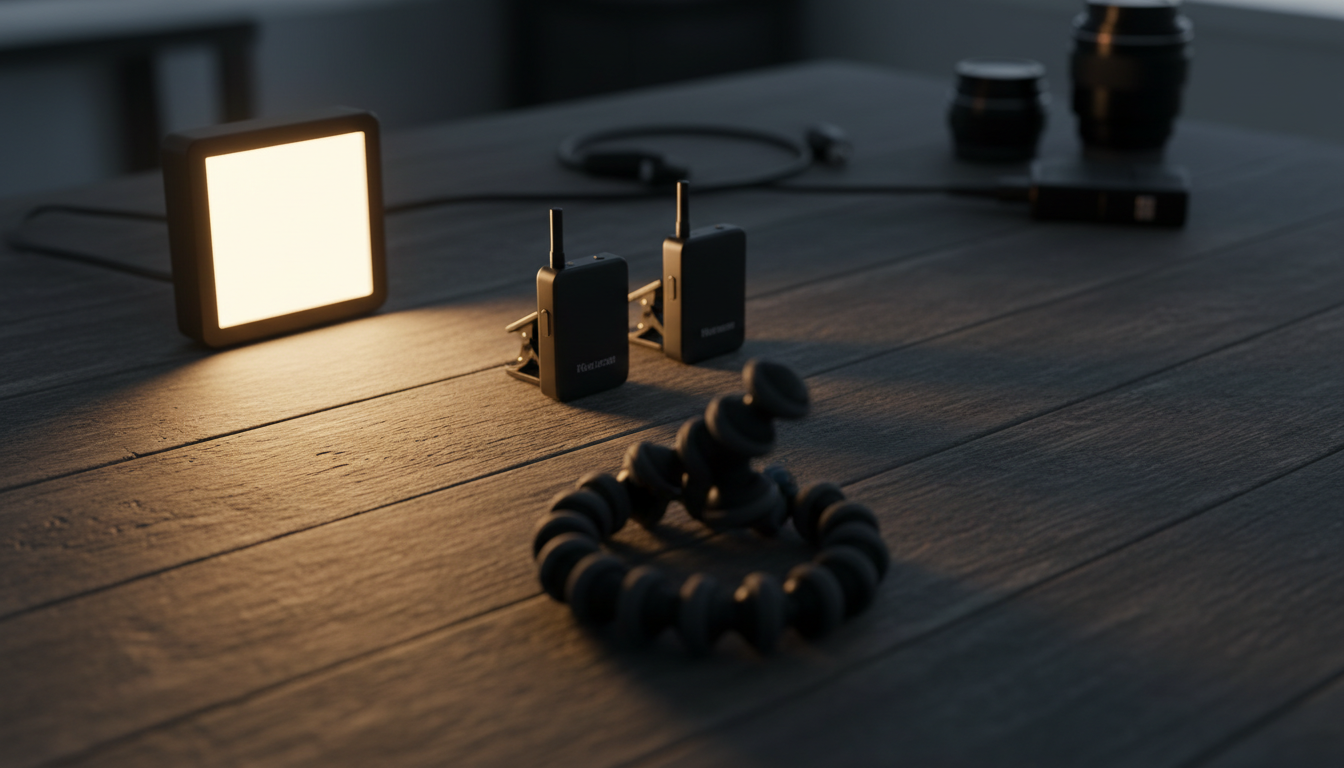
Minimum Computer Specs for HD and 4K Editing
Once your footage is shot, you need to edit it. You do not need a $4,000 Mac Studio to cut clean video, but you do need to meet basic hardware requirements to avoid frustrating timeline stuttering in Adobe Premiere Pro.
If you are editing standard 1080p HD footage, you need a minimum of:
CPU: 6-core modern processor.
RAM: 16GB of system memory.
GPU: 2GB of dedicated VRAM.
If you are planning to edit raw 4K phone files or 10-bit Log footage, your requirements jump to:
CPU: 8-core or higher processor.
RAM: 32GB of system memory.
GPU: Dedicated graphics card with at least 6GB of VRAM.
Without these specs, Premiere Pro will struggle to decode high-resolution video streams in real-time. This leads to dropped frames, slow playback, and frequent software crashes that derail your creative momentum.
The Golden Rule of External Storage
Never edit video files directly off your computer's internal system drive.
This is a classic rookie mistake that quickly slows your entire operating system.
Keep your operating system clean by using a fast, external SSD for all your active video projects. A portable USB-C SSD delivers fast read and write speeds, allowing you to edit high-bitrate video smoothly without taxing your internal drive.
It also makes backing up your footage and moving between different editing machines incredibly simple.
Save Time: Why Content Creation Automation Tools Change the Game
Ditching the Manual Squeeze
The real bottleneck of content creation is time. The inBeat Agency Creator Economy Statistics [3] reveal that the global creator economy has matured into a $234 billion powerhouse [3].
However, the harsh reality outlined in the Behind the Scenes Creator Economy Report [4] shows that only 4% of active creators earn over $100,000 per year [4]. Most creators fail because they burn out. They spend 4 hours manually slicing silences, alignment errors, and bad takes out of a simple 10-minute talking-head video.
Using modern content creation automation tools [3] collapses that manual, grueling process. Data from the Circle.so Creator Economy Statistics [5] shows that 75% of creators use AI for content creation or planning [5]. Automation takes the repetitive, brain-melting tasks off your plate so you can focus on writing hooks and filming. You should not be spending hours cutting silent gaps in 2026.
How KreateFlo Fits Into Your Workflow
This is exactly why KreateFlo was built. It is a professional Adobe Premiere Pro plugin (a native CEP extension, currently at version v1.0.3) that packs 33+ heavy-duty tools directly into your editing panel. Instead of bouncing between various browser-based tools, you run everything directly on your Premiere timeline.
If you're looking to optimize your general output, we also write about related strategies in our guide on how to speed up your podcast workflow.
If you are editing long-form podcasts or multi-camera setups, KreateFlo automates all the grunt-work that us editors avoid (as we should), like a plague.
Multi-Cam Editor: Automatically cuts back and forth between up to 8 speakers and 8 camera angles, complete with a dedicated wide-shot setting to establish the room.
CaptionFlow: Generate stunning, viral-style subtitles in seconds. It includes 22 highly animated caption presets powered by real-time WASM preview. You see changes instantly without waiting for slow render-to-preview loops.
Voice Transcription: Supports highly accurate speech-to-text in over 40+ languages, including Hindi and Bangla.
Silence Remover: Instantly cuts dead air and silent pauses from your raw audio track with a single click.
Think about the math: it usually takes 4 hours of manual slicing to clean up a raw 20-minute video. I can do it in 90 seconds using our tool.
If you are a solo creator, our free tier includes 3 essential tools forever: our Silence Remover, Transition Assistant, and Copy & Paste utility.
If you need advanced AI features, our Pro plan is just $19.99/month (includes 20 AI hours) and our Studio plan is $44.99/month (includes 50 AI hours).
This is a massive cost savings compared to competitors like FireCut, AutoPod, Phantom Editor, Descript, or Opus Clip, which often bill per hour or lock you into expensive annual contracts.
Honest Caveats: When KreateFlo is Not for You
We believe in trust over hype, so let us also tell you upfront why KreateFlo is not the right tool for everyone.
First, KreateFlo is strictly an Adobe Premiere Pro extension, so If you edit your videos in CapCut, DaVinci Resolve, or Descript, KreateFlo will not work for you. We do not offer a standalone web app.
Second, if you only edit highly stylized, short 5-second aesthetic clips with no voiceovers or talking heads, you do not need 33+ automation tools. Stick to basic manual editing.
Step-by-Step Assembly: How to Build a Budget Content Creation Setup for Under $500
The 10-Minute Studio Setup
Setting up your budget studio should not take hours. A complicated, multi-piece gear configuration creates friction, making you less likely to film consistently.
Follow this simple, step-by-step assembly process to get up and running in under 10 minutes:
Set Up the Tripod: Extend your Ulanzi MT56 tripod, open the native phone mount, and secure your smartphone. Adjust the center column until the lens is level with your eyes.
Mount the Key Light: Place your Neewer light stand 45 degrees to the left or right of your camera. Mount your Amaran Ray 60C, attach the 90cm Light Dome softbox, and angle the light down at your face.
Add the Background Accent: Place the portable Amaran Ace 25X on a shelf or desk behind you, aiming it at the back wall to create separation.
Connect the Audio: Clip the DJI Mic Mini transmitter to your collar. Plug the compact receiver directly into your phone's USB-C or Lightning port.
Testing Your Signal Path
Before you record a full 15-minute video, always perform a quick 10-second test. This simple check ensures your audio and video signals are routing correctly.
Record yourself speaking at your normal volume. Put on your headphones and listen to the playback. If you hear a room echo, adjust your blanket placement. If the video looks grainy, increase the brightness of your Amaran Ray 60C rather than boosting your phone's digital gain. Once your test clip is perfect, you are ready to shoot your entire batch of content.
Frequently Asked Questions
Can I create professional-quality content using just a smartphone?
Yes. Most modern smartphones shoot incredible, uncropped 4K video when paired with professional lighting. The key is prioritizing light quality and dedicated microphones rather than spending your entire budget on a costly camera body.
What is the single most important piece of gear for a new content creator?
A dedicated microphone. Audiences will tolerate average video and mediocre lighting, but bad, echoing audio will make them click away from your content immediately.
How do I improve my video's audio quality without purchasing a new microphone?
Minimize hard, reflective surfaces in your recording room. Place down a thick rug, close your window curtains, or hang heavy blankets on stands nearby to absorb natural sound reflections.
Is it better to buy brand-new budget gear or look for pre-owned professional equipment?
A mix of both works best. Buy lights, softboxes, and tripods pre-owned to save serious cash, but buy your wireless microphone new to ensure the internal batteries and wireless transmitters are in perfect working order.
Conclusion
You do not need to take out a loan or spend thousands of dollars to create professional-looking video. By using the smartphone in your pocket and focusing your cash on a solid key light, softbox, and wireless audio, you can build a budget content creation setup for under $500 that rivals high-end production houses.
Once your footage is shot, keep your editing workflow fast and simple.
If you are already cutting in Adobe Premiere Pro, download KreateFlo today to grab our free-forever tools and start shaving hours off your post-production workflow.
Stop wasting time on repetitive manual edits, and start focusing on what actually matters: growing your audience.
References
studiolights.org/top-5-best-budget-video-light-reviews-2026/
behindthescenes.com/blogs/state-of-the-creator-economy-2026-trends-stats-what-s-next
cash4reels.com/blog/content-creation-equipment-budget-mn6j31lk
exploreallaboutnepal.com/cheap-media-setup-for-vlogging-in-2026/
influenceflow.io/resources/content-creation-equipment-the-complete-2026-guide-for-creators/
hurricaneimagesinc.com/amaran-ace-25x-light-decent-in-every-way/
iodigital.com/en/insights/blogs/the-8-most-significant-content-marketing-trends-for-2026
emoryday.com/2026-content-marketing-trends-every-business-needs-to-know
influenceflow.io/resources/content-creation-equipment-the-complete-2026-guide-for-creators-1/
Try KreateFlo free
3 tools forever, 7-day trial on the rest. No credit card to start.
Download KreateFlo