Animate Captions Premiere Pro: Ultimate Tracking Guide
How to Animate Caption Boxes to Follow Speakers in Premiere Pro Standard Adobe Premiere Pro subtitle tracks are completely locked down. You can't keyframe them or attach them to a moving head without
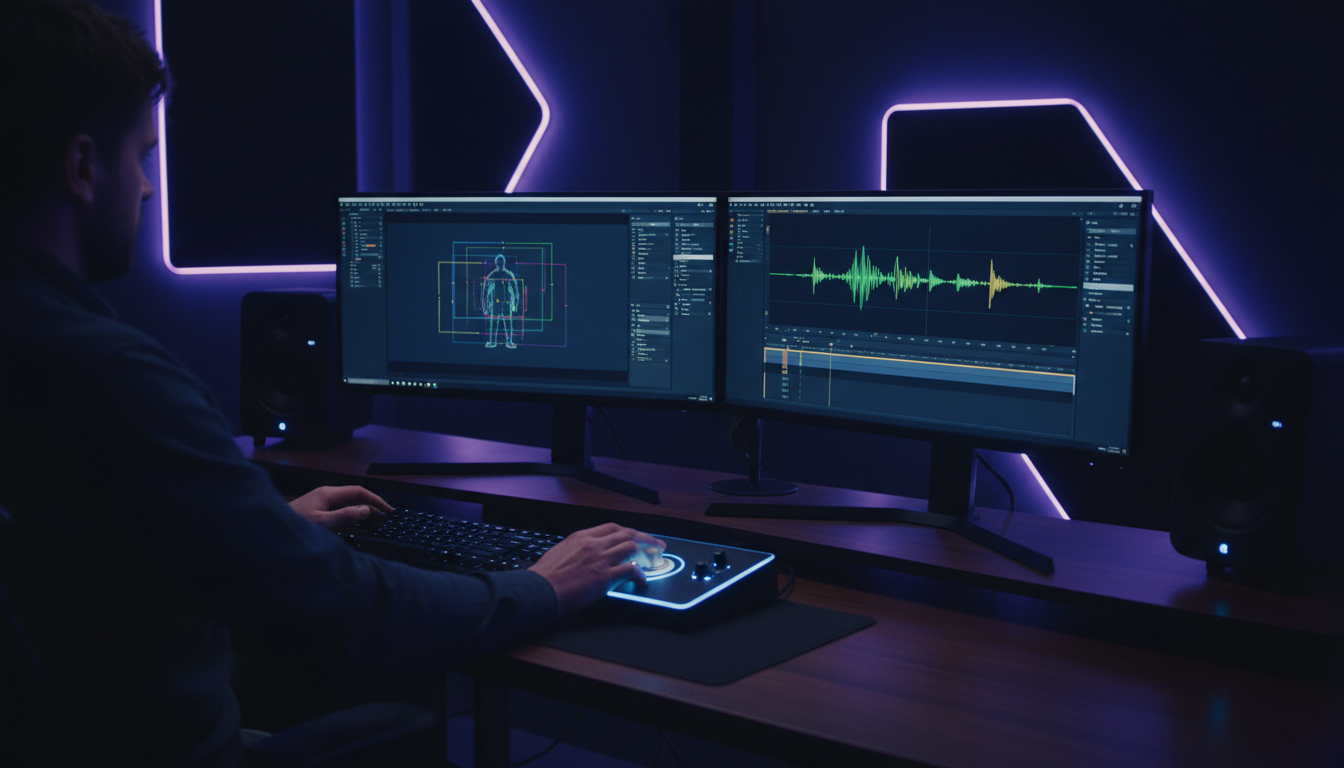
Standard Adobe Premiere Pro subtitle tracks are completely locked down. You can't keyframe them or attach them to a moving head without upgrading them first. I used to spend 2 hours frame-by-frame manual tracking on a 60-second clip before I learned how to automate the entire graphics pipeline down to 90 seconds.
If you edit video podcasts or short-form clips in Premiere Pro every day, you know the headache. Clients want those bold, CapCut-style animated caption boxes that float next to whoever is speaking. But try dropping a motion effect onto a standard caption track, and Premiere just sits there doing nothing.
Here's the secret: you have to break past Adobe's track restrictions. Once you do, you can keyframe speaker-following caption boxes manually or automate the entire mess when client deadlines hit hard.
Key Takeaways
- Standard subtitle tracks in Adobe Premiere Pro cannot be keyframed; you must upgrade them to Essential Graphics clips under Graphics & Titles.
- Using Video Effects > Distort > Transform provides realistic motion blur via shutter angle adjustments, unlike default Motion controls.
- Centering paragraph text anchor points in Essential Graphics prevents caption boxes from jumping during scaling or position keyframing.
- Manual motion tracking of speaker heads takes up to 2 hours per sequence vs 90 seconds using AI plugins.
- KreateFlo v1.0.3 provides WASM real-time caption previews inside Premiere Pro without requiring external web app round-trips.
Why Standard Subtitles Fail at Speaker Motion Tracking
When you generate automatic transcripts in Premiere Pro, the text sits on a dedicated Subtitle Track (ST1). Adobe designed these tracks specifically for closed caption standards like 608, 708, and SRT files. Because of that design architecture, subtitle tracks do not support standard video keyframing, motion tracking, or video effect stacks.
Manual Tracking vs AI Caption Workflow Before 2 Hours After 90 Seconds
The Subtitle Track Limitation
Subtitle tracks exist primarily for accessibility compliance and standard sidecar exports [1]. When you click on a subtitle segment on the timeline, you will notice that the Effect Controls panel disables standard motion, scale, and opacity controls [4].
If you attempt to apply position keyframes or motion tracking directly to standard captions, Premiere prevents effect execution [1].
Community discussions confirm that managing multitrack speaker caption editing [5] requires converting standard text clips into true graphic elements before any effect stack will recognize them.
Upgrading Captions to Keyframeable Graphics
The fix? Convert them.
Select all subtitle clips on your timeline and navigate to the top menu bar. Click Graphics & Titles > Upgrade Caption to Graphic [2].
Adobe introduced this upgrade workflow starting in Premiere Pro version 23.1 [3]. Running this command automatically converts flat subtitle track items into keyframeable Essential Graphics clips placed directly onto regular video tracks (like V2 or V3) [2]. Once converted, every single text block functions like an editable motion graphic layer [3].
Pro Tip: Always duplicate your subtitle track before hitting "Upgrade Caption to Graphic". Keep the raw subtitle track hidden so you still have native SRT data if your client requests a clean text sidecar file later.
Actionable Takeaway: Never attempt to keyframe raw subtitle tracks; convert them to Essential Graphics clips via Graphics & Titles first to unlock Effect Controls.
How to Animate Caption Boxes to Follow Speakers in Premiere: The Manual Method
Once your captions sit on regular video tracks as Essential Graphics elements, you can attach animated background shapes and track speaker head movements frame by frame.
Setting Up the Background Shape Box
To create a
Under the Edit tab inside Essential Graphics, check the Background box [7]. Adjust the fill color, opacity, corner rounding, and padding slider values [1]. Because this shape ties directly to the text container, the graphic box automatically shrinks or expands across every line [3].
Editors looking into creating multiple subtitle tracks for speakers [6] rely on this exact parameter stack to keep background shapes matched across active dialogue cuts.
Keyframing Position across Speaker Head Movement
Now you can track the speaker's movement manually:
- Move your playhead to the start of the upgraded caption clip on the V2 track [3].
- Open the Effect Controls panel and expand the Vector Motion or Motion tab [2].
- Click the stopwatch icon next to Position to create your initial keyframe [4].
- Move forward in 5-to-10 frame increments using Shift + Right Arrow [4].
- Click and drag the Position X and Y values in Effect Controls to shift the text box so it aligns near the speaker's mouth or moving forehead [4].
Doing this manually works for short 15-second teasers. But if you are working through a 45-minute multi-cam interview, frame-by-frame tracking turns into a massive time sink.
20|Rendering:15:Time Spent on Manual Caption Tracking 65|Transcribing NaN
Pro Tip: Turn on Program Monitor rulers and guides (View > Show Rulers) to mark the speaker's nose trajectory across keyframes. It keeps movement lines clean.
Actionable Takeaway: Enable the native Background setting inside Essential Graphics rather than creating manual rectangle shape layers so text boxes scale dynamically with dialogue length.
Step-by-Step: Adding Dynamic Motion Blur with the Transform Effect
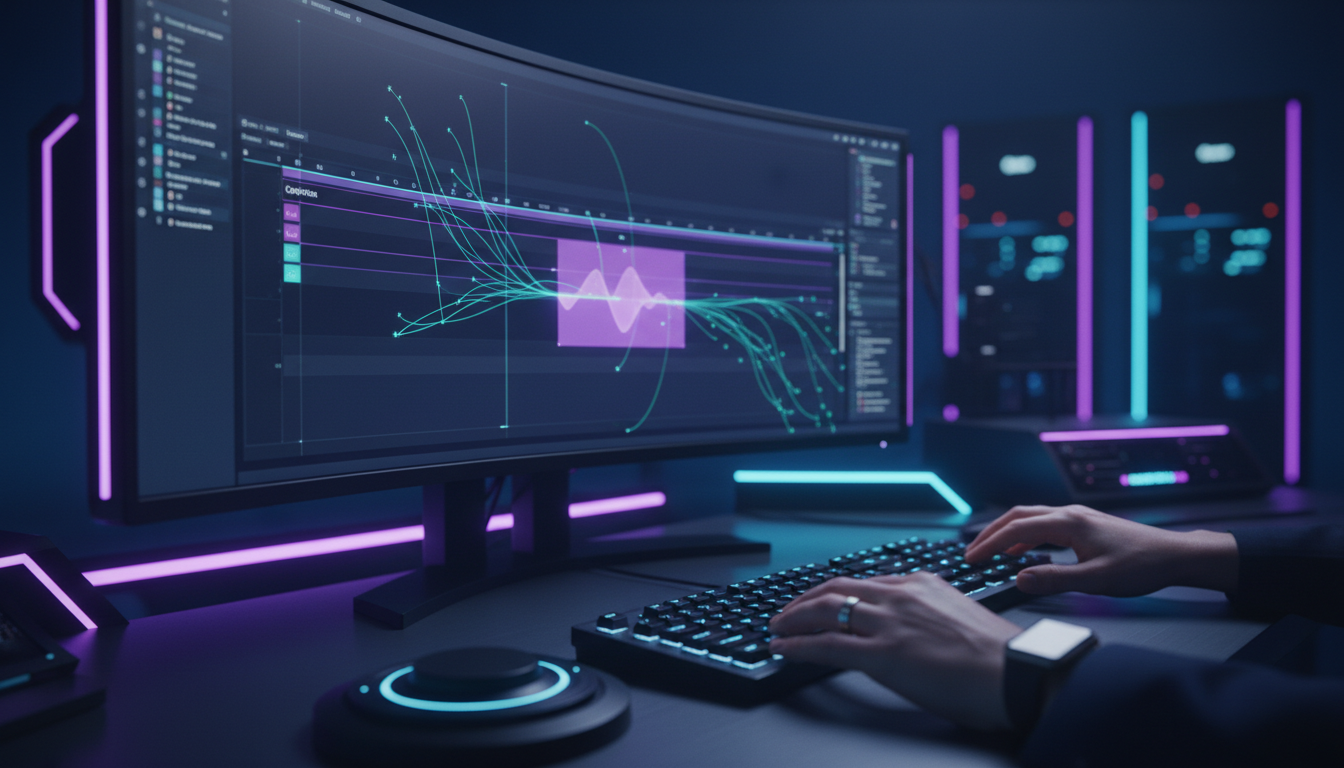
Default Motion keyframes in Premiere Pro look stiff. Real human heads don't move in perfectly linear vectors; they accelerate and slow down. To give your animated caption boxes organic movement, you need motion blur.
Applying Video Effects Distort Transform
Instead of keyframing the standard Motion property inside Effect Controls, navigate to your Effects panel (Window > Effects). Search for Transform under Video Effects > Distort. Drag and drop the Transform effect directly onto your upgraded caption graphic clip [2].
In the Effect Controls panel, scroll down to the Transform effect heading [2]. You will see duplicate controls for Position, Scale, Rotation, and Anchor Point [1]. Move your Position keyframes exclusively inside this Transform effect block [2].
Configuring Shutter Angle for Organic Motion
Here's where the magic happens:
- Uncheck the box marked Use Composition's Shutter Angle [2].
- Change the Shutter Angle from 0 to 180 (or up to 360 for extreme action) [2].
Now, whenever the speaker moves rapidly and your keyframes shift the text box, Premiere automatically adds motion blur matching the camera's shutter speed [2].
Actionable Takeaway: Keyframe position coordinates inside the Transform effect rather than basic Motion properties, setting Shutter Angle to 180 for realistic motion blur.
How to Animate Caption Boxes to Follow Speakers in Premiere Using AI
Manual keyframing with the Transform effect produces great results, but manually shifting position markers across a 60-minute interview takes roughly 3 to 4 hours. That ruins turnaround times if you manage a content agency or edit multiple weekly podcasts.
So how do we fix this? Automate it directly on the timeline.
[[STAT:90 Secs:Time to Auto-Track Captions with AI:vs 4 Hours Manual]]
Automating Tracking with KreateFlo CaptionFlow
Instead of leaving Premiere Pro to use external web apps like Descript or Opus Clip—which require exporting heavy MP4 files and re-importing XMLs—we built KreateFlo as a native CEP panel plugin directly inside Premiere Pro v1.0.3.
Using CaptionFlow, you can automate multi-speaker detection, graphic conversion, box styling, and tracking without touching a single manual keyframe.
Here is how the automated pipeline works inside Premiere:
- Open the KreateFlo CEP panel inside Premiere Pro (Window > Extensions > KreateFlo).
- Select your sequence audio track and hit Transcribe. CaptionFlow processes speech across 40+ languages (including Bangla and Hindi).
- Choose from 22 animated caption presets, including auto-highlighting speaker boxes.
- Enable AI Speaker Tracking. CaptionFlow scans video frames, calculates facial coordinates, and pins the styled caption box relative to the active speaker's head.
And because KreateFlo runs directly on your timeline, all your original cuts, source media, and multi-cam sequences remain completely intact.
Real-Time WASM Previews inside Premiere Pro CEP
One major issue with traditional caption plugins inside Premiere is render latency. You click a style button, wait 20 seconds for Premiere to render, realize the font size is wrong, and re-render.
KreateFlo solves this by running a custom WebAssembly (WASM) engine inside the CEP extension. You get real-time previews of animated text boxes, word highlights, and position offsets as you drag the parameters—no rendering required.
Pro Tip: If you edit multi-cam video podcasts, combine CaptionFlow with KreateFlo's Multi-Cam Editor tool to auto-switch between up to 8 cameras and 8 dedicated speaker tracks simultaneously.
Actionable Takeaway: Use KreateFlo's native CEP plugin inside Premiere to eliminate MP4 exports and automatically generate styled, tracked speaker captions in under 90 seconds.
Fixing Anchor Point Jumps and Off-Center Box Scaling
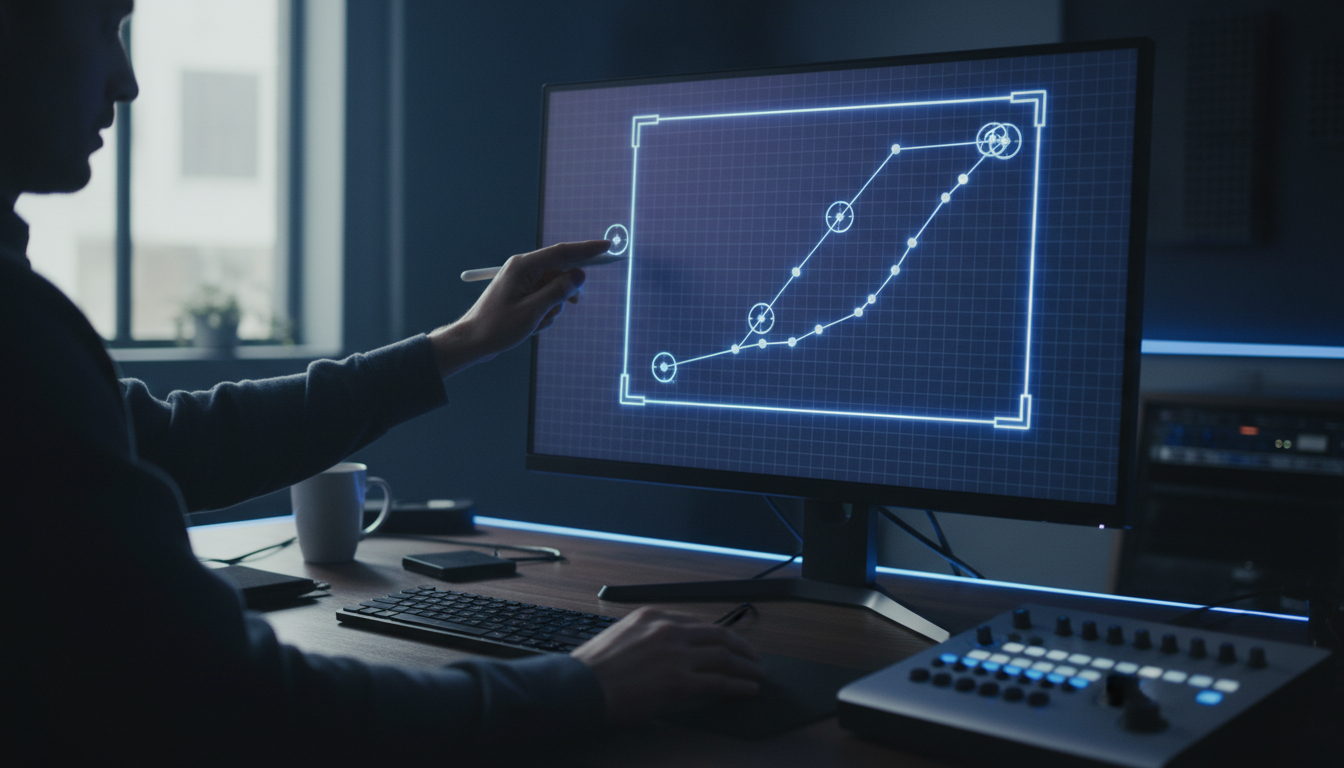
Whether you keyframe manually or edit templates, you will eventually encounter the dreaded jumping caption bug. You hit play, and the text box suddenly shifts off-screen or scales wildly off-center.
Why does this happen? Anchor placement.
[[TIMELINE:Step 1:Upgrade Captions to Graphics|Step 2:Center Text Anchor Point|Step 3:Apply Distort Transform Effect|Step 4:Set Position Keyframes & Motion Blur:Correct Caption Keyframing Sequence]]
Recentering Paragraph Container Boxes
When Premiere Pro upgrades captions to graphics, it wraps the text inside a full paragraph bounding box [5]. By default, the anchor point lands at the bottom-left corner of the frame, not the center of the text box [5].
When you attempt to adjust scale or rotation, the entire text graphic pivots around that distant corner point [5].
To fix this:
- Select the upgraded graphic clip on your timeline [2].
- Highlight the Transform effect (or Motion block) in Effect Controls [2].
- Look at the Program Monitor; you will see a small circle with crosshairs representing the Anchor Point [5].
- Hold Command (Mac) or Control (Windows) and drag the anchor point directly into the exact center of your styled text background box [5].
Matching Scale Trajectories
If your speaker moves closer to the camera, the caption box needs to scale up proportionally. Always adjust your position keyframes after setting the anchor point to the graphic center [5]. Otherwise, shifting the anchor point later will offset all previous position keyframe coordinates [5].
Actionable Takeaway: Always center the anchor point inside the visual middle of your caption graphic before adding scale or position keyframes to prevent off-axis jumps.
KreateFlo vs Manual Keyframing vs FireCut: What Is the Fastest Workflow?
Let's look at how manual Premiere editing compares against dedicated plugins like KreateFlo, FireCut, and AutoPod when handling a typical 60-minute podcast episode converted into 10 short clips.
| Feature / Metric | Manual Premiere Workflow | FireCut Plugin | KreateFlo (v1.0.3) |
|---|---|---|---|
| Setup Cost | $0 (Included in Premiere) | Per-hour AI credits + sub | Free Tier / Pro ($19.99/mo) |
| Tracking Speed (10 Shorts) | 3 to 4 Hours | ~10 Minutes | ~90 Seconds |
| Real-Time Preview | No (Requires timeline render) | Moderate latency | Instant WASM engine preview |
| Tool Count | 1 (Manual tools) | Single-purpose feature set | 33+ Professional Editing Tools |
| Included AI Hours | N/A | Variable pay-as-you-go | 20 hrs (Pro) / 50 hrs (Studio) |
| Free Plan Available? | Yes | Limited trial | 3 tools free forever |
Pricing and Time Savings Breakdown
Manual keyframing costs nothing upfront, but it wastes hours of billable editing time.
Competitors like FireCut rely on per-hour credit billing, which gets expensive quickly if you edit high-volume client content every week. KreateFlo keeps costs simple and predictable:
- Free Tier: 3 tools free forever (Silence Remover, Transition Assistant, Copy & Paste).
- Pro Tier ($19.99/mo): Unlocks 20 AI processing hours per month, including CaptionFlow speaker tracking, auto-reframing, and AI repeat/filler word removal.
- Studio Tier ($44.99/mo): Built for high-volume editing agencies with 50 AI hours per month and priority processing.
When KreateFlo Is NOT the Right Pick
Honest truth: KreateFlo is built for speed and high-volume output.
If you only edit one 30-second video per month, or if you prefer frame-by-frame precision graphic control in After Effects, you do not need an AI tracking plugin. Manual keyframing with the Transform effect gives you absolute pixel-level control at zero extra cost.
But if you run an editing business or edit multiple client podcasts per week, manual keyframing is a massive bottleneck.
Actionable Takeaway: Evaluate your monthly project volume; solo editors with low output can stick to manual Transform keyframing, while agencies and weekly podcasters should automate using flat-rate AI extensions.
Common Pitfalls When You Animate Caption Boxes to Follow Speakers in Premiere
Even experienced editors make stupid mistakes when setting up tracked graphic boxes in Premiere. Avoid these common traps:
Ignoring Frame Rate and Sequence Settings
If your video sequence is set to 23.976 fps but your nested graphics clip runs at 29.97 fps, position keyframes will stutter. Premiere drops or doubles keyframe positions during playout, causing the text box to lag behind the speaker's facial movements. Always match your sequence frame rate before keyframing.
Over-Animating Movement and Causing Viewer Fatigue
Just because you can keyframe text to jump violently with every spoken word doesn't mean you should. Aggressive bouncing caption boxes fatigue the viewer's eyes quickly on long edits.
Keep tracking movements smooth and subtle. Smooth out keyframes by right-clicking them in Effect Controls and selecting Temporal Interpolation > Ease In / Ease Out.
To streamline your entire post-production pipeline alongside caption tracking, check out our breakdown of the best Premiere Pro plugins for podcast editors.
Actionable Takeaway: Apply Temporal Interpolation (Ease In/Out) to position keyframes to prevent rigid, robotic box tracking movements.
Frequently Asked Questions
Why can't I animate standard subtitles in Premiere Pro?
Standard subtitle tracks are design-restricted for accessibility metadata [1]. You must select the caption clips on your timeline and click Graphics & Titles > Upgrade Caption to Graphic to convert them into editable video layers [2].
How do I make text follow a speaker's face automatically in Premiere?
You can use an AI extension like KreateFlo's CaptionFlow inside Adobe Premiere Pro to detect speaker positions and auto-track caption boxes, reducing tracking time from hours to under 90 seconds.
What is the difference between Motion controls and the Transform effect?
The Transform effect (under Video Effects > Distort) lets you adjust Shutter Angle to generate realistic motion blur during movements [2]. Basic Motion controls lack shutter angle adjustments, producing rigid, unblurred shifts [1].
How do you attach a background box to animated text in Premiere Pro?
Select the upgraded text graphic, open the Essential Graphics panel, and check the Background option [7]. The shape automatically expands or contracts to fit the length of your spoken text [3].
Is KreateFlo a standalone application or a Premiere plugin?
KreateFlo is a native CEP extension plugin built specifically for Adobe Premiere Pro. It runs directly inside your timeline window, keeping your raw files, multi-cam cuts, and graphics inside your existing workspace.
Tracking captions by hand frame by frame is fine when learning the software, but it kills turnaround times when running a real editing
Ready to cut hours out of your workflow? Download KreateFlo today and test our 3 free tools forever to see how much time you save on your next edit.
References
- checksub.com/blog/how-easily-add-captions-subtitles-premiere-pro-videos
- community.adobe.com/announcements-732/discuss-upgrade-captions-to-graphics-313291
- youtube.com/watch
- captionplug.com/guides/premiere-pro-captions
- community.adobe.com/feature-requests-730/multitrack-speaker-caption-editing-1326710
- community.adobe.com/questions-729/how-to-create-multiple-subtitle-tracks-for-when-multiple-people-are-talking-over-each-other-1397982
- makeuseof.com/closed-captions-transcriptions-premiere-how-to/
- community.adobe.com/questions-729/how-do-i-get-the-captions-to-indicate-who-is-speaking-when-i-have-multiple-speakers-1419655
Try KreateFlo free
3 tools forever, 7-day trial on the rest. No credit card to start.
Download KreateFlo