Color-Code Podcast Speakers: 5 Easy Steps (2026 Guide)
If you're still manually changing subtitle colors line-by-line for every host and guest in Adobe Premiere Pro, stop. You're burning 4 hours on a job that should take 90 seconds. I spent years manually
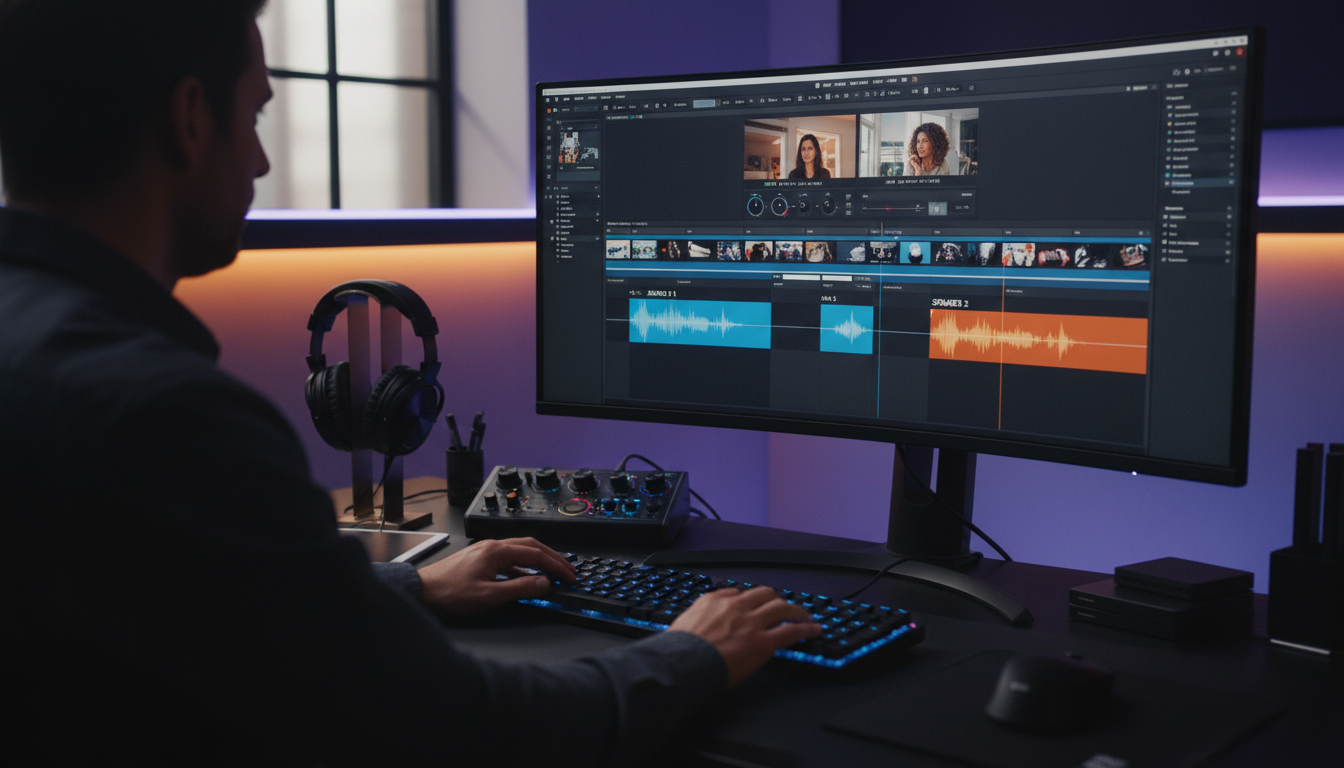
If you're still manually changing subtitle colors line-by-line for every host and guest in Adobe Premiere Pro, stop. You're burning 4 hours on a job that should take 90 seconds. I spent years manually color-coding two-person podcasts until I locked down a global timeline and caption workflow that automates the whole mess.
Learning how to color-code speakers in two-person podcast videos isn't about making your timeline look pretty. It's about staying sane during complex multi-cam edits. More importantly, it keeps viewers locked into your content on TikTok, YouTube Shorts, and Instagram Reels. When two people talk over each other, viewers tune out if they can't instantly follow who's speaking.
Key Takeaways
- Enable "Display the project item name and label color for all instances" in Premiere Pro preferences to sync clip colors globally across your project panel and sequences [2].
- Pair high-contrast font colors like yellow for Speaker 1 and cyan or white for Speaker 2, backed by dark outlines or background boxes [7], [9].
- Audit and fix misidentified speaker labels inside the Premiere Pro Transcript panel before generating caption tracks to eliminate re-captioning work [1].
- Add hyphen prefixes (
-) before speaker transitions so colorblind viewers can easily follow speaker changes [6], [8].- Separate host and guest audio and video onto dedicated timeline tracks and apply distinct label colors for immediate visual multi-cam audits [3], [10].
- Speed up caption styling by using Premiere Pro graphics text layers or dedicated extensions like KreateFlo's CaptionFlow with real-time WASM previews [4], [5].
Why Learning How to Color-Code Speakers in Two-Person Podcast Videos Matters
Visual hierarchy is everything in interview editing. If both speakers look identical on your timeline and in your subtitles, every edit takes twice as long. You waste precious minutes scrolling back to check who spoke a specific line.
Worst of all? Your short-form social clips lose viewer engagement instantly.
| Before | 90 seconds |
|---|---|
| After | 4 hours |
The Cognitive Impact of Speaker Color-Coding
Subtitles aren't just an accessibility add-on anymore. On mobile platforms, over 80% of viewers watch social video on mute or in noise-sensitive environments [6]. Assigning distinct, persistent colors to individual speakers improves cognitive comprehension and helps viewers process dialogue threads instantly [6].
Think about how fast people scroll. When Speaker A always appears in bright yellow and Speaker B appears in clean cyan, the viewer's brain doesn't pause to identify the speaker. The visual distinction anchors the conversation.
That split-second reduction in friction keeps people watching instead of swiping away.
Accessibility and Colorblind Considerations
Color choices matter just as much as color separation. Many editors make the mistake of picking red and green to differentiate two speakers. But red-green color blindness affects roughly 8% of men and 0.5% of women worldwide [8].
If you pair red text with green text, those viewers see almost identical shades of dull brown [8].
To keep your podcast subtitles fully accessible, pair high-contrast primary colors with structural typography cues [7]. Use yellow for the host and white or cyan for the guest [7].
Always add a dark 2px to 4px outline or background box so light text remains readable against bright background footage [9].
Speeding Up Multi-Cam Editing Audits
Color coding isn't just for your audience. It's your best visual tool on the editing timeline. When you ingest multi-camera interview footage into Adobe Premiere Pro, assigning separate clip label colors to host and guest camera angles lets you audit complex cuts at a single glance [2].
Here's why that helps: if you see a purple clip sitting on your guest track where green should be, you immediately know you made a bad cut [3]. You don't even have to hit play.
Spotting misaligned timeline clips visually saves hours of auditing on long-form 60-minute interview edits [10].
Pro Tip: Choose primary speaker colors during pre-production and stick to them across every episode. Using consistent host and guest colors builds a recognizable brand identity across your entire video podcast catalog.
Actionable Takeaway: Establish a standardized color palette for your podcast host and guest clips before starting your next multi-cam assembly.
Step 1: Setting Up Global Label Colors in Adobe Premiere Pro
Before you color a single clip or caption line, you need to configure Premiere Pro so your clip colors behave as expected. By default, changing a clip's color in the Project Panel does not update clips you've already dragged onto your timeline.
That default setting leads to broken workflows every single time.
File > Project Settings > General > Check "Display the project item name and label color for all instances"
Enabling Global Project Item Label Colors
To fix this issue, open your Premiere Pro project. Navigate to File > Project Settings > General. Look near the bottom of the dialog box for the option titled Display the project item name and label color for all instances [2]. Check that box and click OK.
+-------------------------------------------------------------------------+
| Premiere Pro Project Settings                                           |
+-------------------------------------------------------------------------+
|                                                                         |
|  [X] Display the project item name and label color for all instances    |
|                                                                         |
+-------------------------------------------------------------------------+
Enabling this global preference forces Premiere Pro to link bin items directly to timeline instances [2], [3].
Now, when you right-click a host audio track in your project bin and change its label color to Mango, every single instance of that file on your timeline updates instantly [3].
Establishing Standard Host vs Guest Color Palettes
Premiere Pro gives you 16 default label colors, ranging from Violet and Iris to Mango and Forest. For two-person podcasts, keep your timeline color system simple so your eyes don't get tired during long sessions.
| Role | Preferred Timeline Label | Hex / Visual Target | High-Contrast Caption Color |
|---|---|---|---|
| Host / Main Speaker | Mango / Yellow | Warm Orange-Yellow | #FFE600 (Bright Yellow) |
| Guest / Speaker 2 | Cyan / Cerulean | Bright Light Blue | #00FFFF (Cyan) or #FFFFFF (White) |
| B-Roll / Cutaways | Forest / Green | Deep Emerald | #FFFFFF (White with Dark Box) |
| Audio SFX / Music | Lavender / Blue | Cool Muted Purple | N/A |
Pick two labels that contrast strongly against each other on Premiere's dark grey interface [2], [8]. Mango and Cerulean work exceptionally well together because they sit on opposite sides of the color wheel.
Actionable Takeaway: Enable global label display in Premiere Pro project settings immediately so bin color changes sync across your sequences automatically [2].
Step 2: Timeline Track Organization and Clip Label Assignment
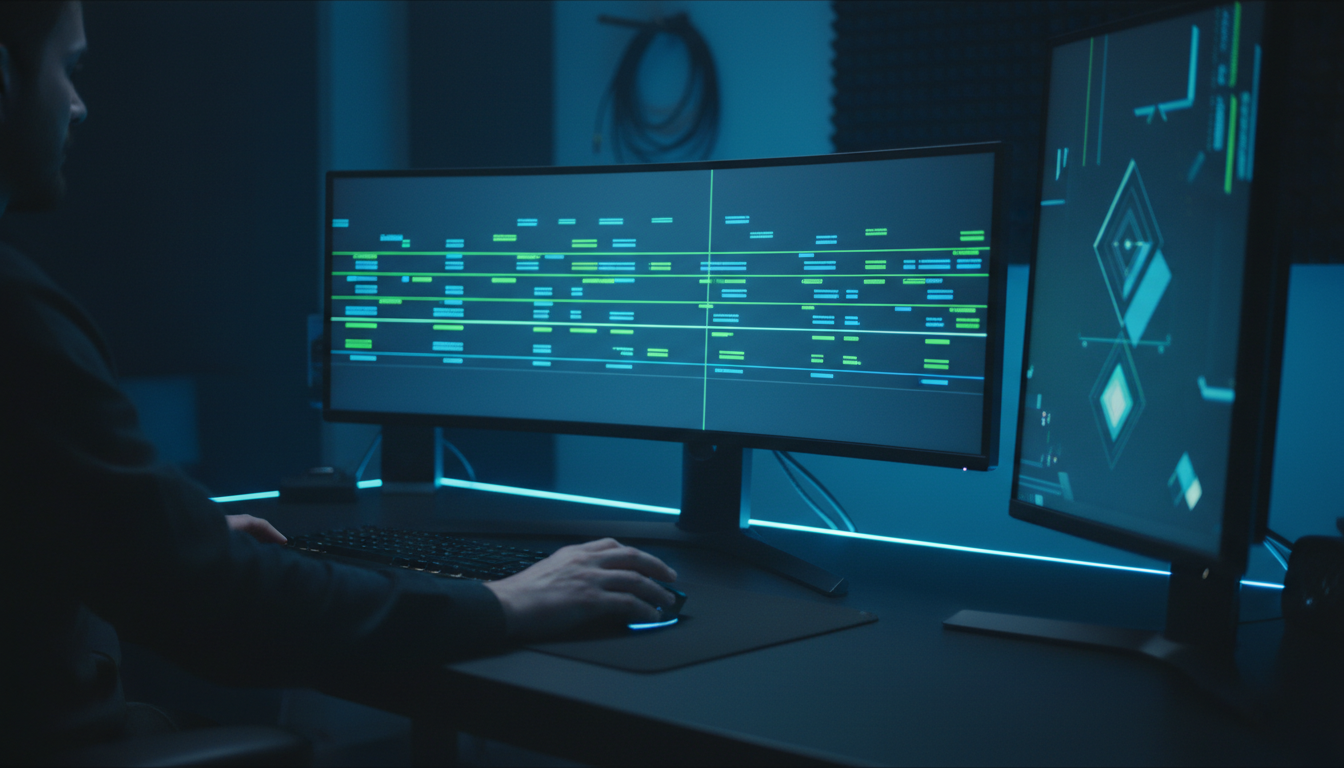
Good timeline management is the foundation of fast editing. Even if you plan to automate your multi-cam switching with plugins later, organizing host and guest assets onto clean, dedicated video and audio tracks keeps your workspace structured.
V2 / A2: Guest (Cerulean Clip Labels)
-----------------------------------------------------------------
V1 / A1: Host (Mango Clip Labels)
Separating Speaker Audio and Video Tracks
In Adobe Premiere Pro, you can't apply label colors directly to track headers like you might in a DAW [8]. Track headers remain neutral grey. However, you can color all the individual clips sitting on those tracks [2], [8].
Place all Host video and audio clips onto Video 1 (V1) and Audio 1 (A1). Reserve Video 2 (V2) and Audio 2 (A2) strictly for your Guest.
If you shoot a wide two-shot angle, place that raw camera file on Video 3 (V3). This strict track separation prevents overlapping cuts and makes speaker selection effortless [10].
Applying Clip Labels Across Bins and Sequences
Once your media files are imported, select all Host camera files and microphone tracks inside your Project Panel bin. Right-click, select Label, and pick Mango [2]. Next, select all Guest files, right-click, and set their label color to Cerulean [2].
Because you enabled global label display in Step 1, these assigned colors immediately populate across all nested sequences and active timelines [3]. Your multi-cam sequence now displays distinct color blocks for host and guest dialogue.
Spotting Misaligned Cuts Instantly
When reviewing manual or automated multi-cam cuts, glance down at your timeline tracks. A correctly cut conversation should look like a clean alternating pattern between V1 (Mango) and V2 (Cerulean) [3], [10].
So, what happens if something goes wrong?
If you see a section where V1 video plays while A2 audio is active without an intentional reaction shot, you've spotted a sync error [10]. Visual inspection using clip labels catches cutting mistakes before you waste time listening through playback [10].
Pro Tip: If you edit the same podcast series regularly, save a Premiere Pro Project Template (.prproj) with pre-labeled track structures and global settings enabled. You'll save 10 minutes on every batch export.
Actionable Takeaway: Group host media on V1/A1 and guest media on V2/A2, then apply contrasting clip label colors across your bins [3], [8].
Step 3: How to Color-Code Speakers in the Transcript Panel
Adobe Premiere Pro features a powerful built-in Speech-to-Text engine. But if you jump straight from transcription to subtitle creation without auditing your speakers first, you'll end up fixing captions line by line later [1].
Auditing Dialogue Blocks Post-Transcription
When Premiere Pro finishes transcribing your audio sequence, open the Text panel and select the Transcript tab. Click the three dots (...) menu in the upper right corner and confirm that Speaker Detection is turned on [1].
Premiere automatically groups dialogue into blocks labeled "Speaker 1", "Speaker 2", or "Unknown" [1]. Inspect these dialogue blocks thoroughly in the Transcript panel before generating any subtitle tracks [1].
[Transcript Panel Audit Workflow]
1. Transcribe Sequence -> 2. Enable Speaker Detection -> 3. Rename/Merge Speakers -> 4. Generate Captions
Fixing Misattributed Speaker Tags Early
If the AI engine mistook your host's voice for your guest during a quick interjection, fix it right inside the text editor. Click directly on the speaker name tag above the transcript segment, select Edit Speaker Name, and type the actual speaker's name (e.g., "Sarah - Host") [1].
What if Premiere created duplicate tags like "Speaker 1" and "Unknown" for the same person? Use the search filter to highlight all instances.
Rename and merge those speaker entries in one click [1]. Cleaning up speaker tags now ensures that any downstream caption generation tool reads clean speaker metadata [1].
Exporting Clean Speaker Data to Captions
Once your transcript panel accurately identifies Sarah as Speaker 1 and Alex as Speaker 2, click the Create Captions button at the top of the Text panel [1].
In the caption generation dialog:
- Set Maximum length in characters to 20–26 for short-form viral clips, or 37–42 for standard widescreen podcasts.
- Set Minimum duration in seconds to 1.2.
- Set Lines to Single for short-form social videos.
Click Create Captions. Premiere Pro generates a native Caption track (C1) sitting directly above your video tracks [4].
Actionable Takeaway: Always rename and merge misattributed speaker blocks in the Transcript panel before hitting "Create Captions" [1].
Step 4: Styling Two-Speaker Animated Captions for Short-Form Clips
Here's where standard Premiere Pro hits a brick wall. Native Premiere caption tracks (C1) apply one single track style across every subtitle block [4], [5].
To achieve separate animated colors per speaker natively, you have to upgrade captions to Essential Graphics text layers and split speaker lines onto two separate video tracks [4], [5].
Standard Premiere Subtitle Track (C1)  --> Single Color applied globally to all captions
Upgraded Graphics Text Layers (V4/V5) --> Separate styles applied per speaker line
Choosing High-Contrast Accessible Font Colors
When designing speaker styles for short-form 9:16 content (TikTok, Reels, Shorts), stick to tested color pairs [7]. Avoid muted tones or soft pastels that disappear against busy camera backgrounds [9].
- Speaker 1 (Host): #FFE600 (Bright Gold Yellow), bold sans-serif font (Montserrat or Proxima Nova), 3px black stroke [7], [9].
- Speaker 2 (Guest): #00FFFF (Cyan) or #FFFFFF (Pure White), matching font weight, 3px black stroke [7], [9].
22 CaptionFlow WASM Templates
Adding Hyphen Prefixes and Background Outlines
To ensure viewers with visual impairments can track speaker transitions, prefix speaker lines with a hyphen (- ) [6], [8]. For example:
- Sarah: I couldn't believe what happened next.
- Alex: That sounds completely insane.
Adding a solid black background box with 40% to 60% opacity or a thick 4px black drop shadow guarantees high text contrast regardless of background video brightness [9].
Real-Time Styling with CaptionFlow WASM Preview
Manually splitting native subtitle blocks into separate graphics layers to color-code speakers takes forever [4]. You make an edit, wait for Premiere to render, check the alignment, and repeat [4], [5].
That repetitive render loop is why we built CaptionFlow inside KreateFlo. CaptionFlow features 22 animated caption presets engineered specifically for multi-speaker podcasts.
Because CaptionFlow utilizes a WebAssembly (WASM) real-time preview engine inside Premiere Pro, you customize speaker font colors, active word highlight colors, stroke thickness, and bounce animations instantly. You see every style update in real time without waiting for render bars or exporting test clips.
[Traditional Workflow]
Edit Style -> Wait for Render -> Check Alignment -> Re-edit Style -> Wait for Render (30-45 mins)

[CaptionFlow WASM Workflow]
Select Preset -> Adjust Colors in WASM Real-Time Preview -> Instant Update on Timeline (90 seconds)
Pro Tip: If you're burning captions natively without plugins, select all guest subtitle blocks on your timeline, upgrade them to Essential Graphics text clips (Graphics and Titles > Upgrade Caption to Graphic), and move them to Video Track 5. Then apply your guest style preset to that entire track in one batch [4].
Actionable Takeaway: Use high-contrast color pairings (yellow/cyan) backed by black strokes [7], [9], and leverage real-time WASM previews to eliminate rendering loops during caption design.
Common Mistakes When Color-Coding Podcast Speakers (And How to Avoid Them)

Over years of auditing client timelines and training editors, I see the same three color-coding mistakes destroy editing efficiency time after time.
Relying on Red and Green Text Combinations
It's tempting to assign red text to one speaker and green text to another [8]. Don't do it.
Beyond the severe accessibility problems for colorblind viewers [8], red text bleeds horribly when compressed by social media algorithms on Instagram and TikTok [9].
Red pixels artifact aggressively against compression algorithms, turning your clean text into a muddy blob [9]. Stick to yellow, cyan, white, or bright neon green paired with heavy dark outlines [7], [9].
BAD:  [Red Speaker Text]   + [Green Speaker Text]   --> Unreadable for colorblind, high compression artifacting
GOOD: [Yellow Speaker Text] + [Cyan/White Text]       --> Fully accessible, high contrast across screens
Generating Subtitles Before Transcript Editing
If you hit "Create Captions" immediately after running automatic transcription, you make extra work for yourself [1]. Any spelling errors, broken sentence splits, or misattributed speaker tags will now exist on individual caption clips [1].
Editing speaker tags in the Transcript panel takes seconds because Premiere treats it like a text document [1]. Editing speaker tags line-by-line across 200 subtitle blocks on your timeline takes 45 minutes [1], [4].
Always edit the transcript first [1].
Editing Captions Line-by-Line Manually
I still see editors clicking into every single subtitle graphic clip on their timeline to change font colors for the guest [4]. That manual process is a massive time sink.
If you're not using an automated plugin, upgrade your caption track to graphics layers [4].
Then select all guest clips simultaneously using the Track Select Forward Tool (A) while holding Shift, and adjust their text properties in the Essential Graphics panel all at once [4].
Actionable Takeaway: Never edit caption styles clip-by-clip. Use global graphics track selections or automated caption plugins to batch-style speaker text [4].
How to Color-Code Speakers in Two-Person Podcast Videos Using AI Tools
If you edit long-form interviews weekly, performing timeline cuts, clip labeling, speaker auditing, and short-form caption styling manually consumes hours of billable editor time [10]. Automated AI tools handle these repetitive tasks directly inside your NLE.
| Before | $19.99/mo |
|---|---|
| After | $0.50/min |
Automating Multi-Cam Cuts and Speaker Tracks
This is where KreateFlo changes the equation. KreateFlo is a CEP extension (current version v1.0.3) built specifically for Adobe Premiere Pro. It bundles 33+ video editing tools into a single panel inside your workspace.
Instead of manually cutting between host and guest angles, KreateFlo's Multi-Cam Editor analyzes your multi-track audio and automatically performs multi-cam camera switches. It handles up to 8 distinct speakers and 8 camera angles, complete with dedicated wide-shot rules for when both speakers laugh or talk simultaneously.
When KreateFlo executes your multi-cam edit, it automatically organizes host and guest clips onto separate video tracks and assigns unique clip label colors instantly [2], [3]. What used to take 2 hours of manual chopping happens in under 2 minutes.
+-------------------------------------------------------------------------+
| KreateFlo v1.0.3 Panel (Adobe Premiere Pro)                            |
+-------------------------------------------------------------------------+
| [ Multi-Cam Editor ] -> Up to 8 Speakers / 8 Cameras Auto-Switching     |
| [ CaptionFlow ]     -> 22 Animated Presets w/ WASM Real-Time Preview   |
| [ Silence Remover ] -> Free Forever Tool                                |
+-------------------------------------------------------------------------+
When KreateFlo Isn't the Right Choice
Let's be completely honest — KreateFlo isn't for every editor or project.
- If you edit simple single-speaker solo monologues: You don't need multi-cam camera switching or multi-speaker caption separation. Premiere's native tools or basic templates are fine.
- If you prefer web-based editors: If your team edits in browser tools like Descript or web clip generators like Opus Clip rather than Adobe Premiere Pro, KreateFlo won't fit your pipeline. KreateFlo lives exclusively inside Premiere Pro as a native extension.
- If you don't use Premiere Pro: KreateFlo is tailored specifically for Premiere Pro editors. If you work entirely in DaVinci Resolve or Final Cut Pro, KreateFlo won't run on your system.
If you keep your editing workflow entirely inside Premiere Pro and handle multi-speaker interviews, KreateFlo keeps you inside one timeline without round-tripping files out to external websites.
Comparing KreateFlo vs AutoPod and FireCut
When evaluating AI plugins for Premiere Pro, cost structure and feature bundling matter. Dedicated single-purpose plugins like AutoPod charge a flat monthly fee for multi-cam cutting alone, requiring you to purchase separate tools for captions. Competitors like FireCut charge on a strict per-hour billing system that gets expensive when processing high volumes of long-form audio.
| Feature / Metric | KreateFlo (v1.0.3) | AutoPod | FireCut | Descript |
|---|---|---|---|---|
| Platform Integration | Premiere Pro CEP Extension | Premiere Pro Plugin | Premiere Pro Extension | Standalone Web/Desktop App |
| Multi-Cam Speaker Limit | Up to 8 Speakers / 8 Cameras | Up to 10 Cameras | Up to 6 Cameras | Text-Based Multi-Cam |
| Animated Captions | 22 Presets (WASM Real-Time) | No | Basic Captions | Built-in Web Captions |
| Pricing Model | Free Tier (3 tools forever) Pro: $19.99/mo (20 AI hrs) Studio: $44.99/mo (50 AI hrs) |
$29.00/month | Per-hour usage billing | $12.00–$24.00/user/mo |
| Language Support | Voice transcription in 40+ languages | English Primary | Multi-language | Multi-language |
| Included Tools | 33+ bundle tools | 3 tools | Variable | Full standalone suite |
KreateFlo includes a Free Tier that gives you 3 essential tools forever—Silence Remover, Transition Assistant, and Copy & Paste—with no trial expiration. When you need AI power, Pro gives you 20 AI hours for $19.99/mo, while Studio provides 50 AI hours for $44.99/mo.
Actionable Takeaway: If you manage multiple two-person podcasts in Premiere Pro, evaluate bundled extensions like KreateFlo to handle multi-cam track assignment, silence removal, and multi-speaker captions in one plugin Premiere Pro extension workflows.
Take Control of Your Podcast Workflow

Color-coding your speakers on the timeline and in your captions isn't just about keeping things neat. It protects your sanity during heavy multi-cam audits and keeps short-form viewers hooked on TikTok and Reels [6], [10].
Try setting up global label sync on your next Premiere Pro edit [2]. And if you want to eliminate manual multi-cam cutting and caption styling entirely, download KreateFlo today to automate your podcast editing pipeline inside Premiere Pro.
Frequently Asked Questions
How do I give different speakers different caption colors in Adobe Premiere Pro?
Premiere Pro's default caption track applies one style to the entire track [4], [5]. To give speakers separate colors natively, convert your captions to Essential Graphics text layers (Graphics and Titles > Upgrade Caption to Graphic) and move guest dialogue onto a separate video track [4]. Alternatively, use KreateFlo's CaptionFlow tool to apply speaker-specific animated styles automatically.
Why shouldn't I use red and green for speaker caption colors?
Red and green text combinations create severe accessibility barriers for viewers with deuteranopia or protanopia color blindness [8]. Additionally, social media algorithms compress red text aggressively, causing ugly pixel artifacts on mobile screens [9]. Instead, pair high-contrast yellow and cyan or white with a dark outline [7], [9].
How do I color code clips on the Premiere Pro timeline for multi-cam podcast editing?
Select all clips for Speaker 1 in your Project Panel, right-click, and choose a Label color (e.g., Mango) [2]. Repeat for Speaker 2 using a contrasting color (e.g., Cerulean) [2]. Make sure "Display the project item name and label color for all instances" is checked under File > Project Settings > General so timeline clips update automatically [2], [3].
How do I edit and merge speaker names in the Premiere Pro Transcript panel?
Open the Text panel and select the Transcript tab [1]. Ensure Speaker Detection is enabled in the panel settings [1]. Click directly on any speaker tag (e.g., "Speaker 1"), select Edit Speaker Name, and type the correct name [1]. You can also search for misidentified speaker blocks and merge them before generating your caption track [1].
What are the best accessible color combinations for two-person video captions?
The most effective combination is primary bright yellow (#FFE600) for the host and crisp white (#FFFFFF) or cyan (#00FFFF) for the guest [7]. Always pair text colors with a 2px to 4px solid dark stroke or background box [9], and prefix speaker lines with a hyphen (- ) to clarify dialogue shifts for all viewers [6], [8].
References
- store.hollyland.com/blogs/creator-hub/edit-speaker-names-in-premiere-pro
- premiumbeat.com/blog/using-clip-colors-premiere-pro/
- filmeditingpro.com/color-coding-your-editing-timeline-in-avid-premiere-final-cut-x/
- community.adobe.com/questions-729/how-to-color-code-subtitles-captions-multiple-speakers-1396268
- community.adobe.com/questions-729/colour-for-each-speaker-in-closed-captions-1389235
- zapsubs.com/podcast-subtitles
- checksub.com/blog/the-best-subtitle-colors
- community.adobe.com/questions-729/assigning-different-colours-in-the-timeline-to-each-audio-track-1342375
- youtube.com/watch
- cutback.video/blog/how-to-edit-interviews-podcasts-like-a-pro-an-essential-guide-for-beginners
- ssrs.com/insights/how-new-consumers-are-shaping-podcastings-next-chapter/
- beamly.com/podcast-statistics/
- soundsprofitable.com/press-release/video-podcasts-now-more-popular-than-audio-only-among-first-year-consumers-findings-from-the-evolving-ear-webinar/
- sonix.ai/resources/subtitle-generation-trends/
- kapwing.com/resources/subtitle-statistics/
- subcomm.co.uk/research/subcomm-infographics-who-watches-subtitles/
- visualdatamedia.com/resources/subtitles-and-captions-whos-watching-and-why/
- youtube.com/watch
- 3playmedia.com/blog/closed-caption-styling-formatting-best-practices-you-need-to-know/
- riverside.com/blog/podcast-editing
- talkingtypecaptions.com/services/closed-captioning/captioning-guidelines/
Try KreateFlo free
3 tools forever, 7-day trial on the rest. No credit card to start.
Download KreateFlo