Caption Placement: 7 Essential Rules for Product Demos
Placing captions at the absolute bottom of a vertical product demo is the fastest way to kill your click-through rate. TikTok and Reels UI elements cover the bottom 320 pixels of the canvas. That mean
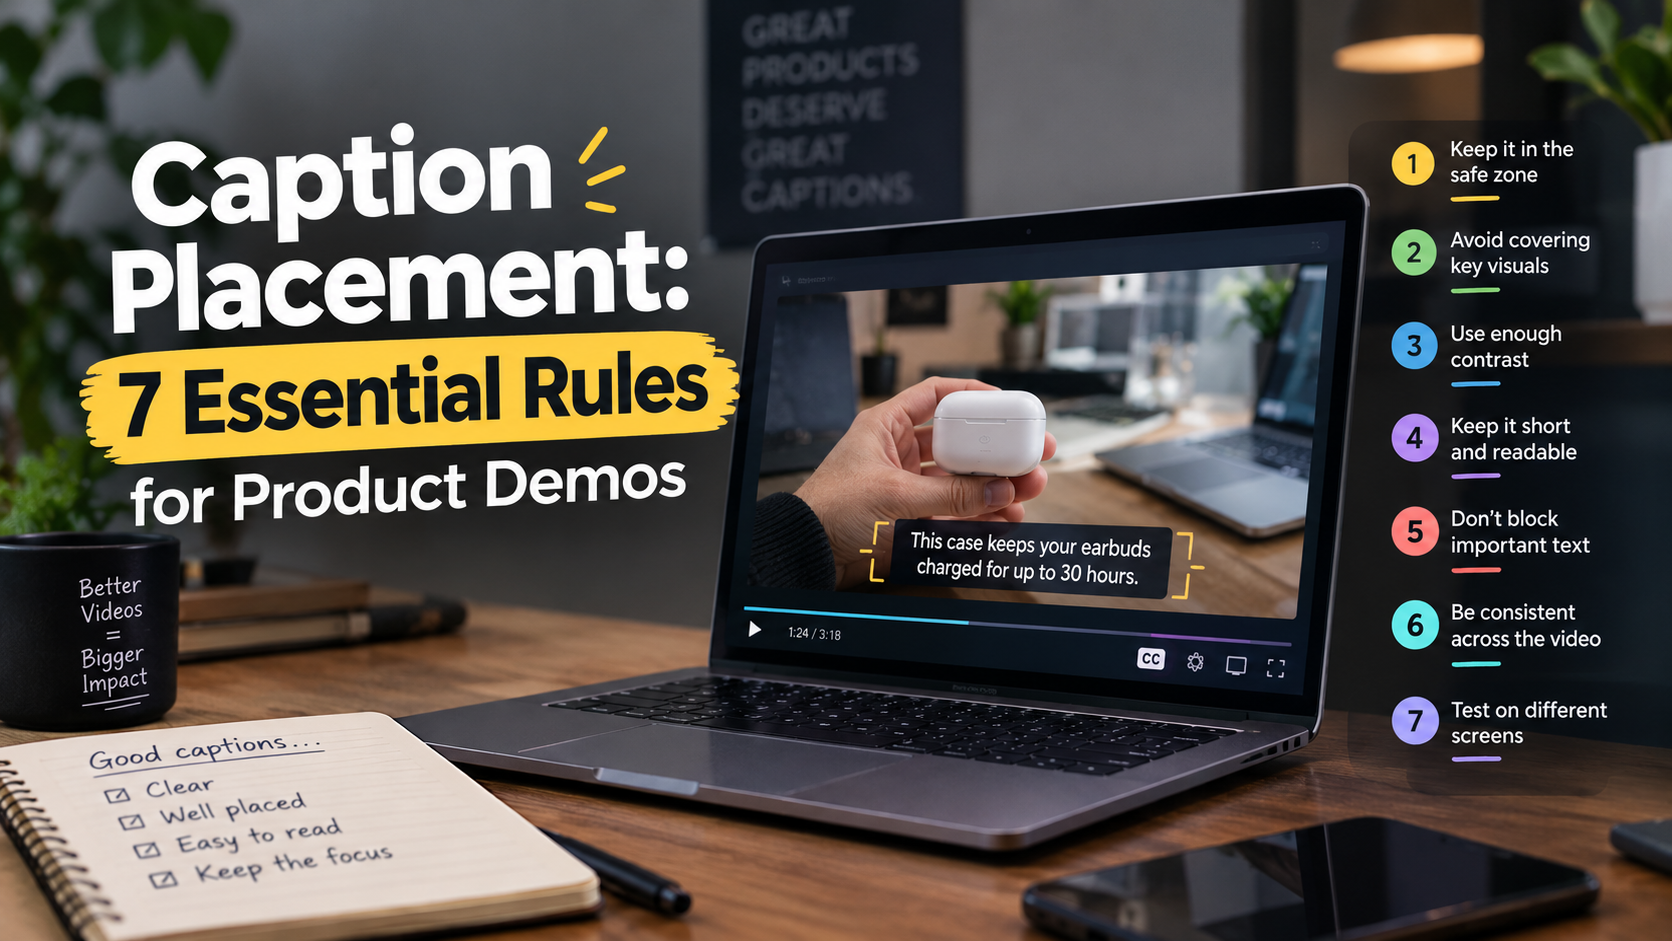
Placing captions at the absolute bottom of a vertical product demo is the fastest way to kill your click-through rate. TikTok and Reels UI elements cover the bottom 320 pixels of the canvas. That means thousands of potential users miss your core software value proposition while you waste 4 hours adjusting Essential Graphics tracks manually in Adobe Premiere Pro.
I've edited hundreds of SaaS walkthroughs and social promos. I see this mistake every single week. Editors spend hours polishing mouse movements and color grades, only to slap subtitles over the dashboard navigation bar or hide them behind a TikTok username.
If your audience can't read what your software does while watching the cursor move, they scroll. It's that simple.
Key Takeaways
- Confine Subtitles to Safe Zones: Keep all text inside a centered 900 x 1400 px box on 1080 x 1920 vertical canvases to avoid mobile app overlays.
- Default to the Lower-Middle Third: Position default captions between Y=1200 and Y=1550 pixels from the top to dodge platform chrome and clear upper navigation bars.
- Shift Text Dynamically: Jump captions up to the upper third (Y=300 to Y=500) whenever your demo highlights lower-screen UI or footer controls.
- Respect Character Limits: Cap captions at 2 lines maximum with 37-42 characters per line to keep software screens uncluttered.
- Prioritize Clean Typography: Use clean sans-serif fonts with dark stroke outlines or 50% black backing boxes instead of hyper-animated rainbow text.
- Automate Your Workflow: Use dedicated Premiere Pro plugins like CaptionFlow to batch-reposition captions across long timelines in 90 seconds instead of keyframing for 4 hours.
Why Most Editors Ruin Product Demos With Poor Caption Placement
The Dead Zone Problem on TikTok, Reels, and Shorts
When you edit a vertical product demo on a desktop monitor in Adobe Premiere Pro, you have a pristine 1080 x 1920 canvas. But mobile apps don't present pristine screens.
On TikTok, the bottom 320 to 350 pixels are permanently covered by the username, caption box, audio attribution tag, and sound bar [2]. On the right side, the engagement column (like, comment, share, and bookmark buttons) eats up roughly 120 to 164 pixels [2].
If you place your subtitle tracks across the full width of the screen or align them against the bottom margin, platform buttons will obscure your words. Viewers on TikTok miss the rightmost 3 to 4 characters of every sentence.
Instagram Reels is even worse. An update expanded its bottom dead zone up to 450 pixels depending on whether audio attribution displays [2]. If your caption template was built a couple of years ago, you are likely rendering text directly beneath Instagram's UI elements.
Cognitive Friction: Why Blocking Product UI Kills Conversions
According to Ofcom study statistics [4], 80% of television and video viewers who enable subtitles do so for reasons other than hearing loss. In addition, CDC hearing statistics [5] show that roughly 15% of American adults report hearing trouble.
That means the vast majority of your social feed audience is watching your software demo on mute while sitting on a train or scrolling at work.
"If your captions block your product's UI, you force the viewer to choose between reading text and watching the feature work. Most will just scroll away."
If your subtitles block the active cursor, the primary call-to-action button, or key analytics metrics in your dashboard, you force the viewer to make a choice. They can either read the caption or watch the feature work. They can't do both at once.
That split-second confusion creates cognitive friction. On short-form feeds, cognitive friction immediately leads to a swipe-away.
FCC Accessibility Rules and Why They Matter for SaaS Ads
Federal accessibility guidelines mandate that closed captions must never obscure essential visual content, active speaker faces, or screen controls [4]. While FCC rules specifically govern broadcast television, major ad networks on Meta and TikTok use automated vision filters inspired by these exact standards.
When you submit a SaaS product walkthrough as a paid ad campaign, ad review systems analyze visual text overlays. If your subtitle tracks overlap native UI buttons or hide critical on-screen software elements, platform algorithms flag the asset as low-quality.
The result? Lower ad reach and higher Cost Per Acquisition (CPA).
Actionable Takeaway: Map out native app dead zones before starting your edit so text never overlaps platform controls or core software visuals.
The Universal Safe Zone to Optimize Caption Placement for Product Demos
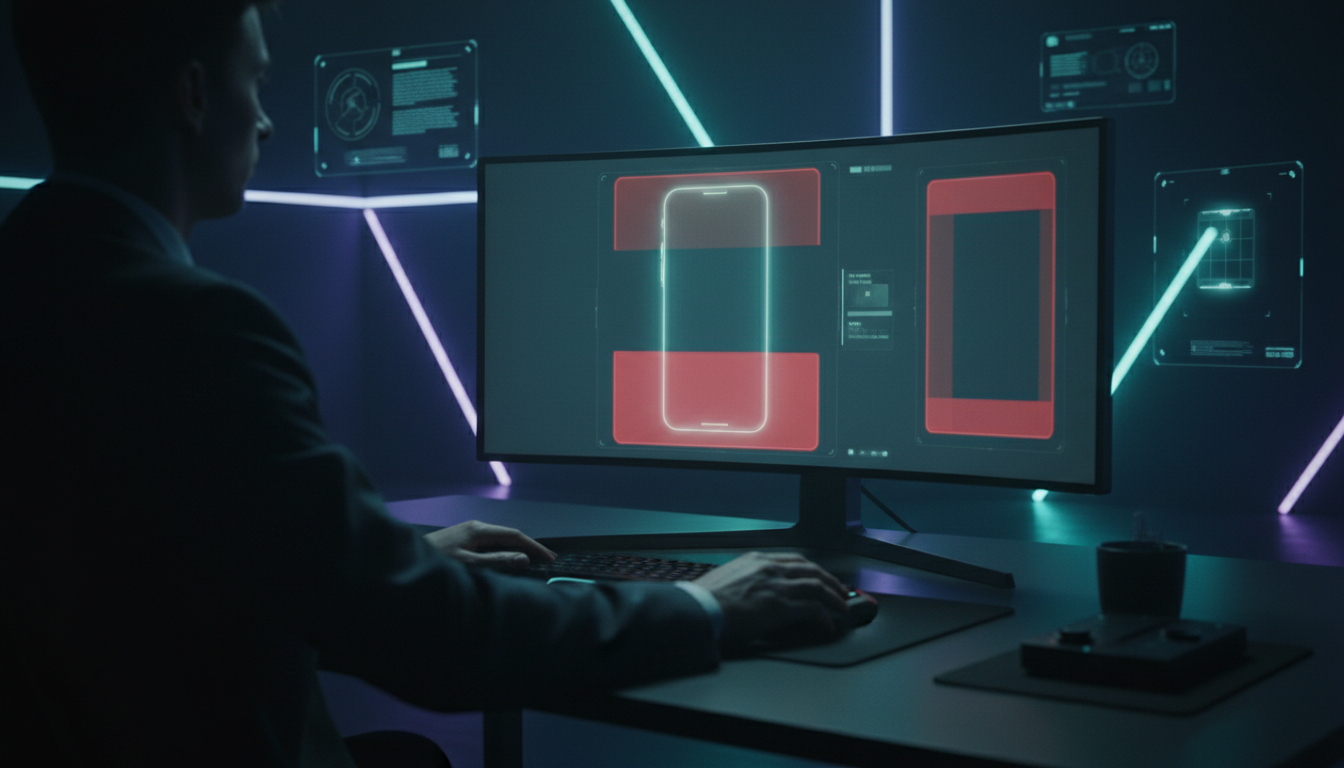
Understanding the 900x1400 Universal Safe Box
Want to avoid editing a separate video render for every single platform? You need a single master safe area.
Standard short-form video uses a 9:16 aspect ratio at 1080 x 1920 pixels [1]. To ensure cross-platform compatibility across TikTok, Instagram Reels, YouTube Shorts, and LinkedIn Video, keep all subtitle text strictly inside a centered 900 x 1400 px safe box [2].
By cropping your caption text box width to 900 pixels, you automatically leave 90 pixels of clean padding on the left and right edges. This completely clears TikTok's 164-pixel right-hand engagement column and YouTube Shorts' UI margins [2].
+------------------------------------+ (1080 x 1920 Canvas)
|   Top Chrome (130-220px Dead)      |
| +--------------------------------+ |
| |                                | |
| |    Upper Third (Y=300-500)     | | -> Shift captions here for bottom UI
| |                                | |
| |  ============================  | |
| |  Lower-Middle Third (1200-1550)| | -> Default caption sweet spot
| |  ============================  | |
| |                                | |
| +--------------------------------+ | (900 x 1400 Safe Box)
|   Bottom UI (320-450px Dead)       |
+------------------------------------+
Accounting for Platform Chrome and Engagement Icons
Top platform headers consume significant screen real estate as well.
Studies on platform header margins [6] reveal that top navigation bars, search buttons, and "Following / For You" tabs occupy the top 130 to 220 pixels of vertical feeds.
If you push captions up too high to avoid a bottom dashboard, you risk colliding with TikTok's search bar or Instagram's header text. Confining all subtitles to the middle 1400 pixels vertically guarantees clean clearance at both top and bottom edges.
The Lower-Middle Third Sweet Spot (Y=1200 to Y=1550)
For standard talking-head intros and software screen recordings, the best location for captions is the lower-middle third of the canvas.
In Premiere Pro's Y-axis coordinate system (where Y=0 is the top edge and Y=1920 is the bottom edge), target a lower-middle third target [5] between Y=1200 and Y=1550 pixels.
| 65|Upper Third (Y=300-500) | NaN |
|---|
This range places captions comfortably below the speaker's face and top software navigation bars. At the same time, it leaves at least 370 pixels of empty space at the bottom to dodge native mobile app captions and comment tags.
Pro Tip: Set your caption track baseline anchor in Premiere Pro to Y=1350 pixels. This gives your text plenty of breathing room above TikTok's UI while keeping the upper half of your screen recording open for product navigation.
Actionable Takeaway: Lock your default subtitle tracks to a Y-coordinate range of 1200 to 1550 pixels inside a 900-pixel-wide centered bounding box.
How to Optimize Caption Placement for Product Demos Without Blocking Software UI
Dynamic Subtitle Repositioning: Shifting to the Upper Third
Static caption placement fails the moment your product demo zeroes in on lower-screen software controls. If your video demonstrates a timeline at the bottom of a video editor, a website footer, or a chat input bar, leaving subtitles at Y=1350 will completely hide the visual action.
Research into cognitive friction studies [3] shows that upper-third caption placement increases reading effort slightly because viewers expect subtitles in the lower half of the frame. However, when lower UI features are being demonstrated, perform an upper-third repositioning [3] to shift text up to Y=300 to Y=500 pixels.
Product Feature Location    -->    Optimal Caption Placement
------------------------           -------------------------
Top Header / Navigation     -->    Lower-Middle Third (Y=1200 - 1550)
Center Canvas / Dashboard   -->    Lower-Middle Third (Y=1200 - 1550)
Bottom Footer / Timeline    -->    Upper Third (Y=300 - 500)
When the cursor moves down to click a bottom menu button, keyframe or cut the subtitle track up to the top third. Once the focus shifts back to central workflow metrics, return the text to the lower-middle third.
Handling Lower-Third Dashboards and Cursor Movements
High-converting SaaS product walkthroughs rely on clear visual tracking. When demonstrating complex software, viewability hinges on screen real estate.
Utilizing dynamic text positioning [9] keeps software navigation visible throughout the demo:
- Zoom and Crop Adjustments: When showing detailed software actions, punch in with a 120% or 130% transform crop centered on the cursor. This naturally pushes lower UI elements out of the frame, letting your lower-middle captions sit over unused background space.
- Side Margin Offsets: If your screen recording displays a sidebar on the left, left-align text slightly off-center inside the 900px safe zone to keep the right active workspace open.
- Cursor Tracking Avoidance: Never let animated popup captions track directly behind an active mouse cursor. The dual motion causes visual clutter and forces the viewer to look away from your product interface.
When Static Captions Fail: Multi-Zone Text Strategies
Some software interfaces are dense from top to bottom. If your app has active analytics counters at the bottom and live navigation at the top, static subtitles simply won't work.
In these dense scenarios, split your visual layout into dedicated zones. Place the screen recording in a cropped 1:1 square box in the center of the vertical 9:16 frame.
This leaves dedicated solid-colored bands above and below the screen capture where captions can live safely without touching a single pixel of your software UI.
Actionable Takeaway: Keyframe subtitle vertical positions upward whenever mouse actions or software controls occupy the lower third of your screen recording.
Typography and Style Rules for High-Converting Software Walkthroughs
Sans-Serif Fonts vs Flashy Animated Presets
Hyper-animated, bouncing rainbow captions might work well for fitness vlogs. But they ruin technical B2B software walkthroughs.
When viewers watch a software product demo, they need to focus on what the software does, not on spinning word animations.
"Your captions should inform the viewer without competing with your software interface for attention. Subtlety wins over flash every single time."
Guidance on sans-serif subtitle formatting [7] emphasizes clean sans-serif typefaces like Inter, Helvetica, Arial, or Montserrat. These clean fonts maintain legibility at smaller text sizes on mobile screens without drawing attention away from the app interface.
Style Element          B2B Product Walkthroughs        Viral Entertainment Vlogs
-------------          ------------------------        -------------------------
Font Selection         Inter, Arial, Montserrat        Impact, Comic Sans, Cooper
Animation              Subtle Fade or Static           Bouncing, Spinning, Pop-in
Color Palette          Monochrome / Brand Accent       Multi-Color Rainbow
Line Count             1–2 Lines Maximum               1 Word Per Screen
Background             50% Black Box or 4px Stroke     Glowing Neon Outlines
Character Limits: 37–42 Characters and 2-Line Maximums
Overcrowding your video with wall-to-wall text turns a product demo into a reading test.
Adhering to strict subtitle character limits [3] requires capping text at 2 lines maximum per caption block, with 37 to 42 characters per line.
Maintain a reading tempo of 17 to 20 characters per second [3]. This rhythm gives your audience enough time to read the text and look up at the software interface before the next caption block displays.
High-Contrast Stroke Outlines and Semi-Transparent Backings
Software user interfaces switch constantly between light mode and dark mode. White captions without styling become completely invisible when the mouse moves over a light-mode white background panel.
Applying high contrast stroke styles [6] ensures legibility on both light and dark screens:
- Semi-Transparent Backing Box: Add a rectangular background box with 50% opacity black (
#000000). This isolates the text from background UI buttons regardless of light or dark themes. - Heavy Text Stroke: If you prefer background-free text, apply a solid 4px to 6px dark outer stroke outline around white sans-serif text.
- Drop Shadow Offset: Configure a 70% opacity drop shadow with a 3px distance and 10px blur to lift subtitles off complex screen graphics.
Pro Tip: Save two Essential Graphics track styles in Premiere Pro: one named Demo_Lower_Middle (Y=1350) and one named Demo_Upper_Third (Y=400). Both should use Inter Bold with a 50% black background box. You can swap styling across multiple subtitle blocks in seconds.
Actionable Takeaway: Use clean sans-serif fonts capped at 2 lines per screen with a 50% black background box to keep text readable against both light and dark software themes.
Step-by-Step Workflow to Optimize Caption Placement for Product Demos in Premiere Pro
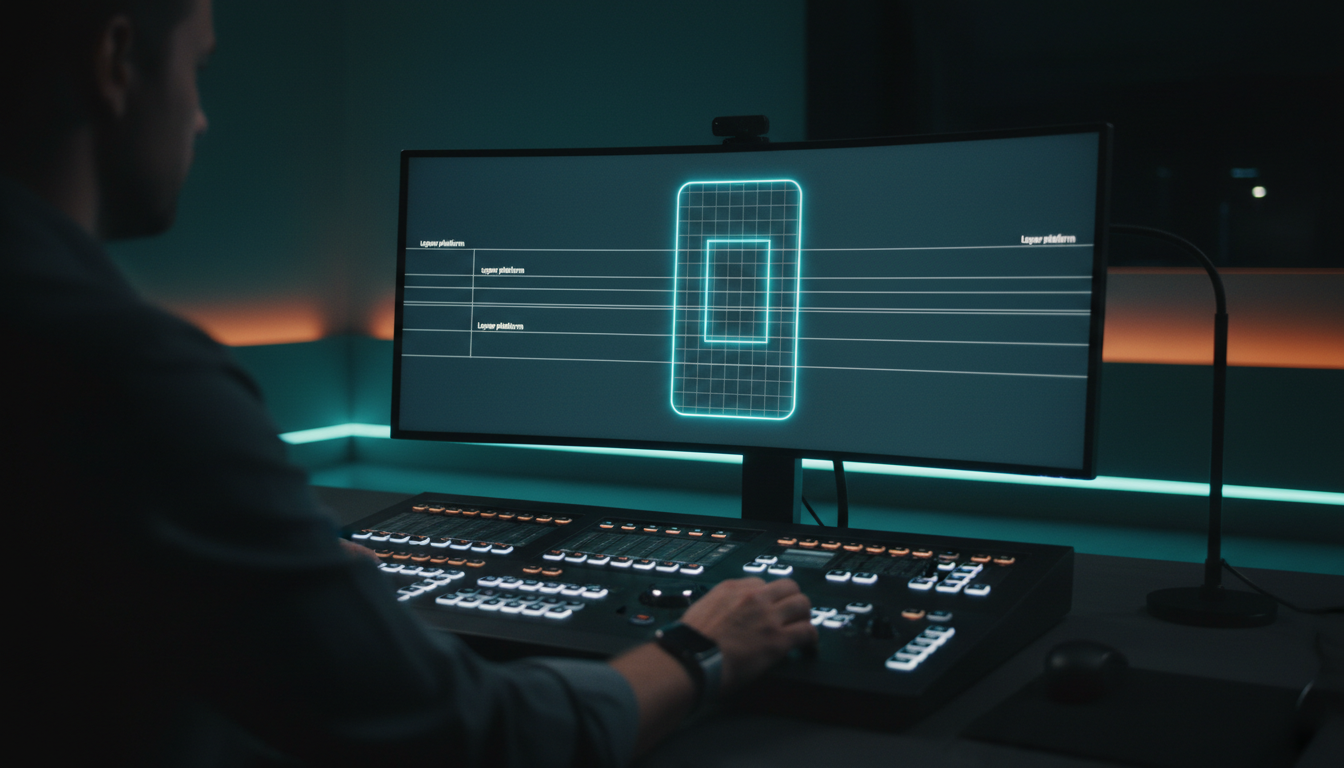
Importing a Transparent Safe Zone Overlay
Stop guessing where platform buttons sit while editing. The
- Download or create a 1080 x 1920 transparent PNG image containing a highlighted 900 x 1400 pixel centered rectangle and shaded red dead-zone bands for TikTok and Reels.
- Drag the PNG file into your Premiere Pro project bin and drop it onto video track V3 above your screen recordings.
- Lock track V3 so you don't accidentally select or move the guide overlay during editing.
- Toggle track V3 visibility (keyboard shortcut Shift + E or click the eyeball icon) to check your captions against mobile app boundaries [1].
+-----------------------------------------------------------------+
| Premiere Pro Timeline                                           |
| [V3] [LOCKED] Safe_Zone_Overlay_900x1400.png [Eye Icon ON/OFF]  |
| [V2]          Subtitle_Track (Captions / Essential Graphics)    |
| [V1]          Screen_Recording_SaaS_Demo.mp4                    |
+-----------------------------------------------------------------+
Setting Up Essential Graphics Alignment
Premiere Pro's Text tool lets you convert speech to text and style captions using the Essential Graphics panel.
- Go to Window > Text and generate an automatic transcript of your voiceover.
- Click Create Captions and choose Single Line or Two Lines with a maximum character length of 40.
- Select a caption segment on your timeline and open Window > Essential Graphics.
- Choose your font (e.g., Inter, Bold, 48pt).
- In the Align and Transform section, click the Center Horizontally button.
- Set the vertical position parameter manually to
1350pixels to establish a consistent Essential Graphics placement [5].
Batch Adjusting Subtitle Positions Across an Entire Timeline
Manually adjusting every single caption block on a 10-minute product demo takes hours. Here's how to batch-update position values across your entire Premiere timeline:
- Style and position one caption block perfectly in Essential Graphics.
- In the Essential Graphics panel, click the Track Style dropdown menu and select Create Style. Name it
SaaS_Demo_Standard. - Click the small Push to Track Style arrow icon next to the dropdown menu. Premiere Pro instantly applies that font, background box, and Y=1350 vertical position to every caption block on that video track.
- For segments that need to jump up to clear lower UI elements, select those specific caption blocks, set Y=
400in Essential Graphics, and create a second style namedSaaS_Demo_TopShift.
Actionable Takeaway: Create custom Track Styles in Essential Graphics to batch-position all timeline captions to Y=1350 in two clicks.
Automating Subtitle Placement With Premiere Pro Plugins and AI
CaptionFlow vs Manual Essential Graphics Tweaks
While Premiere Pro's built-in caption tools have improved, manually creating styles, adjusting tracking errors, and keyframing individual layout shifts across dozens of vertical clips still consumes hours. If you edit multiple product walkthroughs per week, native workflows create massive turnaround bottlenecks.
That is why we built KreateFlo, an all-in-one AI plugin that runs natively inside Adobe Premiere Pro as a CEP extension panel. Instead of bouncing between external web apps or spending 4 hours manually keyframing caption positions, KreateFlo lets you generate, edit, and position styled captions in roughly 90 seconds.
Our CaptionFlow tool includes 22 customizable caption presets engineered specifically for vertical short-form content. You can set safe-zone boundaries and lock vertical position offsets across an entire project timeline automatically.
| Before | 4 Hours |
|---|---|
| After | 90 Secs |
Real-Time WASM Previews vs Render-Loop Bottlenecks
Most subtitle plugins force you into a frustrating render-loop cycle. Every time you change a font size, adjust a line gap, or nudge a vertical offset, you have to wait for the extension to re-render the graphics track before you can see your changes on the timeline.
KreateFlo v1.0.3 solves this bottleneck using a custom WebAssembly (WASM) rendering engine directly inside Premiere Pro. When you drag position sliders or switch between presets, your changes display instantly in real-time. This real-time preview lets you align captions around fast-moving cursor paths across long timelines without waiting for preview renders [8].
Comparing KreateFlo ($19.99/mo) to FireCut, AutoPod, and Descript
Choosing the right editing stack comes down to workflow speed, pricing models, and where your editing actually happens.
| Feature / Tool | KreateFlo (v1.0.3) | FireCut | AutoPod | Descript |
|---|---|---|---|---|
| Tool Type | Premiere Pro CEP Extension | Premiere Pro Extension | Premiere Pro Extension | Standalone Web/App |
| Pricing Model | $19.99/mo (Pro) / $44.99 (Studio) | Per-hour AI credit billing | $29/mo flat fee | $12–$24/mo per user |
| Free Tier | 3 Tools Free Forever | Limited Trial | No Free Tier | Free Trial |
| Caption Presets | 22 WASM Real-Time Presets | Standard Text | No Caption Tools | Web Text Presets |
| Safe Zone Locking | One-Click 900x1400 Lock | Manual Tweaks | N/A | Manual Dragging |
| Multi-Cam Support | Up to 8 Speakers / Cameras | Up to 4 Speakers | Up to 10 Cameras | Text-Based Multi-Cam |
| Transcription | 40+ Languages (Hindi, Bangla) | English Focus | N/A | 23 Languages |
Here's an honest caveat: if you prefer editing video entirely inside a web browser using text transcripts rather than a traditional timeline, a standalone browser tool like Descript might suit your workflow better. KreateFlo is built specifically for video editors who work in Adobe Premiere Pro every single day and don't want to export XML files or jump between external applications [10].
In addition to CaptionFlow, KreateFlo bundles 33+ editing tools into a single plugin. You get an AI Silence Remover, a Multi-Cam Editor supporting up to 8 speakers with dedicated wide-shot designation, automated filler-word removal, and viral clip detection.
Our free tier includes 3 tools forever (Silence Remover, Transition Assistant, and Copy & Paste). Pro ($19.99/mo for 20 AI hours) and Studio ($44.99/mo for 50 AI hours) deliver complete editing automation without FireCut's expensive per-hour billing cycles.
Want to streamline the rest of your timeline? Explore our guide on best AI caption tools or read our breakdown of essential Premiere Pro editing tips.
Actionable Takeaway: Use KreateFlo's CaptionFlow extension inside Premiere Pro to lock captions to platform safe zones and render real-time WASM text previews in 90 seconds.
Final QA: Testing Captions Before Export
Mobile App Preview Workflow
Never render a final MP4 for a client or marketing team without testing it on an actual phone display first. A layout that looks legible on a 27-inch 4K monitor can look tiny or sit uncomfortably low on a mobile screen.
- Export a 15-second draft MP4 from Premiere Pro using the H.264 Match Source - High Bitrate preset.
- Transfer the file to your mobile device via AirDrop or Slack.
- Open TikTok or Instagram, tap the + (Upload) button, select your video draft, and view it in the app's native preview window.
- Check whether native app buttons overlay your subtitle text or block lower software controls.
QA Checklist Step                     Pass Criteria
-----------------                     -------------
1. Mute Audio Test                    Demo workflow is 100% understandable with text alone.
2. TikTok Right Margin Check          Zero characters hidden behind Like/Share column.
3. Reels Bottom Clearance             Text sits clear of audio attribution & caption box.
4. UI Visibility Check                Subtitle text never obscures active cursors/buttons.
5. Compression Edge Check             Text edges remain sharp without color bleeding.
Verifying Zero Overlap with Native Buttons and Audio Tags
Perform a silent playback test on your preview file. Mute your mobile phone audio completely and watch the entire video from start to finish.
If you miss key software actions or struggle to follow the demo workflow because text overlays obscure active cursors, adjust your vertical offsets. Confirming mobile app preview testing [2] before final rendering prevents client revision requests and saves re-exporting time.
Export Preset Checklist for 1080x1920 Verticals
When you are ready to export your final product demo from Premiere Pro, use these exact encoding parameters to keep subtitle text crisp and prevent color bleeding:
- Format: H.264
- Frame Size: 1080 x 1920 (Vertical 9:16)
- Frame Rate: Match Source (29.97 fps or 30 fps)
- Bitrate Encoding: VBR, 2-Pass
- Target Bitrate: 15 to 20 Mbps
- Render Quality: Check Use Maximum Render Quality and Render at Maximum Depth
Higher bitrates prevent dark stroke outlines and semi-transparent backing boxes from pixelating when social media algorithms compress your video [1].
Actionable Takeaway: Run a muted upload preview on TikTok or Reels before delivering final MP4 exports to verify that captions clear native app UI buttons.
Frequently Asked Questions
What is the universal safe zone for captions on TikTok, Instagram Reels, and YouTube Shorts?
The universal safe zone is a centered 900 x 1400 pixel rectangle on a standard 1080 x 1920 vertical canvas. Confining subtitle text inside this rectangular boundary leaves 90 pixels of padding on the left and right margins and 260 pixels at top and bottom. This prevents native app like buttons, sound bars, usernames, and search bars from overlapping your caption text.
Where should captions be placed during a software screen recording or product demo?
Default captions should sit in the lower-middle third of the frame, roughly between Y=1200 and Y=1550 pixels from the top edge on a 1920px canvas. However, if your software walkthrough demonstrates buttons, footer menus, or timeline tracks at the bottom of the interface, you should dynamically shift subtitles up to the upper third (Y=300 to Y=500 pixels) for that segment.
Why does caption text get cut off on the right edge of vertical short-form video?
Caption text gets cut off when editors stretch text boxes across the full 1080-pixel canvas width in Premiere Pro. TikTok's right-hand engagement column (like, comment, share, and bookmark icons) covers approximately 120 to 164 pixels along the right edge of mobile screens. Keeping text boxes restricted to a maximum width of 900 pixels prevents this overlap entirely.
How do FCC caption placement rules impact video editing best practices?
FCC accessibility standards mandate that closed captions must never obscure essential visual content, active speaker faces, or screen controls. For SaaS product walkthroughs and paid ads, following these guidelines ensures that subtitles do not block active cursors or key software features. Ad review algorithms on TikTok and Meta flag videos with overlapping captions, which can reduce ad distribution.
How do you adjust and automate subtitle position in Adobe Premiere Pro?
You can manually adjust subtitle positions in Premiere Pro by selecting caption blocks and setting vertical position values in the Essential Graphics panel (e.g., Y=1350). To automate this process across long timelines, use an AI plugin like KreateFlo. Its CaptionFlow extension offers 22 presets, WASM real-time previews, and one-click safe-zone alignment directly on your Premiere timeline.
Bad caption placement ruins great software product demos. By sticking to a centered 900 x 1400 px safe box and shifting text
If you edit in Adobe Premiere Pro every day and want to skip 4 hours of manual keyframing, download the KreateFlo extension to generate and place styled captions in 90 seconds.
References
- syllaby.io/blog/aspect-ratios-safe-zones-shorts-reels-tiktok/
- blitzcutai.com/blog/best-caption-placement-short-form-video
- openclip.app/guides/caption-placement-guide
- syncwords.com/blog/on-screen-placement-of-captions-leverage-artificial-intelligence-and-powerful-caption-editing-software/
- orsonlord.com/articles/free-safe-zone-overlays-for-reels-tiktok-and-shorts
- zeely.ai/blog/tiktok-safe-zones/
- subtitlesfast.com/blog/subtitle-styles-that-convert
- opus.pro/blog/best-caption-presets-styles-boost-retention
- rendercut.io/best-caption-styles-retention-engagement
- mosaic.so/blog/intelligent-video-captioning
- bminty.com/social-media-subtitling-best-practices
- vfxai.com/blog/trending-caption-styles-for-2026
- sonix.ai/resources/subtitle-generation-trends/
- inspiredvideomarketing.com/7-trends-that-should-shape-your-2026-content-strategy/
- birdeatsbug.com/blog/video-captioning-best-practices
- opus.pro/research/best-caption-strategy-short-form
Try KreateFlo free
3 tools forever, 7-day trial on the rest. No credit card to start.
Download KreateFlo