Sync Captions to Beats in Premiere: Complete 2026 Guide
How to Sync Caption Animations to Video Beats in Premiere (2026) Snapping your text keyframes directly onto an audio peak ruins your edits. Your brain processes sound faster than sight. That means per
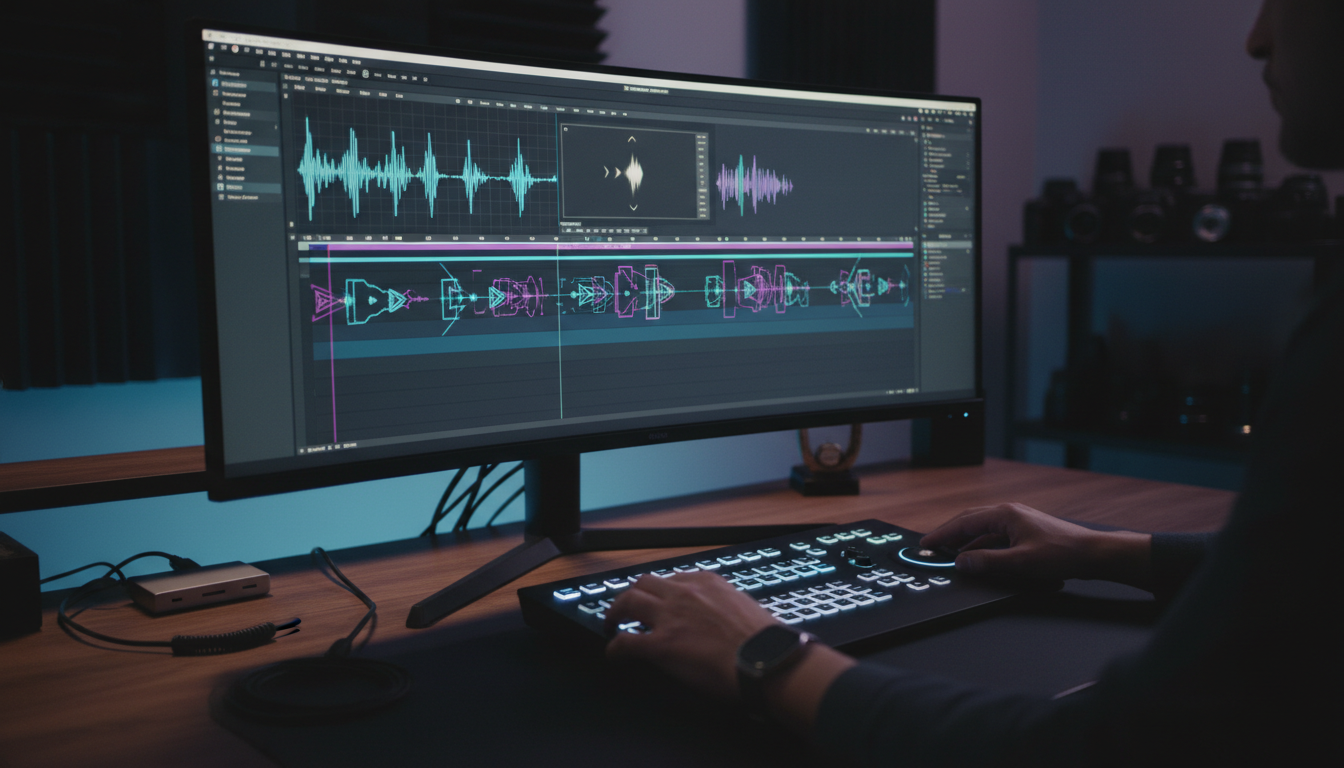
Snapping your text keyframes directly onto an audio peak ruins your edits. Your brain processes sound faster than sight. That means perfectly aligned visual cuts actually feel like they are lagging behind the beat. I spent two years wondering why my kinetic captions in Adobe Premiere Pro felt sluggish on short-form reels until I realized my eyes and ears were disagreeing on the exact same frame.
When you edit high-retention content for TikTok, Instagram Reels, or YouTube Shorts, timing is everything. A word popping on screen half a beat late breaks viewer immersion and kills retention curves. In this guide, I will walk you through the physics of human perception, the manual keyframing workflow in Premiere Pro, the 2-frame offset secret, and how to automate the whole process without spending four hours per project.
Key Takeaways
- Placing visual keyframes 2 frames ahead of the audio peak accommodates human perception and makes sync feel instant.
- Press M during playback in Adobe Premiere Pro to drop sequence markers on major rhythm beats.
- Always hit S to toggle snapping on before aligning text layers to timeline markers.
- A clean caption pop requires 3 scale keyframes: initial scale (0%), overshoot scale (115%), and final resting size (100%).
- Applying Ease Out to the start keyframe and Ease In to the end keyframe removes mechanical, robotic movement.
- Manual beat keyframing takes 4 hours on long files; KreateFlo's CaptionFlow CEP extension automates word-by-word animated captions in 90 seconds with real-time WASM previews.
Why Snapping Text Keyframes to Audio Beats Is Ruining Your Edits
Zoom into your timeline. Align a graphic keyframe flush against the peak of an audio waveform. Your brain registers that visual motion slightly late.
Auditory neural processing takes roughly 8 to 10 milliseconds. Visual stimulus processing takes anywhere from 20 to 40 milliseconds visual vs auditory processing speed latency. That subtle latency difference creates a micro-delay in human perception.
49% Watch Videos With Captions Always or Often
Human Auditory vs Visual Processing Speed
Your ears register acoustic transients like kick drums or spoken consonants almost instantaneously. When you align a text animation to land exactly on the audio spike, the viewer hears the beat before seeing the scale change.
Data shows that 49% of Americans watch video with captions always or often [6]. Because so many viewers rely on text to follow along, even a tiny offset ruins the visual cadence.
Why Timeline Snapping Feels Slightly Off
Premiere Pro's built-in snapping locks clips and keyframes to exact frame boundaries. But audio waveforms exist at 48,000 Hz, while video frames run at 24, 30, or 60 fps.
A transient peak rarely aligns precisely with a video frame boundary. When you rely blindly on timeline snapping, keyframe triggers land on the frame after the sound spike occurred. That amplifies perceived visual lag.
The Visual Fatigue of Over-Keyframing Every Beat
Don't keyframe every single word or snare hit. Research demonstrates that 80% of viewers are more likely to finish a video with captions [8]. But heavy kinetic text on every eighth-note beat causes visual fatigue.
Viewers stop digesting your message and start squinting at bouncing letters. Selective beat alignment on key emphasis words keeps engagement high without overwhelming people.
Actionable Takeaway: Stop aligning visual keyframes directly on audio transients. Compensate for human perception by placing visual triggers slightly ahead of sound peaks.
How to Sync Caption Animations to Video Beats in Premiere: The Manual Workflow
To build tight beat-synced text in Adobe Premiere Pro without third-party tools, you need a disciplined marker workflow. Here is the step-by-step method I use when manually keyframing hero graphics or title intros.
Mapping Out the Track with the M Shortcut
Load your audio track or voiceover into the sequence. Press spacebar to play the track. Hit the M key on your keyboard in real time on every major beat or spoken syllable you want to emphasize Premiere Pro M key shortcut markers.
Did you miss a beat? Stop playback, zoom in on the waveform, and drag the marker handle to align with the transient spike. You can refine marker positions by mapping sequence markers directly to audio transients [3] in the timeline display.
Enabling Timeline Snapping with the S Key
Before moving text clips or setting spatial keyframes, press the S key to toggle timeline snapping on. Snapping forces your playhead, clip edges, and keyframe points to lock onto sequence markers when you drag them across tracks. Without snapping active, keyframe alignment becomes a guessing game that wastes minutes per edit.
Aligning Graphic Clips to Sequence Markers
Create your text using Premiere Pro's Essential Graphics panel or Essential Sound workspace. Once you generate your subtitle layers, convert or upgrade caption streams into essential graphics clips [1] so you can manipulate keyframes directly in the Effect Controls panel. Trim the clip handles so the text block starts near your sequence markers.
Pro Tip: Working on a dense music track with rapid transients? Change your sequence display timecode to Audio Samples (right-click the sequence timecode and select Audio Samples). You can inspect peak waveforms down to the sub-frame level before setting markers.
Actionable Takeaway: Map out audio beats with the M shortcut and verify that snapping (S) is active before trimming graphics clips against timeline markers.
The 2-Frame Offset Rule for Perfect Kinetic Caption Sync
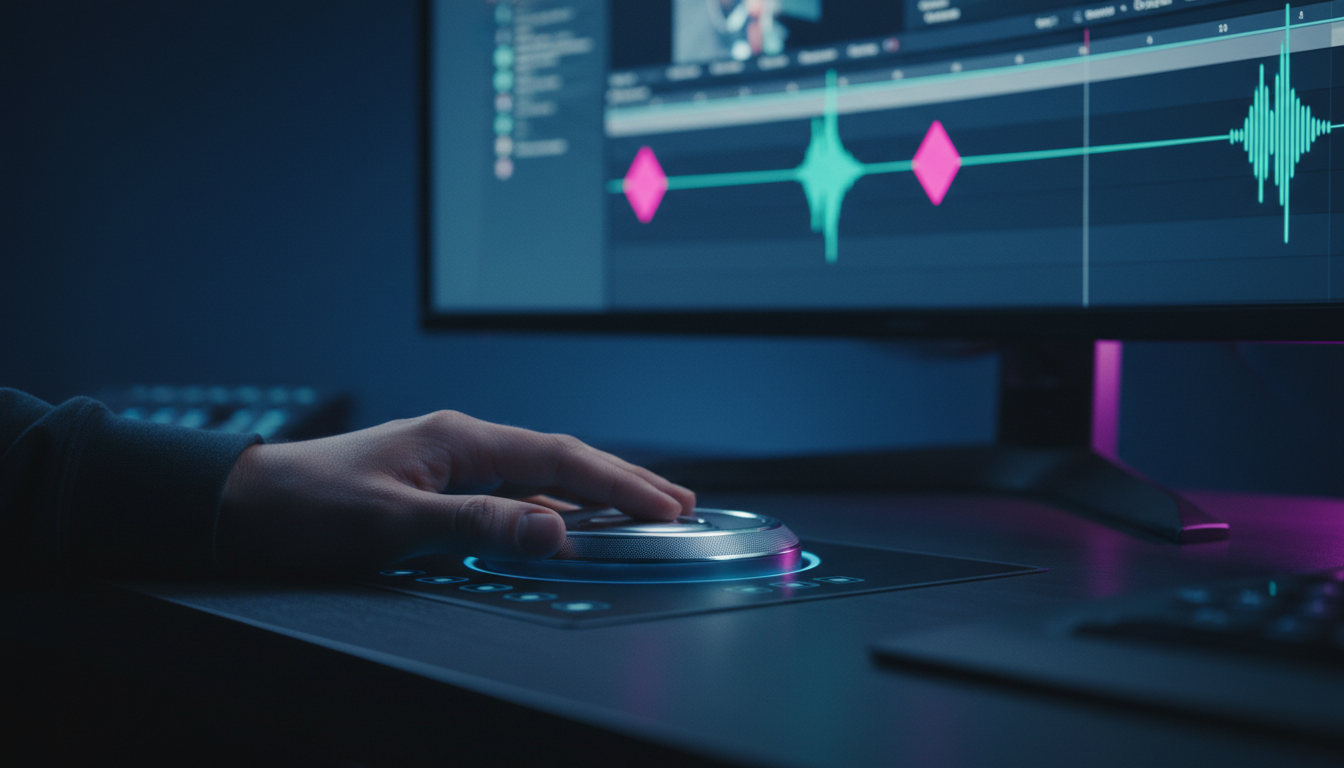
Here is the secret weapon used by top short-form agency editors: the 2-frame offset rule. By anticipating sound, your visual animations match viewer brain latency perfectly.
| 92|Sound-On Mobile Viewing | NaN |
|---|
Shifting Keyframes 2 Frames Before the Beat
Once you identify your audio peak marker, don't place your text scale or opacity trigger on that exact marker frame. Position your playhead on the marker, move back two frames, and drop your initial keyframe there.
Studies reveal that 92% of mobile consumers watch videos with sound off [10]. For viewers who keep audio enabled, that two-frame visual head start ensures the text pop reaches peak scale at the precise microsecond their brain registers the audio impulse.
Nudging Clips with Keyboard Shortcuts
Moving keyframes or graphic clips frame-by-frame with a mouse is slow and imprecise. Use keyboard shortcuts to speed up your trimming:
- Alt + Left Arrow (Option + Left Arrow on Mac): Nudges selected timeline clips left by 1 frame.
- Alt + Shift + Left Arrow: Nudges selected timeline clips left by 5 frames.
- Cmd/Ctrl + Left Arrow: Shifts selected keyframes in Effect Controls left by 1 frame.
Select your opening scale keyframes, hold Cmd/Ctrl, and tap the Left Arrow key twice. Your animation now triggers two frames ahead of the marker peak.
Testing Perceived Rhythm at 100% Playback Speed
Never evaluate caption synchronization while scrubbing frame-by-frame or playing back at half speed. Scrubbing removes audio transients and distorts human time perception.
Loop the timeline selection and evaluate the rhythm at 100% full playback speed. If the text pops too early, reduce the shift to 1 frame. If it still feels sluggish, keep it at 2 frames.
Timeline Sync Visualizer:
Audio Peak Transient:  [   ] [   ] [ X ] [   ] [   ]  (Marker on Frame 3)
Standard Keyframe:     [   ] [   ] [ K ] [   ] [   ]  (Feels lagging)
2-Frame Offset Sync:   [ K ] [   ] [   ] [   ] [   ]  (Perceived instant sync!)
Actionable Takeaway: Nudge visual keyframe triggers 2 frames to the left of audio beat markers using Ctrl/Cmd + Left Arrow for crisp synchronization.
Manual Beat Mapping vs Automated Extensions in Premiere Pro
Manual keyframing gives you absolute control. But it does not scale when editing multi-speaker podcasts, client interviews, or daily short-form clips.
| Before | 90 Seconds |
|---|---|
| After | 4 Hours |
When Manual Keyframing Makes Sense
Manual keyframing is worth the time for 15-second promo teasers, kinetic title sequences, or high-budget commercial spots. When you only have 3 to 5 words on screen, crafting individual keyframe handles produces hero-quality results.
Using Plugins like BeatEdit vs All-in-One Tools
To speed up sequence marking, many editors turn to automated beat-detection extensions like BeatEdit [4]. BeatEdit analyzes audio waveforms and drops markers across your timeline automatically.
However, standalone beat markers only solve half the problem. You still have to generate text layers, cut clips, apply motion presets, and adjust keyframe timing manually.
Cost and Time Comparisons for High-Volume Editors
If you edit 10 to 20 short-form clips per week, manual word-by-word keyframing requires roughly 3 to 4 hours per sequence. Some plugins like FireCut offer auto-captioning but charge per-hour processing fees that stack up fast.
By comparison, an integrated Premiere extension like KreateFlo bundles 33+ editing tools directly inside your Premiere Pro CEP extension panel (v1.0.3). You get unlimited manual tools on the free tier (including Silence Remover, Transition Assistant, and Copy & Paste forever).
When you upgrade, the Pro tier ($19.99/mo with 20 AI hours) or Studio tier ($44.99/mo with 50 AI hours) automates complex captioning in 90 seconds instead of 4 hours.
| Feature / Workflow | Manual Premiere Keyframing | BeatEdit + Essential Graphics | KreateFlo CaptionFlow (v1.0.3) |
|---|---|---|---|
| Setup Time | 3-4 Hours | 45-60 Minutes | 90 Seconds |
| Beat Marker Generation | Manual (M key) | Automated Audio Analysis | Automatic Speech & Transient Sync |
| Animation Engine | Manual Bezier Curves | Manual Preset Application | 22 WASM Real-Time Presets |
| Cost Structure | Included with Premiere | $99 One-Time Plugin | Free Tier or $19.99/mo Pro |
Actionable Takeaway: Reserve manual keyframing for short hero intro titles, and leverage automated in-timeline plugins for long-form podcasts and high-volume social content.
Building Smooth Text Pop Keyframes with Bezier Curves
When you build custom text animations manually, linear keyframes make your graphics look amateurish. You need smooth speed curves to achieve that snappy "pop and settle" motion made popular by top creators.
The 3-Keyframe Bounce Technique
To build a classic kinetic bounce text pop in Premiere's Effect Controls panel, set three consecutive scale keyframes across a short span building bouncing text scale animations in Premiere [2]:
- Keyframe 1 (Start - 2 frames before beat): Scale set to 0%.
- Keyframe 2 (Overshoot - On beat marker): Scale set to 115% (or 120% for aggressive pop).
- Keyframe 3 (Landing - 3 to 4 frames after beat): Scale set to 100% (resting size).
Scale Value Curve:
120% |        / \
100% |       /   \_______ (Resting)
  0% |______/
     F-2     F0   F+3
Applying Ease Out and Ease In Temporal Interpolation
Default Linear interpolation causes sudden direction changes. Right-click Keyframe 1, navigate to Temporal Interpolation, and select Ease Out.
Right-click Keyframe 3 and select Ease In Premiere Pro keyframe temporal interpolation ease in ease out. This creates natural acceleration into the pop and smooth deceleration as the text settles into its final resting state.
Fine-Tuning Speed Curves in Effect Controls
To adjust animation velocity, click the drop-down arrow next to the Scale property in Effect Controls to open the Velocity Graph. Drag the Bezier handles to steepen the curve between Keyframe 1 and Keyframe 2 custom kinetic text movement in the Effect Controls panel [5]. A steep initial curve creates an explosive pop that catches the eye immediately.
Pro Tip: Once you design a scale bounce curve you like, select the Text motion effect in Effect Controls, right-click, select Save Preset, and name it "Kinetic Pop 2-Frame Offset". You can now drag this preset from your Effects panel onto any graphic clip instantly.
Actionable Takeaway: Use a 3-keyframe scale sequence (0% -> 115% -> 100%) with Ease Out and Ease In interpolation to build clean, professional bouncing text.
How to Sync Caption Animations to Video Beats in Premiere Using AI Plugins
If you edit podcasts, interviews, or daily video reels, manual keyframing is a massive bottleneck. AI tools inside Premiere Pro let you generate beat-matched, word-by-word captions automatically.
Automating Word-by-Word Timings with CaptionFlow
Inside the KreateFlo CEP panel, the /features/captionflow.html tool handles speech transcription and kinetic formatting in a single pass. Utilizing voice transcription that supports 40+ languages (including Bangla and Hindi), CaptionFlow transcribes spoken audio, detects spoken word boundaries, and aligns visual text highlights to audio transients.
Instead of cutting caption streams into individual graphic clips manually, CaptionFlow generates perfectly timed word animations on your sequence automatically.
When paired with /features/silence-remover.html to cut dead air first, your entire rough cut and caption pass takes minutes. You can read more about streamlining long-form cuts in our guide on podcast editing in Adobe Premiere Pro.
Previewing Animation Presets in Real-Time via WASM
A common frustration with traditional Premiere caption extensions is the render loop. You apply an animation, wait for Premiere to render frames, check the rhythm, and repeat.
CaptionFlow uses a custom WebAssembly (WASM) graphics engine inside the extension panel. You can preview all 22 animated caption presets in real-time at full frame rate without waiting for timeline rendering.
When AI Captions Are Not the Right Choice
I believe in using the right tool for the job. KreateFlo is an in-timeline Premiere Pro plugin designed for speed and productivity. However, it is NOT the right choice if:
- You need complex 3D kinetic typography with camera tracking (use Adobe After Effects instead).
- You want a standalone web app for quick cloud clipping on a phone without opening an NLE (tools like Descript or Opus Clip fit that workflow better).
- You prefer per-hour usage billing rather than a predictable monthly plan ($19.99/mo Pro or $44.99/mo Studio).
Marketing data confirms that 80% of young viewers aged 18 to 25 use subtitles regularly [9]. Using automated tools for high-volume subtitling allows you to capture that massive audience without burning out on repetitive keyframing.
Pro Tip: Editing multi-speaker shows? Run KreateFlo's /features/multi-cam.html tool (which handles up to 8 speakers and 8 cameras with wide-shot designation) before applying CaptionFlow. This ensures text boxes never obscure active speaker faces.
Actionable Takeaway: Use CaptionFlow inside Premiere Pro to transcribe and keyframe word-by-word captions automatically, and switch to After Effects only for complex 3D text tracking.
4 Fatal Mistakes Editors Make When Animating Text to Music
Even seasoned editors stumble when timing text to video audio tracks. Avoid these four common pitfalls to keep your timeline clean and your pacing sharp.
Leaving Keyframes on Linear Interpolation
Leaving keyframe points on default Linear interpolation makes bouncing text feel stiff, robotic, and outdated. Always apply Ease Out to start points and Ease In to end points to add natural physics to your motion.
Over-Animating Descriptive Captions
Not every word deserves a scale bounce. Reserve kinetic pop animations for emphasis keywords, high-energy verbs, or major music beats. Animating prepositions and articles ("and", "the", "of") distracts viewers and lowers overall watch time.
Ignoring Audio Waveform Spikes
Relying solely on visual grid lines or automated text timestamps without inspecting audio transients leads to off-beat captions. Always expand your audio track height in Premiere (Cmd/Ctrl + +) to confirm that keyframe triggers align with visible waveform transients.
Forgetting Snapping Shortcuts
Trying to align graphics clips or keyframe triggers with snapping turned off leads to sub-frame alignment errors. Keep the S key active so clip handles snap flush against sequence markers every time.
Actionable Takeaway: Keep snapping enabled, inspect waveform transients visually, and apply spatial easing to avoid mechanical text movement.
Frequently Asked Questions
How do I automatically sync captions to music beats in Premiere Pro?
You can use sequence beat-detection extensions like BeatEdit to drop markers on audio spikes automatically, or use Premiere Pro extensions like KreateFlo's CaptionFlow to generate word-by-word animated captions locked to speech rhythm.
Why do my animated captions feel slightly out of sync with the audio?
If keyframes sit exactly on the audio spike, the visual pop feels like it lags. Nudging keyframes 2 frames earlier accounts for human auditory processing speed and restores crisp perception.
What is the 2-frame keyframe offset trick for video editing?
The 2-frame offset trick involves shifting visual trigger keyframes exactly 2 frames before the audio peak so the eyes and ears register the visual pop and sound beat simultaneously.
How do I create a bouncing text pop animation in Premiere Pro?
Set three scale keyframes on your text layer: 0% at start (2 frames before beat), 115% on the pop frame (on beat), and 100% on the settling frame (3 frames after). Apply Ease Out on the first keyframe and Ease In on the last keyframe.
Why should I use WASM real-time preview for animated captions?
Traditional caption plugins force you to render out text animations to check rhythm. WebAssembly (WASM) engine technology allows real-time playback inside the Premiere Pro extension panel without waiting for render files.
Final Thoughts on Beat-Synced Captions
Syncing caption animations to video beats manually in Adobe Premiere Pro gives you precise keyframe control. But shifting keyframes frame-by-frame on a 30-minute podcast takes 4 hours you don't have. Master the 2-frame offset trick for your manual hero shots, use smooth Bezier curves, and automate the rest of your transcript workflow with intelligent tools.
If you're ready to speed up your editing workflow, check out KreateFlo for Adobe Premiere Pro. You get 3 tools free forever—including Silence Remover, Transition Assistant, and Copy & Paste—or upgrade to Pro ($19.99/mo) to unlock CaptionFlow with 22 WASM real-time animated caption presets. Stop wasting hours on manual keyframes and start shipping better content today.
References
- junoschool.org/article/premiere-pro-upgrade-caption-to-graphic/
- youtube.com/watch
- youtube.com/watch
- aescripts.com/beatedit-for-premiere-pro/
- premiumbeat.com/blog/text-effect-premiere-pro/
- tvtechnology.com/insights/analysis/study-nearly-half-of-americans-always-or-often-watch-video-with-captions
- inbeat.agency/blog/video-marketing-statistics
- vexub.com/blog/captions-increase-video-engagement
- visualdatamedia.com/resources/subtitles-and-captions-whos-watching-and-why/
- 3playmedia.com/blog/studies-find-captions-improve-engagement/
- contentfries.com/blog/the-science-of-video-captions-how-they-impact-audience-retention
- beat2cut.com/blog/beat-sync-video-editing-complete-guide/
- offshoreclipping.com/blog/video-editing-trends/
- youtube.com/watch
- aescripts.com/learn/post/how-to-edit-and-auto-sync-your-video-to-the-beat-of-the-music---adobe-premiere-pro-cc-tutorial
- phantomeditor.video/blog/create-animated-captions-premiere-pro
- blog.nobledesktop.com/learn/premiere-pro/transforming-captions-to-graphics-for-enhanced-visibility-in-adobe-premiere-pro
- nofluff.pro/automations/ai-video-editing-motion-graphics-sync
Try KreateFlo free
3 tools forever, 7-day trial on the rest. No credit card to start.
Download KreateFlo