Premiere Pro Tutorials: 5 Proven Tips for 2026 Editors
Stop wasting time on browser-based editing apps. If you are uploading massive source files to a web server just to cut out silences, you are throwing away billable hours and risking your client's raw
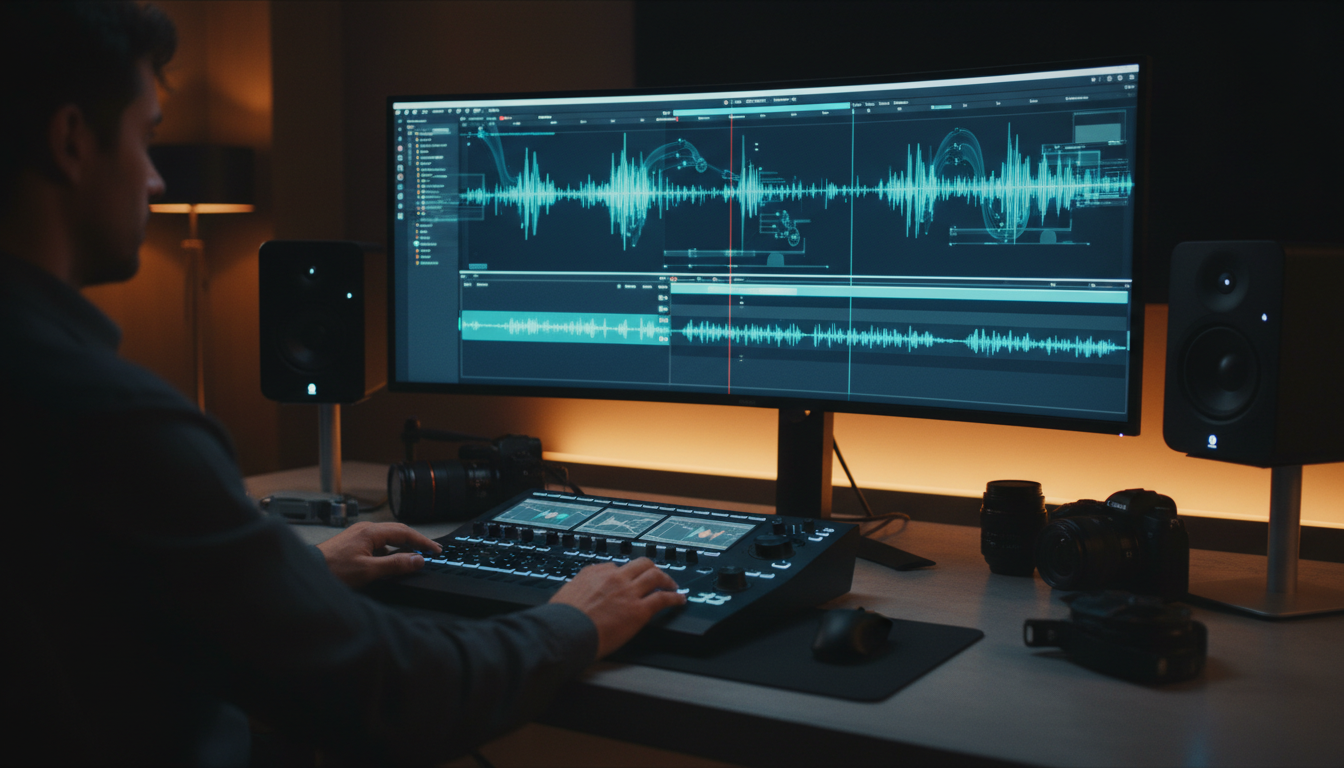
Stop wasting time on browser-based editing apps. If you are uploading massive source files to a web server just to cut out silences, you are throwing away billable hours and risking your client's raw footage. I edit multi-cam podcasts and fast-paced YouTube videos in Adobe Premiere Pro every single day [6]. I can tell you firsthand that native timeline tools are the only way to survive in 2026. Eighty-five percent of the films premiering at Sundance use Creative Cloud workflows [4]. They do not do this because of browser apps; they do it because local processing is fast, secure, and precise.
Yet, the average YouTube creator still wastes four exhausting hours on every project [1]. They manually slice silent pauses, correct audio drift, and click through camera angles [1]. If you are still dragging cuts frame-by-frame on your timeline, you are fighting a losing battle [5]. This guide will show you how to build a native timeline editing stack that completely automates your grunt work while keeping you in absolute creative control [1, 3].
Key Takeaways
- Local Processing Wins: On-device AI engines inside Premiere Pro are replacing laggy browser-based tools, keeping your media secure and your timeline instantaneous [3, 4].
- Standardize on 48kHz: Uniform audio sample rates are mandatory across all devices to prevent drift on timelines longer than ten minutes [6, 10].
- Ditch the Web Upload Loop: Dragging gigabytes of footage to web-based platforms is a workflow killer; native extensions save up to 50 minutes per project [1, 2].
- Pacing is King: Pure automated rough cuts are too robotic; you must manually inject J-cuts and reaction shots to preserve human emotion [3, 6].
- Local Dynamic Tracking: Adobe's 2026 Object Mask feature tracks pixels 20 times faster than old legacy shape masks [4].
Advanced YouTube Premiere Pro Tutorials for 2026 Editors: The Local AI Era
The Death of Web-Based App Hopping
The era of uploading massive video assets to browser-based software is officially over [2]. Editors are waking up to the reality that browser platforms destroy local workflow efficiency [3, 8]. Moving giant source files to the cloud wastes precious hours on upload and download cycles [2, 10]. In my experience, staying inside your local NLE workspace is the only way to hit tight modern deadlines [1, 3].
The industry is moving aggressively toward localized, on-device AI tools that execute commands right on your timeline [4]. Native Sundance film statistics [4] show that professional-tier productions rely on localized NLE tools to manage complex edits without security risks. By integrating smart tools directly into Premiere Pro, you protect your local project cache [3]. You also avoid exposing raw client footage to external cloud databases [8].
Building a Non-Destructive Native Stack
What does a non-destructive native editing stack actually mean? It means every automated cut, zoom, or caption can be modified after the tool runs [3]. You do not want an assistant that flattens your video layers or burns in effects permanently [1]. If an automated cut is slightly off, you must be able to hit standard undo commands [3]. Local native extensions generate actual Premiere Pro timeline cuts and keyframes, giving you infinite flexibility to polish [1, 6].
Using CEP extensions inside Premiere Pro keeps you in the zone [3]. These panels speak directly to the Premiere Pro API, translating code into immediate timeline actions [1, 5]. If you watch any advanced premiere pro tutorials youtube [7] channels, you will notice creators favoring native plugins over web tools. Stacking localized utilities inside Premiere Pro ensures you maintain complete creative control over your keyframe properties [6, 7].
| 35|Final Cut Pro | NaN |
|---|
Actionable Takeaway: Audit your current post-production software and replace any web-based editing platforms with local Premiere Pro CEP extensions to keep your media local.
Solving the Audio Drift Nightmare in Multi-Cam Timelines
The 48kHz Uniform Standard
If you edit interviews or podcasts, you have definitely experienced audio sync drift [6]. You align the beginning of a one-hour timeline perfectly, but by the end, the voices are noticeably out of sync with the video [10]. This nightmare is almost always caused by mismatching audio sample rates [6, 8]. One camera might record at 44.1kHz, while a wireless microphone records at 48kHz [6].
Over time, those tiny sample differences accumulate into severe visual latency [8, 10]. Industry-standard video marketing statistics 2026 [10] show that teams lose hours fixing avoidable synchronization errors. To completely eliminate this issue, force every camera, field recorder, and microphone onto a uniform 48kHz sample rate before shooting [6, 10]. Setting this up in pre-production saves hours of manual timeline nudging [9, 10].
Visual Alignment and Track Color-Coding
Before organizing your multi-cam sequence, s label group so I can trace my source layers easily [3]. If Cam A is blue and Cam B is rose, you will immediately spot errors on a busy cut sequence [6, 7].
When preparing to build your multi-cam source sequence, use Premiere's waveform synchronization [6]. This scans the audio tracks of all video files and aligns them automatically [1, 6]. If the native sync engine fails, use a slate or physical clap to visually align the transients [7]. Once synced, keep your raw scratch tracks on muted lower layers [6]. Having clean, organized audio is the secret to getting accurate results from automated switching tools [1, 3].
Pro Tip: If you must use a legacy 44.1kHz audio file in a 48kHz timeline, do not let Premiere resample it on the fly. Right-click the asset, select Modify > Audio Channels, and export a processed 48kHz WAV file via Adobe Audition before starting your timeline edits.
+--------------------------------------------------------------------------+
|                        PRE-SYNCHRONIZATION CHECKLIST                     |
+--------------------------------------------------------------------------+
| [ ] Set all physical cameras to record at 48kHz audio.                   |
| [ ] Verify microphone transmitters and receivers are locked to 48kHz.    |
| [ ] Apply distinct color labels to each video angle (e.g., Cam A = Blue).|
| [ ] Create a dedicated target sequence with unified stereo master tracks.  |
| [ ] Sync tracks via wave sync before converting to a multi-cam sequence. |
+--------------------------------------------------------------------------+
Actionable Takeaway: Configure every device in your production setup to record exclusively at a 48kHz sample rate to eradicate audio drift over long edits.
Why Web-Based AI Tools Are Slowing Down Your Workflow
The Cost of the Export-and-Reimport Loop
Using browser-based SaaS platforms like Descript or Opus Clip for rough cuts introduces major friction [3, 8]. First, you must export your massive raw footage files [2]. Then, you upload those gigabytes to a web server, wait for the AI to process, download the generated XML, and reimport it into Premiere [1, 8]. If you discover a mistake, you have to repeat the entire cycle [3].
This back-and-forth loop is incredibly slow [1, 3]. In my editing agency, we found that this process wastes up to 50 minutes of idle waiting time per project [1]. Native plugins like KreateFlo operate directly inside Premiere's timeline using local sequences [3]. They execute commands instantly, allowing you to use the standard Premiere Undo shortcut (Cmd/Ctrl+Z) if an automated cut is not to your liking [1, 6].
Subscription Fatigue vs Native Value
Paying $15 to $40 per month for five different web apps adds up fast [3]. Many of these tools charge you based on the minutes of video processed, which creates constant budgeting stress [3, 8]. Professional editors are fighting subscription fatigue by investing in comprehensive native suites [3]. They look for all-in-one extensions that provide multiple utilities inside a single interface [1, 3].
| Before | Traditional (13 days) |
|---|---|
| After | AI Workflow (27 mins) |
According to recent AI video statistics for 2026 [8], the demand for integrated timeline tools has exploded [8]. Editors want solutions that do not drain their wallets with per-hour cloud billing [3]. Native plugins keep your processing local, meaning you do not have to worry about running out of monthly cloud credits for basic timeline operations [3, 8].
Actionable Takeaway: Stop paying for multiple single-purpose web subscription services and move your rough-cutting tools onto a native Premiere Pro extension to save money and upload time.
Streamlining Rough Cuts with Advanced YouTube Premiere Pro Tutorials for 2026 Editors
Filtering Pauses and Filler Words Natively
The most boring part of editing YouTube videos is slicing out silence and filler words like "um" and "uh" [1, 6]. In Premiere Pro, you can use the native text-based editing panel to speed this up [4]. This panel transcribes your audio sequence locally in real-time [4]. You can quickly navigate word-by-word through the transcript using the left and right arrow keys [6, 7].
To clean up your pacing instantly, use the search bar inside the Text panel to filter for pauses [10]. You can set a custom duration threshold, such as any silence longer than 0.5 seconds [3]. Once filtered, perform a bulk ripple delete to instantly remove those gaps from your timeline [4]. This native workflow turns a four-hour editing session into a 90-second task [7].
Word-by-Word Navigation:   [Left / Right Arrow Keys]
Select Word:               [Shift + Cmd/Ctrl + Left/Right Arrow]
Extract Text-Based Cut:    [\' (Apostrophe Key)]
Lift Text-Based Cut:       [; (Semicolon Key)]
Designing Seamless Transitions with Reaction Cuts
While automated rough cuts are incredibly fast, they often feel rigid and robotic [1]. An AI cut typically switches angles the exact millisecond a speaker starts talking [3]. This lacks the natural rhythm of human conversation [1, 6]. To fix this, always go back and manually apply J-cuts and L-cuts [6]. Letting the speaker's audio lead the video cut by 10 to 15 frames makes transitions feel organic [7].
  J-Cut: Audio leads video
  [Video Track]       |=== Camera B =======
  [Audio Track]   ======= Speaker B =======

  L-Cut: Video leads audio
  [Video Track]   ======= Camera A ===|
  [Audio Track]   ======= Speaker A =======
Additionally, utilize reaction takes to keep your pacing dynamic [1, 3]. Instead of cutting directly to the person speaking, sometimes stay on the listener to capture their nod or laugh [1]. Combining automated tool cuts with manual pacing adjustments is what separates amateur YouTube edits from premium storytelling [6].
Actionable Takeaway: Use the native Text panel to execute bulk ripple deletes on silent pauses, then spend your saved time manually applying J-cuts to soften the transitions.
KreateFlo v1.0.3: Where It Saves Hours (and When to Skip It)
33+ Tools on Your Timeline
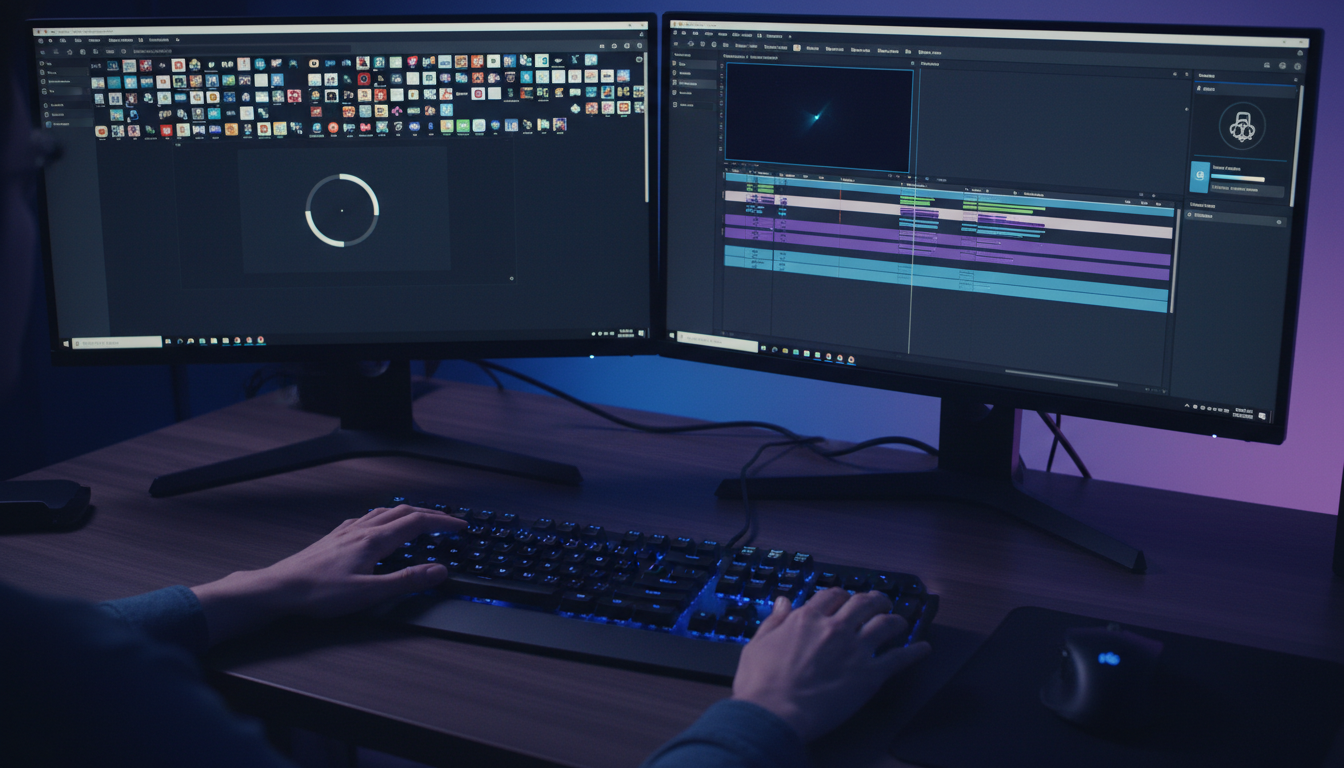
Let's talk about KreateFlo v1.0.3. This is not a standalone app, and it is not a web-based tool. It is an Adobe Premiere Pro CEP extension that puts over 33 professional editing utilities right inside your NLE panel [3]. This eliminates browser-hopping entirely [1]. You get a massive collection of tools, starting with our free-forever tier that includes three core utilities: the Silence Remover, the Transition Assistant, and the simple Copy & Paste utility [3].
If you decide to upgrade, the pricing is highly transparent [3]. Our Pro tier is $19.99/mo and gives you 20 hours of AI processing, while our Studio tier is $44.99/mo with 50 AI hours [3]. Contrast this with competitors like FireCut or AutoPod, where subscription structures can scale aggressively without offering unified panels [3].
Multi-Cam Auto-Cutting Up to 8 Speakers
The crown jewel of KreateFlo v1.0.3 is the Multi-Cam Editor [3]. This tool can handle up to 8 distinct speakers and 8 camera angles simultaneously [3]. If you are editing group panels, you can designate a specific wide-shot camera angle [3]. The AI will automatically switch to the wide-shot when multiple people speak or laugh at the same time [1].
[10]It analyzes your synchronized audio tracks and cuts a raw, one-hour multi-cam sequence in less than two minutes [1, 3]. Instead of manually switching angles for hours, you get a clean rough cut instantly [1]. This leaves you free to focus entirely on creative pacing, sound design, and color grading [6].
+--------------------------------------------------------------------------+
|                  KREATEFLO MULTI-CAM TOOL CONFIGURATION                  |
+--------------------------------------------------------------------------+
| Target Tracks:   [Audio 1: Host]  [Audio 2: Guest 1]  [Audio 3: Guest 2]  |
| Camera Mapping:  [Track V1: Cam A] [Track V2: Cam B]  [Track V3: Wide]   |
| Wide-Shot Setup: [Trigger on Multi-Speaker Speech / Overlap]              |
| Min Clip Length: [1.5 seconds to prevent rapid hyper-cutting]            |
+--------------------------------------------------------------------------+
Honest Caveats: When KreateFlo is Not the Right Pick
I want to be completely honest with you: KreateFlo is not a magic wand for every single editor [1]. If you edit videos on an iPad or need a standalone web dashboard, KreateFlo is absolutely not the right fit for you [3]. We are built strictly as a professional desktop plugin for editors who live inside Adobe Premiere Pro [3].
Additionally, if you work exclusively on highly stylized, short narrative films with no dialogue, our AI multi-cam and silence removal tools won't provide much value [3]. Our suite is specifically optimized for dialogue-heavy YouTube videos, interview-style podcasts, talk shows, and vertical short-form content [3, 8]. If you do not edit those formats, you should skip this tool [3].
Actionable Takeaway: If you edit multi-cam podcasts or talk shows on desktop Premiere Pro, install the KreateFlo extension to automate your multi-camera switching in under two minutes.
Real-Time Captions and Tracking in the 2026 Workspace
CaptionFlow with WASM Real-Time Preview
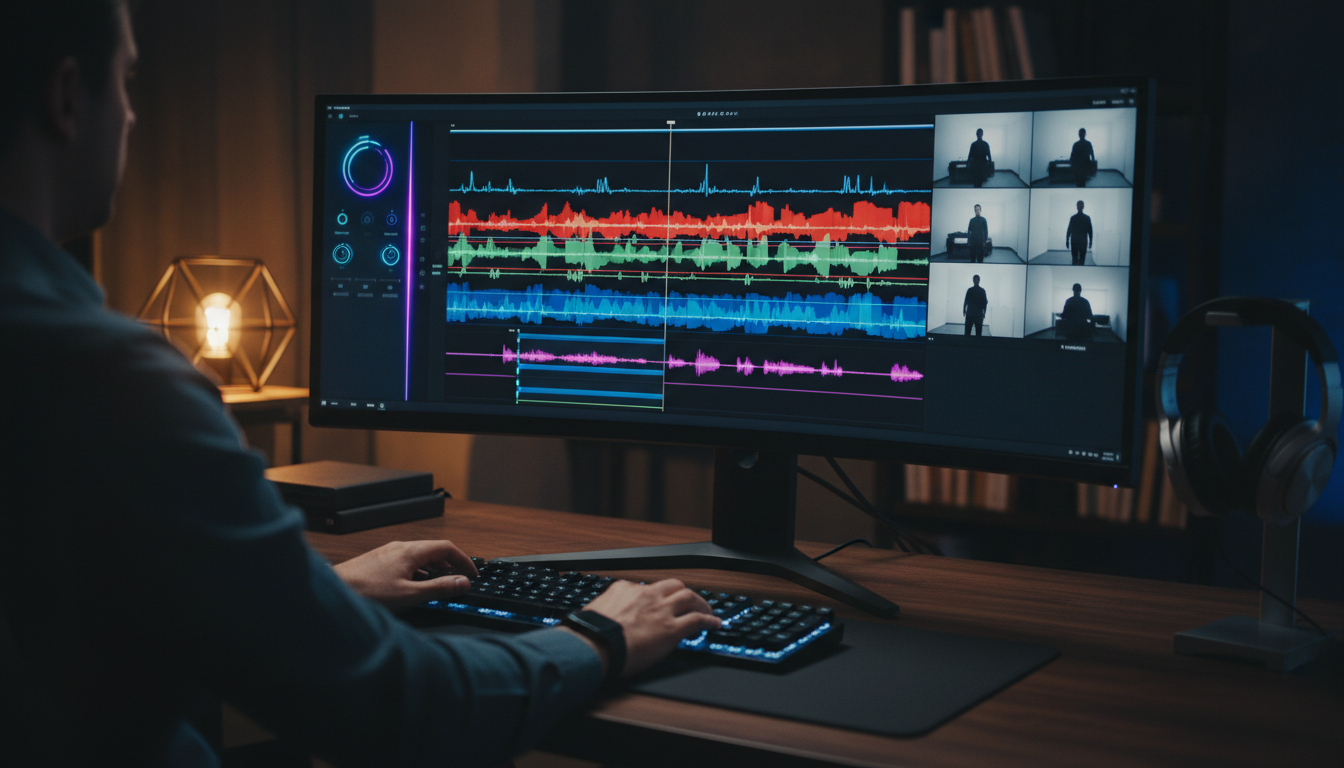
Adding styled captions to vertical reels and TikToks is a huge engagement driver [10]. But using Premiere's native subtitle system can sometimes feel limiting if you want high-energy, animated text [3]. This is why we built CaptionFlow directly into the KreateFlo panel [3]. It features 22 fully customizable animated caption presets [3].
The best part? It runs on a WASM (WebAssembly) real-time engine [3]. This means you do not have to render your timeline every single time you change a font, color, or scale keyframe [1, 3]. You get a real-time preview of your animated text instantly [3]. Our voice transcription engine also supports over 40 languages [3]. This includes full transcription support for Hindi and Bangla, opening up massive global distribution opportunities for your YouTube channel [3].
+--------------------------------------------------------------------------+
|                    CAPTIONFLOW LAYOUT OPTIONS (9:16)                     |
+--------------------------------------------------------------------------+
| Preset:         [Active Karaoke Word Highlight]                          |
| Font Axis:      [Variable Weight - Bold on Speak]                        |
| Global Style:   [Apply Highlight Selection to All Layers]                |
| Rendering:      [WASM Real-Time Preview - Zero Latency]                  |
+--------------------------------------------------------------------------+
The Power of the 2026 AI Object Mask Tool
Adobe Premiere Pro 2026 introduced a powerful, local AI-powered Object Mask feature [4]. In older versions, manually keyframing a mask around a moving subject took forever [1, 6]. Now, you simply hover your cursor over a subject in the Program Monitor, click once, and the AI instantly generates a precise visual boundary [4].
This new engine tracks objects up to 20 times faster than old legacy shape masks [4]. It handles complex, non-linear movements with incredible precision [4]. You can easily use this to isolate a color grade, blur a distracting background, or run text behind a talking head [1, 4].
Warning: When styling your captions, always use unified Track Styles or global highlight selections. If you manually style captions block-by-block on the timeline, you will end up with inconsistent formatting that screams low quality to your viewers [3].
Actionable Takeaway: Stop waiting for preview renders on your styled captions; use CaptionFlow's WASM engine to design real-time animated subtitles directly in your vertical workspace.
FAQ
What computer specifications are needed to run Premiere Pro 2026 smoothly?
Adobe officially recommends an 11th Gen Intel CPU (or AMD Ryzen 3000 series equivalent) as a baseline [6]. You also need a minimum of 32GB of RAM to edit 4K footage smoothly without experiencing timeline lag [4, 6]. If you edit complex timelines with local AI extensions, having a dedicated GPU with at least 8GB of VRAM will significantly speed up your localized tracking and rendering [3, 4].
How do you fix audio syncing and drift errors in Premiere Pro multi-cam edits?
Always verify that every camera and microphone is recording at a uniform 48kHz sample rate before shooting [6, 10]. If you mix 44.1kHz and 48kHz files on the same timeline, your audio tracks will slowly drift out of sync over long edits [6]. If drift has already occurred, you can manually cut the audio file at natural pauses and nudge the tracks back into visual alignment [1, 6].
What are the best AI plugins for Adobe Premiere Pro video editors in 2026?
KreateFlo v1.0.3 is the choice for editors looking for a comprehensive, 33-in-1 workspace extension [3]. Other popular native options include AutoPod, FireCut, Phantom Editor, and AutoCut [3]. Your choice depends on whether you prefer lifetime licenses or specialized workflows like automated B-roll generation [1, 3].
How do you autogenerate and style subtitles in Premiere Pro?
You can use Premiere's native Text panel to transcribe your sequence and generate standard subtitles [4]. For advanced, high-energy YouTube Shorts and TikTok layouts, use KreateFlo's CaptionFlow [3]. It provides 22 animated presets with WASM real-time previews, allowing you to style your text without rendering lags [3].
How do you set up and edit a multi-cam sequence in Premiere Pro 2026?
First, import your synchronized video files [6]. Select all the clips, right-click, and choose "Create Multi-Camera Source Sequence" [7]. Choose "Audio" as your synchronization point [6]. Drag the generated target sequence onto your timeline, enable the Multi-Cam Monitor panel, and use automated plugins like KreateFlo's multi-cam editor to cut between angles based on active speakers in under two minutes [1, 3].
The future of video editing is not about letting AI completely replace your creative storytelling [1, 8]. It is about using native timeline tools to destroy the tedious, repetitive tasks that drain your energy [3, 8]. If you want to stop wasting hours on manual camera switching and rough cuts, head over to our /download.html page and try our free-forever tools today [3].
References
- youtube.com/watch
- autofaceless.ai/blog/video-editing-software-statistics-2026
- phantomeditor.video/blog/best-ai-plugins-adobe-premiere-pro-2026
- blog.adobe.com/en/publish/2026/01/20/new-ai-powered-video-editing-tools-premiere-major-motion-design-upgrades-after-effects
- youtube.com/watch
- youtube.com/watch
- youtube.com/watch
- ngram.com/blog/ai-video-statistics-2026
- wyzowl.com/video-marketing-statistics/
- digitalapplied.com/blog/video-marketing-statistics-2026-data-points
- researchandmarkets.com/reports/6226071/creator-economy-market-report
- newswire.com/news/the-influencer-marketing-factory-releases-2026-creator-economy-report-revealing
- themediaonline.co.za/2026/06/the-creator-economy-is-producing-a-new-generation-of-jobs/
- vikimediatec.com/top-video-editing-trends-in-2026-every-creator-should-know/
- phantomeditor.video/blog/whats-new-premiere-pro-26-2026
- hatchstudios.com/key-trends-in-video-production-for-2026/
- offshoreclipping.com/blog/video-editing-trends/
- community.adobe.com/announcements-727/what-s-new-in-adobe-premiere-26-3-june-2026-1628369
- newsshooter.com/2026/01/20/whats-new-in-adobe-premiere-pro-26-0/
- youtube.com/watch
- youtube.com/watch
- youtube.com/watch
Try KreateFlo free
3 tools forever, 7-day trial on the rest. No credit card to start.
Download KreateFlo