Sync Captions to Beats: 5 Easy Premiere Steps (2026)
Spending 4 hours setting manual scale keyframes for word-by-word captions in Adobe Premiere Pro is an amateur mistake. I used to do it for every client reel until I realized I was throwing away entire
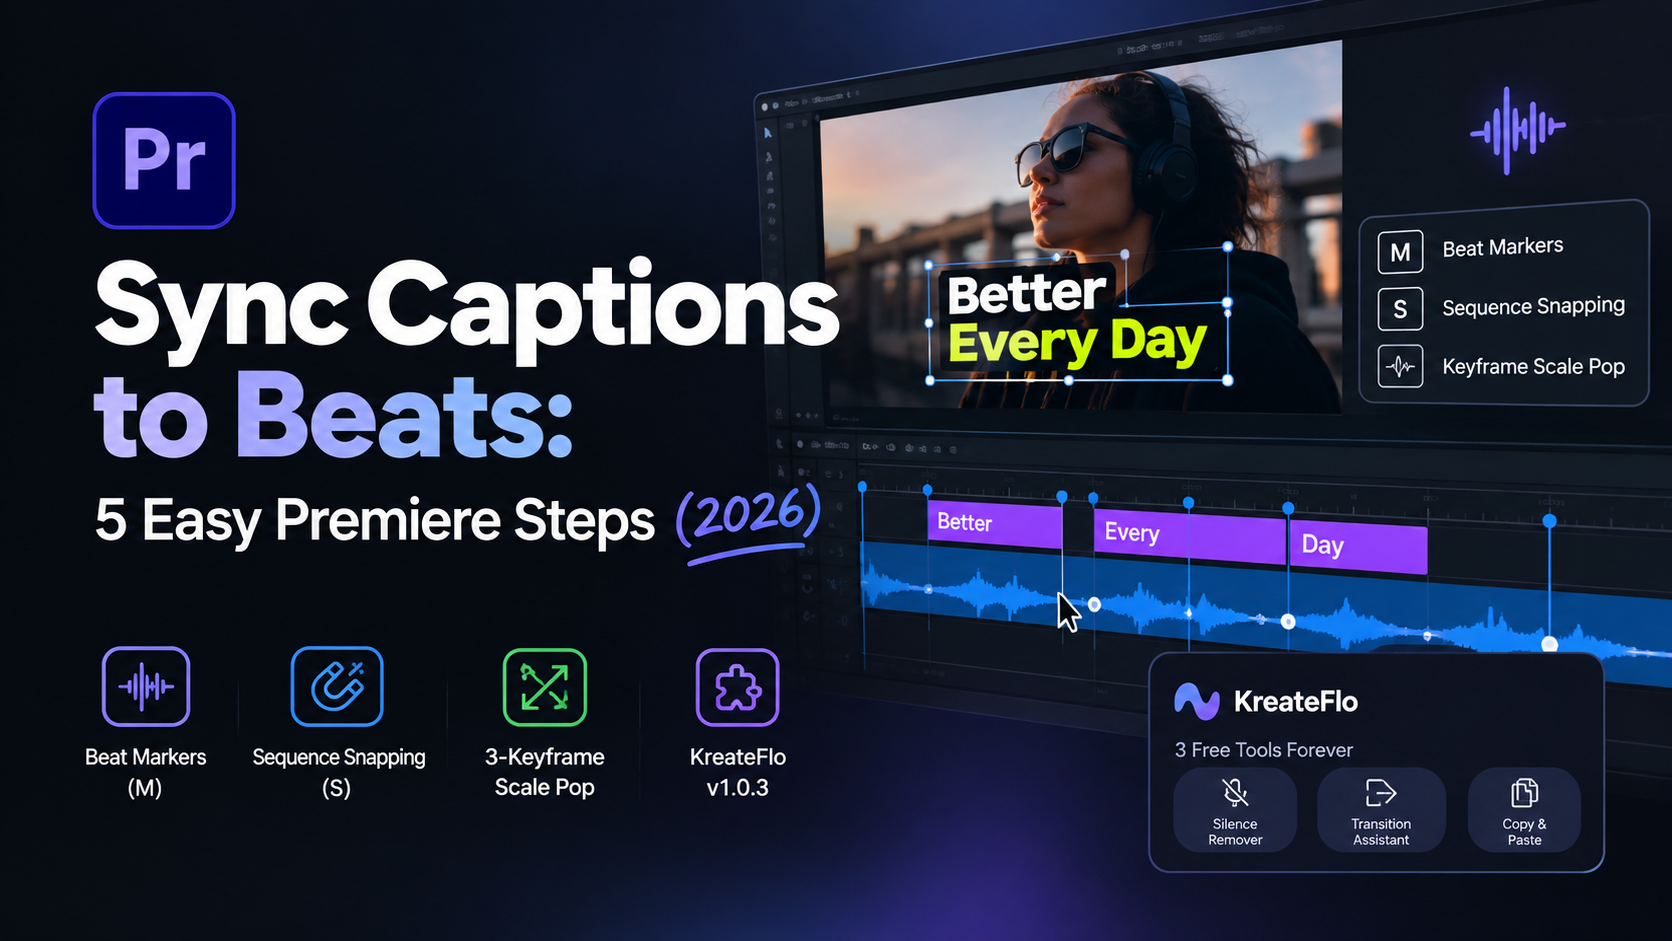
Spending 4 hours setting manual scale keyframes for word-by-word captions in Adobe Premiere Pro is an amateur mistake. I used to do it for every client reel until I realized I was throwing away entire afternoons on repetitive keyframing when I could automate the whole process in 90 seconds. Here is how to lock your text animations to audio beats using live markers, snapping shortcuts, and native CEP extensions without losing your sanity.
Key Takeaways
Tapping 'M' during audio playback drops timeline beat markers on the fly without interrupting your sequence flow.
Toggle Sequence Snapping with the 'S' key so text keyframes lock directly onto kick drum audio peaks.
A 3-keyframe scale pop (0% to 115% to 100%) creates the classic high-energy social media caption punch.
Native Premiere Pro extensions like KreateFlo v1.0.3 use local Whisper transcription and WASM real-time previews to eliminate render loops.
Over-animating every single vocal syllable creates visual noise that drives viewers away.
KreateFlo includes 3 free tools forever (Silence Remover, Transition Assistant, Copy & Paste), with paid plans starting at $19.99/mo.
Why Manual Keyframing Captions to Music Beats Kills Editing Speed
If you edit short-form reels, TikToks, or YouTube Shorts, you already know the drill. Clients demand high-energy, CapCut-style text pops where words bounce on screen in lockstep with the background music track. But building those graphics manually in Adobe Premiere Pro can eat up your entire working afternoon.
The Time Sink of Manual Keyframing
Manual keyframing forces you into a soul-crushing loop. You zoom into the waveform, slice text clips, open Effect Controls, set baseline scale keyframes, add an overshoot frame, and ease the motion paths. Doing this for a 60-second video with 180 spoken words takes roughly 4 hours of tedious clicking. That speed bottleneck limits how many client projects your agency can ship every week.
| Before | 4 Hours |
|---|---|
| After | 90 Seconds |
Here is the kicker: any timeline re-edit completely destroys your work. If the client asks to cut a 3-second pause in the middle of a sentence, your downstream keyframes drift out of sync. You end up nudging hundreds of text handles back into position by hand.
Why Video Beats Drive Social Engagement
Rhythmic text edits are not just a visual trend. They are rooted in visual psychology. Studies show that 80% of viewers finish videos when captions are available [6]. Furthermore, research reveals that 85% of Facebook users watch clips on mute [7].
When text bounces on the exact beat of a kick drum or vocal emphasis, it triggers visual dopamine hits. Cognitive testing demonstrates that dual-coding visual and audio cues double viewer comprehension [8]. Matching text pop-ins to audio spikes keeps eyes glued to the screen during critical retention windows.
| 80|Sound-On Viewers | NaN |
|---|
Actionable Takeaway: Stop manually placing scale keyframes word-by-word on long timeline sequences. Reserve manual editing for hero title cards and automate repetitive body captions.
How to Sync Caption Animations to Video Beats in Premiere with Markers
Before diving into plugins, every editor must master Adobe Premiere Pro's native marker tools. Markers act as magnetic visual guides that lock your text graphics directly to music beats.
Live Beat Mapping with the 'M' Shortcut
The fastest manual trick for mapping music tempo is live marker dropping. Open your sequence, hit the spacebar to start playback, and listen closely to the rhythm track.
Instead of pausing to adjust handles, tap the M key on your keyboard rhythmically on every kick drum or snare hit. You can drop markers instantly by tapping 'M' on the fly during live playback [5] without interrupting timeline movement. If you miss a beat, do not stop. Keep tapping to the end of the song, then double-back to clean up misaligned markers.
Playback Running  ---> [Beat 1] ---> [Beat 2] ---> [Beat 3]
Keyboard Action   ---> Press 'M'    ---> Press 'M'    ---> Press 'M'
Result            ---> Marker 01    ---> Marker 02    ---> Marker 03
Targeting Audio Tracks vs Sequence Markers
A common trap for editors is mixing up sequence markers and clip markers.
Sequence Markers: Sit at the top of your timeline ruler at fixed timecode positions. They stay in place even if you move your audio clips.
Clip Markers: Attach directly to the audio waveform file itself. When you shift or trim the music clip, the markers move along with it.
For music-driven captions, attach markers directly to the audio clip. Alternatively, you can use third-party tools or Automate to Sequence features in Adobe Premiere Pro [1] to generate clip markers automatically from transient peaks. This ensures your text targets remain perfectly accurate even if you shift the song down the timeline to sync graphics automatically to timeline audio beats [2].
Pro Tip: If your song has a complex tempo, solo the drum stems or low-pass filter the audio track in the Essential Sound panel so the kick drum peaks stand out clearly on your waveform screen.
Actionable Takeaway: Drop clip markers directly onto your music track using live playback with 'M' so your beat guides move dynamically whenever you retime the music.
Setting Up Pop-In Keyframes: Scale, Snapping, and Overshoot
Once your beat markers are locked, you can build a reusable pop-in animation preset using Premiere's Effect Controls panel.
Scale %
 120% |             [Keyframe 2: 115% Overshoot]
 100% |                                      x------- [Keyframe 3: 100% Rest]
   0% |  x----------- [Keyframe 1: 0% Start]
      +---------------------------------------------------
         Frame 0       Frame 3              Frame 5
Enabling Sequence Snapping ('S')
Before touching keyframes, make sure timeline snapping is turned on. You can toggle Sequence Snapping with the 'S' shortcut [10] on your keyboard.
When snapping is active, dragging keyframes or text clip edges near a marker forces them to snap directly onto the exact beat frame. This prevents micro-misalignments where text appears two frames late.
Building the 3-Keyframe Scale Bounce
To create the classic social media text pop, select your Essential Graphics text layer and open the Effect Controls panel:
Frame 0 (Start): Set Scale to 0%.
Frame 3 (Peak): Position the playhead right on your beat marker and set Scale to 115% (this creates the overshoot pop).
Frame 5 (Rest): Move two frames forward and set Scale to 100%.
Highlight all three keyframes, right-click, and select Temporal Interpolation > Bezier. Smooth motion paths prevent text pop-ins from feeling robotic. Industry data shows that dynamic captioned videos increase click-through rates by 26% [9] compared to static subtitles.
80% watch videos to completion with captions
Duplicating Text Layers across Markers
Do not rebuild this effect from scratch for every sentence. Hold Option on Mac or Alt on Windows, click the animated text graphic on your timeline, and drag it horizontally to the next beat marker.
This creates a duplicate clip that retains all keyframe positioning and scale effects. Double-click the new clip in your Program Monitor and type the next word.
Actionable Takeaway: Master the 0% to 115% to 100% 3-keyframe scale bounce, and use Option-drag to duplicate styled text blocks across your snapped beat markers.
How to Sync Caption Animations to Video Beats in Premiere Using AI Plugins
Manual keyframing works for 15-second clips. But scaling an agency requires automation. Modern AI tools generate frame-accurate word-level captions directly inside Adobe Premiere Pro.
Zero-Export Workflows with CEP Extensions
Many caption editors rely on standalone web apps like Descript or Opus Clip. But round-tripping media outside Premiere Pro creates serious workflow headaches. You have to export raw video, wait for cloud rendering, download XML files, and fix broken fonts upon re-import.
Integrated Premiere Pro CEP extensions solve this issue by running directly inside your workspace panel. By leveraging WebAssembly (WASM) engines, extensions let you edit text animations live on your native timeline without rendering intermediary files.
Generating Word-Level Captions with KreateFlo CaptionFlow
KreateFlo v1.0.3 bundles 33+ specialized tools into a single Adobe Premiere Pro plugin. Its dedicated caption tool, KreateFlo CaptionFlow, handles kinetic text formatting automatically:
Open the KreateFlo CEP panel inside Premiere Pro and select your timeline speech audio track.
Run local transcription (powered by Whisper technology) to generate word-level timestamps in seconds. KreateFlo supports voice transcription across 40+ languages, including Bangla and Hindi.
Select from 22 animated caption presets. The built-in WASM real-time engine previews the animation in your panel instantly, eliminating the render-to-see-changes loop.
Click Generate. KreateFlo places fully editable text graphics onto your timeline, locking word highlights to audio cadence.
[ Premiere Pro Audio Track ]  --->  Local Whisper AI  --->  WASM Engine Preview
                                                                  |
[ Native Editable Graphics ]  <---  Auto-Snapped Cuts  <---  22 Animation Presets
Tools that rely on local Whisper engines generate word-level timestamps [4] without sending private client media to cloud servers. Editors transcribing audio natively across 99+ languages can ship dozens of social reels every day while maintaining 100% timeline flexibility. These high-energy open captions directly extend social video watch time [6].
Actionable Takeaway: Use native CEP panels like KreateFlo CaptionFlow to generate frame-accurate, word-level text graphics on your timeline without exporting XMLs.
4 Common Mistakes That Ruin Your Rhythmic Text Edits
Even seasoned editors make simple mistakes when syncing text graphics to music tracks. Avoid these four common pitfalls to keep your timeline pristine.
Placing Markers on the Wrong Track
Dropping markers onto your main sequence ruler instead of the specific music audio clip leads to audio drift. If you ripple-delete an awkward pause in the video track later, your sequence markers remain stuck at their old timecodes, throwing all text pops out of rhythm.
Leaving Sequence Snapping Off
Working with snapping turned off leads to sub-frame misalignment. If a text pop lands just 2 frames after a snare hit, the viewer's brain registers the error instantly, making the video feel cheap. Press S to keep snapping enabled at all times.
Over-Animating Every Single Vocal Syllable
Adding scale pops to every single spoken word creates visual clutter. When every word bounces violently against high-BPM drum beats, viewers experience screen fatigue and scroll away.
Save high-energy scale pops for emphasized nouns, verbs, and punchlines. Keep filler words static or use subtle color highlight fills instead.
BAD:  [BOUNCE] Every [BOUNCE] Single [BOUNCE] Word [BOUNCE] Bouncing!
GOOD: Every single WORD [BOUNCE] pops on the IMPACT [BOUNCE] beat!
Ignoring Font Readability on Mobile Screens
Fancy cursive or ultra-thin typography disappears on small smartphone screens. Always choose thick, condensed sans-serif fonts like Montserrat ExtraBold, Futura Bold, or Anton. Add a dark drop shadow or a semi-transparent stroke so light text remains readable against bright video backgrounds.
Font Checklist:
- Style: Heavy / ExtraBold Sans-Serif
- Contrast: Dark Stroke (3-5px) or Drop Shadow (80% opacity)
- Safe Zones: Keep text inside the middle 60% of vertical space (avoid TikTok UI overlays)
Data confirms that well-formatted captions boost call-to-action engagement by 26% [7]. Using automatic beat detection tools create precise timeline markers [1] helps eliminate human error, ensuring that text keyframe misalignment ruins graphic sync [10] becomes a thing of the past.
Actionable Takeaway: Keep Sequence Snapping ('S') locked, isolate your beat markers to the audio track, and stick to heavy sans-serif fonts for clear mobile viewing.
KreateFlo CaptionFlow vs Descript, FireCut, and AutoPod

Choosing the right captioning tool depends on your agency's exact editing workflow and budget. Here is how KreateFlo compares against major industry alternatives.
Feature / Metric | KreateFlo v1.0.3 | Descript | FireCut | AutoPod |
|---|---|---|---|---|
Platform Type | Premiere Pro Plugin (CEP) | Standalone Web/App | Premiere Pro Plugin | Premiere Pro Plugin |
Pricing Model | $19.99/mo (Pro) / $44.99 (Studio) | $24/mo per user | Per-hour credit billing | $29/mo flat rate |
Free Tier | 3 tools free forever | Limited trial | Limited trial | No free tier |
Animated Presets | 22 WASM Presets | Basic text templates | Standard presets | Multi-cam focus |
Multi-Cam Support | Up to 8 Speakers / 8 Cams | Manual transcript edit | Basic switching | 2-3 Cams typical |
Language Support | 40+ (incl. Bangla/Hindi) | 23 Languages | Cloud dependent | N/A |
In-Timeline Extensions vs Round-Trip Apps
Descript is a solid tool for creators who prefer editing video like a text document. But for
Pricing Models: Flat Rate vs Per-Hour Credits
Competitors like FireCut charge users based on per-hour credit consumption. If you edit high volumes of long-form podcasts, per-hour billing gets expensive fast. KreateFlo Pro offers a flat $19.99/mo subscription that includes 20 AI hours per month, while KreateFlo Studio costs $44.99/mo for 50 AI hours.
If you just need basic utility features, KreateFlo's free tier includes 3 tools forever: Silence Remover, Transition Assistant, and Copy & Paste.
When KreateFlo is NOT the Right Pick
Let's be completely transparent: KreateFlo is built strictly for Adobe Premiere Pro power users. If you do not edit in Premiere Pro or prefer web-based text tools where non-editors cut videos in a browser, Descript or Opus Clip are better options for your team.
However, if you edit heavy multi-cam interview shows or client reels directly inside Premiere, KreateFlo gives you a complete, native toolkit. Check out our detailed Premiere Pro caption plugin comparison for a deeper look at competitor features.
Important Note: Using in-timeline CEP extensions eliminate round-trip exports [4] and protects color pipelines. Using automatic transcription tools support over 99 languages [3] helps scale international client work while ensuring captions increase total social video reach by 16% [7].
Actionable Takeaway: If you edit daily in Premiere Pro, choose a native CEP panel like KreateFlo over round-trip web apps to protect your timeline effects and keep subscription costs predictable.
Advanced Rhythmic Text Tricks: Audio Isolation and Strobe Cuts
Once you master basic pop-in keyframing, you can mix advanced audio isolation and strobe effects into your social edits.
Isolating Kick and Snare Frequencies
When working with dense music tracks, high-frequency synths can obscure drum spikes on your timeline waveform display. To isolate drum transients visually:
Select your music clip and open the Parametric Equalizer in the Effect Controls panel.
Boost low frequencies around 60Hz to 100Hz to accentuate the kick drum.
Cut mid-range frequencies so the visual waveform spikes cleanly on drum hits.
Audio Frequency Boost:
  Low End (60Hz - 100Hz)   ---> +6dB Boost  ---> Accentuate Kick Drum Peaks
  Mid Range (500Hz - 2kHz) ---> -12dB Cut   ---> Flatten Vocals & Synths
  Result                   ---> Sharp Waveform Spikes for Accurate Snapping
This trick creates clear visual peaks on your audio track, allowing you to snap text handles directly to the beat without guessing.
Strobe Light Text Cuts for High-BPM Tracks
For fast music tracks like electronic dance or phonk music, static text pops feel too slow. Try building a strobe text cut across high-frequency hi-hat stutters:
Slice your text graphic clip every 2 frames using the Razor tool (C).
Alternate text colors frame-by-frame (e.g., Frame 1 = Yellow, Frame 3 = White, Frame 5 = Yellow).
Combine these rapid color cuts with impact sound effects using KreateFlo's free Transition Assistant panel.
Frame 01: [YELLOW TEXT]  ---> Kick Hit
Frame 03: [WHITE TEXT]   ---> Hi-Hat Stutter
Frame 05: [YELLOW TEXT]  ---> Snare Hit
Advanced setups that rely on auto-syncing timeline cuts to rhythmic track peaks [2] significantly boost viewer retention. These techniques focus on improving retention through synchronized visual text [8], proving that dynamic captions drive higher conversion rates across platforms [9].
Actionable Takeaway: Apply a low-pass Parametric Equalizer filter to isolate kick drum transients on your waveform, and use 2-frame color cuts to match high-BPM drum fills.
Streamline Your Timeline Workflow Today
Syncing text pops to music shouldn't eat up your entire editing schedule. Once you master live marker dropping with 'M' and snapping with 'S', manual alignment becomes second nature. And when you need to handle 30 short-form clips a week, automating word-level kinetic text inside Premiere Pro is the only way to scale your agency output without burning out. Ready to speed up your timeline? Download KreateFlo for Premiere Pro and test our free tools on your next edit.
Frequently Asked Questions
How do I automatically snap captions to beat markers in Premiere Pro?
Turn on Sequence Snapping by pressing the S key on your keyboard. When snapping is active, dragging caption keyframes or text clip edges near a timeline marker will force them to lock instantly onto the exact beat frame.
What is the keyboard shortcut to add markers to music in Premiere Pro?
Select your audio track or sequence and hit the M key. You can press 'M' repeatedly while the timeline plays live to lay down markers on every kick or snare beat without stopping playback.
How do I make text pop on the beat in Premiere Pro using keyframes?
In Effect Controls, set three Scale keyframes across 5 frames: 0% at the start, 115% on the beat marker (overshoot), and 100% two frames later. This creates a clean, punchy pop-in animation.
Can Premiere Pro generate word-level animated captions automatically?
Premiere's built-in speech-to-text creates basic subtitles, but for word-level kinetic animations synced to beats, you need plugins like KreateFlo CaptionFlow or REDitors that generate per-word graphics directly on your timeline.
What is the difference between clip markers and sequence markers in Premiere Pro?
Clip markers attach directly to an individual audio or video file and move with it when shifted on the timeline. Sequence markers stay fixed at specific timecodes on the main timeline regardless of clip movement.
References
Try KreateFlo free
3 tools forever, 7-day trial on the rest. No credit card to start.
Download KreateFlo